
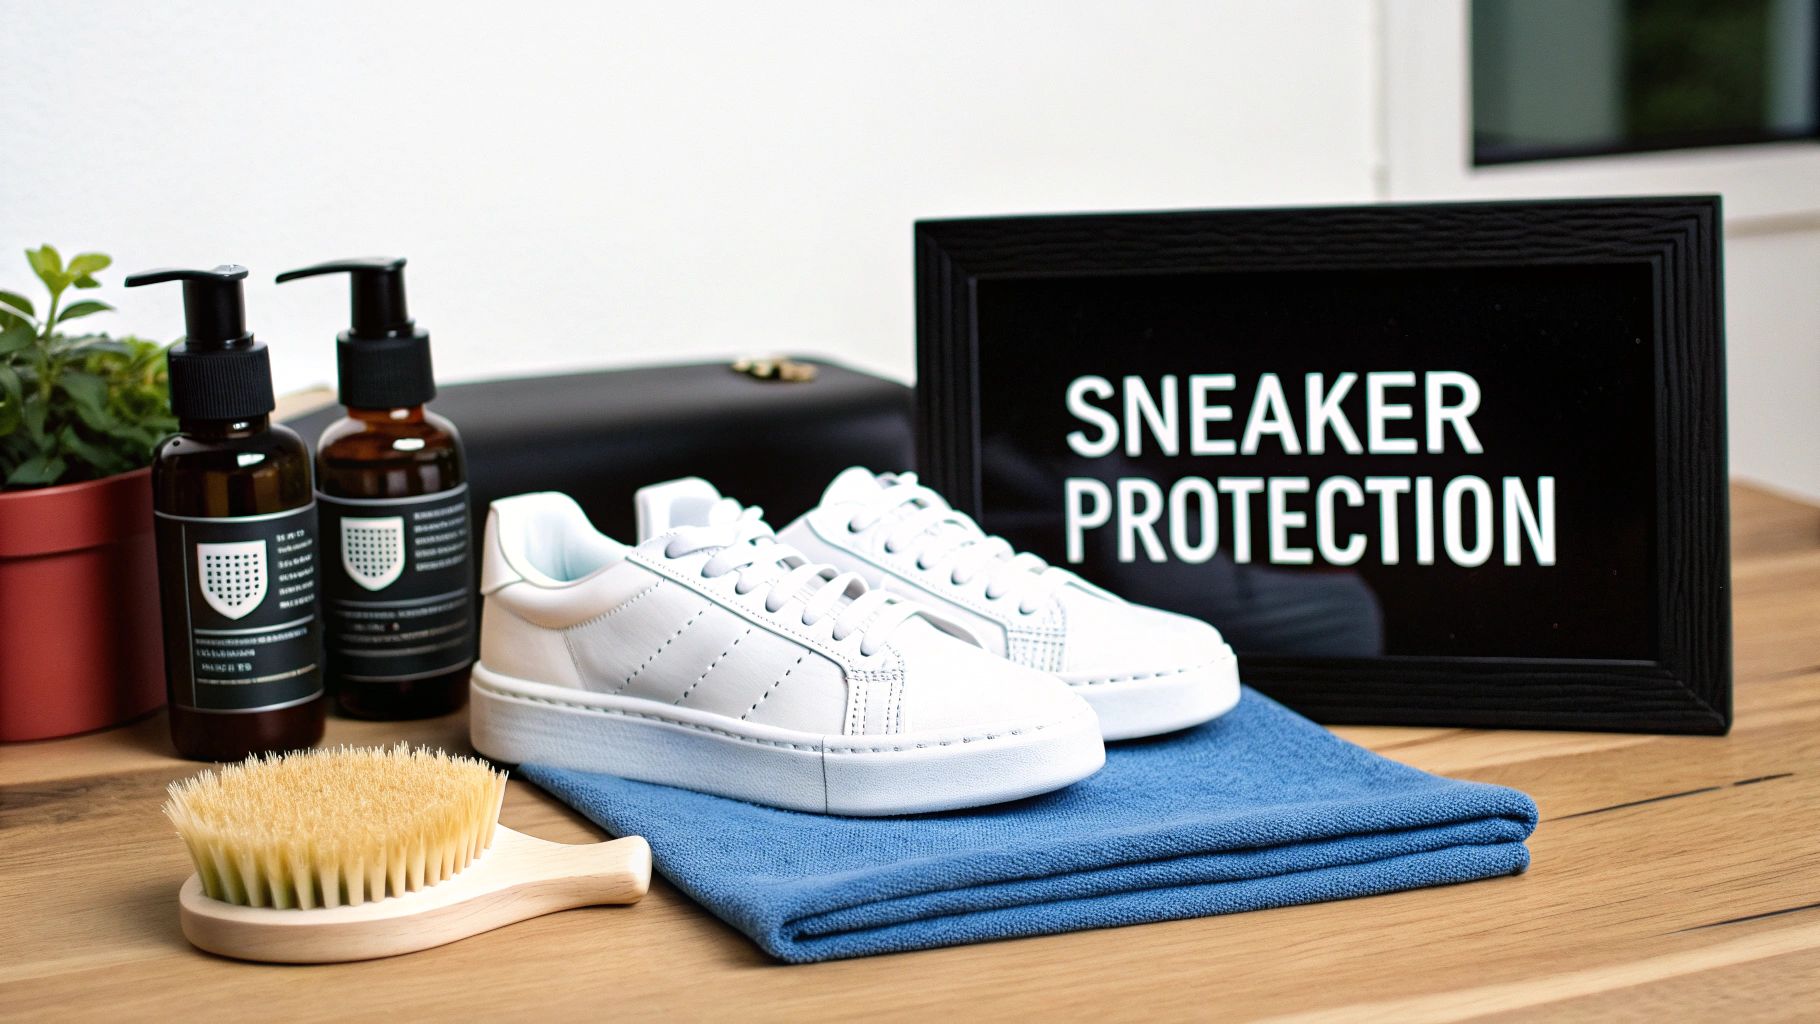
A dedicated tennis shoe cleaning kit is the primary tool separating meticulous footwear maintenance from accidental damage. The impulse to use household cleaners like dish soap is a common mistake—one that can strip essential oils from materials, cause irreversible yellowing on midsoles, and accelerate the structural breakdown of a shoe.
A professional-grade kit is built around a pH-neutral cleaning solution formulated to safely lift contaminants from complex materials, including leather, suede, mesh, canvas, and rubber. The objective is not merely cosmetic; it is to preserve the material integrity, performance, and value of your footwear.
Why a Professional Kit is Essential for Footwear Preservation
Many footwear owners learn a difficult lesson in material science: generic all-purpose sprays and kitchen soaps are chemically incompatible with modern footwear construction. These cleaners contain harsh surfactants and degreasing agents effective for hard surfaces but destructive to the delicate fibers, adhesives, and finishes used in athletic shoes.
This is not a matter of appearance alone; it is a matter of protecting an asset.
Using improper chemicals introduces a cascade of material failures that a purpose-built kit is designed to prevent.
- Material Degradation: Aggressive detergents strip natural conditioners from leather, leaving it dehydrated, brittle, and prone to cracking. On technical textiles like mesh and knit, they weaken the polymeric fibers, leading to premature tearing and fraying.
- Adhesive Failure: The bonding agents used in footwear assembly are sensitive to chemical exposure. High-alkalinity cleaners can degrade these adhesives over time, causing delamination—the separation of the outsole from the midsole or upper.
- Discoloration and Oxidation: Harsh chemicals can cause dye migration in materials like suede, resulting in color bleed. They can also accelerate oxidation when exposed to UV light, fast-tracking the yellowing process on white rubber and foam compounds.
The Role of a pH-Neutral Formulation
A premium tennis shoe cleaning kit is founded on material science. Its solution is pH-neutral, enabling it to break down dirt and oils without altering the chemical structure of sensitive materials like leather or suede. This is fundamentally different from a high-alkaline cleaner engineered to strip grease from a stovetop.
A professional cleaning kit is a preservation tool. It is engineered to work in concert with your shoe's materials, not against them, ensuring they retain their intended look and feel for years.
This focus on proper care aligns with a significant shift in consumer behavior. The shoe care market is expanding rapidly, reflecting a new reality where maintenance is prioritized to extend the life of footwear. Proper care is not a reaction to spills but a proactive system for preserving a collection's value and structural integrity. For a detailed analysis of what distinguishes a superior system, consult our guide on choosing the best sneaker cleaning kit.
Anatomy of a Professional-Grade Footwear Cleaning Kit
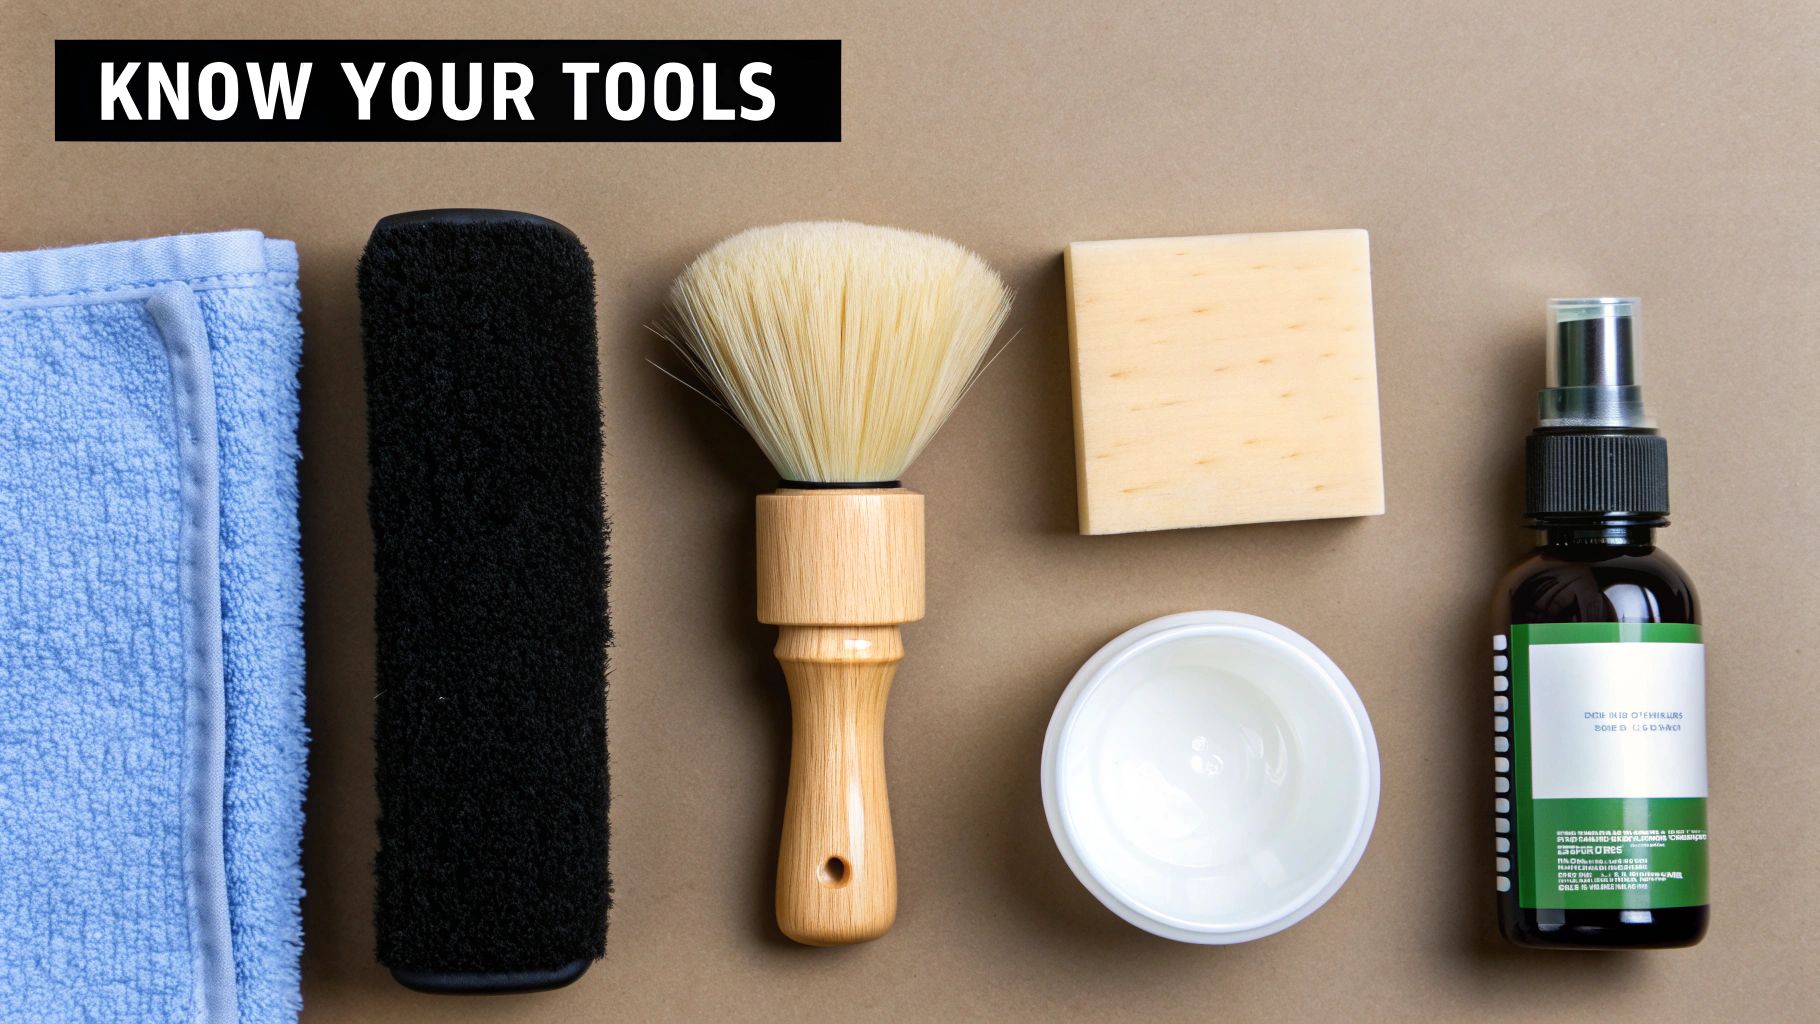
Before beginning any cleaning process, it is critical to understand the function of each tool. A premium kit is not an arbitrary assortment of supplies; it is a complete system where every component serves a specific purpose. Using an inappropriate brush can be as detrimental as using a harsh, low-grade cleaner.
The system is designed to work cohesively to lift particulates, absorb grime, and restore material texture without inflicting damage. Each tool is selected for a specific application, much like a surgeon's instruments.
Core Component: The pH-Neutral Cleaning Solution
The cleaner is the central element of the kit. An effective formula must be potent enough to break down dirt and stains while remaining gentle enough to avoid damaging delicate materials. The Gold Standard solution achieves this balance with a pH-neutral, plant-based formulation.
Harsh, alkaline cleaners are known to strip the natural oils from leather, leading to dehydration and cracking. They can also degrade the adhesives bonding the shoe, causing premature delamination. Our solution is engineered to generate a stable foam that lifts contaminants from the surface, allowing them to be wiped away without saturating the shoe in water.
The Brushes: Material-Specific Tools
This is where technique becomes paramount. A single-brush approach is a common cause of footwear damage. Different materials require different levels of abrasion to be cleaned effectively without being destroyed.
- Soft Bristle Brush: This is the designated tool for delicate surfaces. It is ideal for premium leather, suede, nubuck, and soft knit uppers. We specify natural hog hair for its ability to create a rich foam and gently clean without scratching or snagging sensitive fibers.
- Medium Bristle Brush: This is the multi-purpose workhorse for durable materials like canvas, synthetic mesh, and most rubber midsoles. Its bristles possess sufficient stiffness to dislodge embedded dirt but are not so aggressive as to cause fraying.
- Stiff Bristle Brush: This tool is reserved exclusively for outsoles. Its robust bristles are designed for one purpose: removing caked-on mud, debris, and other contaminants from the shoe's underside. Using this brush on an upper will cause irreversible abrasion.
A quality kit is a complete system designed for specific materials and soil levels. Understanding the function of each tool is the first step toward achieving a professional-level clean.
Essential Components of a Professional Shoe Cleaning Kit
| Component | Recommended Material | Primary Function & Benefits | Ideal Materials |
|---|---|---|---|
| Soft Bristle Brush | Natural Hog Hair | Gentle foaming and cleaning without scratching or snagging. | Leather, Suede, Nubuck, Knit, Cotton Mesh |
| Medium Bristle Brush | Synthetic Fibers | All-purpose cleaning for most durable surfaces. | Canvas, Mesh, Rubber, Plastic Components |
| Stiff Bristle Brush | Synthetic Fibers | Aggressive scrubbing for the most resilient parts of the shoe. | Outsoles, Deep Treads, Hard Rubber |
| Microfiber Towel | High-GSM Fabric | Highly absorbent, lint-free, and traps dirt particulates. | All materials for drying and finishing. |
| pH-Neutral Solution | Plant-Based Formula | Safely breaks down dirt without damaging footwear materials. | All footwear materials (leather, suede, rubber, etc.) |
Possessing the correct tools is not optional for proper footwear care; it is the foundation of a restorative process.
The Finishing Tool: The Premium Microfiber Towel
The towel is a critical, often overlooked, component. Using a cotton rag or paper towel is a common error that deposits lint and fails to properly absorb moisture and residual grime. For a professional result, a high-GSM (grams per square meter) microfiber towel is the only acceptable option.
A quality microfiber towel contains fibers engineered to attract and trap dirt particles while absorbing moisture efficiently. This prevents water spots and leaves a clean, streak-free surface, distinguishing a standard cleaning from a Gold Standard restoration.
The Universal Method for Cleaning Athletic Footwear
This section details the universal cleaning process that, when executed correctly, can restore most athletic footwear. The methodology emphasizes proper technique over brute force. This is not a superficial wipe-down; it is a systematic restoration that begins with methodical preparation.
Step 1: Preparation of Workspace and Footwear
Before any cleaning solution is applied, a thorough dry brush is non-negotiable. Use an appropriate brush to remove all loose surface dirt, dust, and caked-on mud from the uppers and midsoles. Neglecting this step will turn dry debris into a muddy slurry that becomes ground deeper into the material.
Next, remove the shoelaces and insoles. This provides access to the tongue and eyelet areas where dirt accumulates. The laces will be cleaned separately, and removing the insoles promotes proper air circulation for drying.
Finally, prepare the cleaning solution. Pour a small amount of the cleaner into a bowl of cool or room-temperature water. Never apply concentrated cleaner directly to the shoe. Direct application is overly potent and can cause discoloration or oversaturation. Diluting the solution provides greater control and facilitates the creation of the foam that performs the primary cleaning action.
Step 2: The Scrubbing Technique
With the footwear prepped and solution mixed, begin the cleaning process. Dip your brush into the bowl, ensuring it is damp but not dripping. The objective is to generate a cleansing foam on the shoe's surface, not to saturate it.
Begin scrubbing the uppers using small, circular motions. Apply light to moderate pressure and allow the foam to lift the dirt from the material. A back-and-forth motion tends to merely redistribute dirt, whereas a circular pattern effectively breaks down stains. Focus on high-contact areas like the toe box and heel counter.
For more durable areas, such as rubber midsoles and outsoles, switch to a stiffer brush and apply more pressure. These materials can withstand more aggressive scrubbing to remove scuffs and ground-in dirt. Material-specific brush selection is critical; our guide on choosing the best shoe cleaning brush provides a detailed breakdown.
Field Tip: After scrubbing a section, immediately wipe away the soiled foam with a clean microfiber towel. This prevents the lifted dirt from being redeposited into the material as it dries.
Step 3: Drying and Reshaping
Once the shoe is clean and all residual foam has been removed, the drying phase begins. This step is as critical as the cleaning itself. Never use direct heat. This includes hairdryers, radiators, and direct sunlight. High heat will warp the shoe's structure, crack leather, cause yellowing in rubber compounds, and degrade the adhesives.
The only correct method is air drying.
- Insert shoe trees. Use adjustable cedar shoe trees to absorb internal moisture and, crucially, maintain the shoe's original shape as it dries.
- Select a location. Place the shoes in a well-ventilated room, away from direct heat or sunlight.
- Allow sufficient time. Give them a minimum of 8-10 hours to dry completely before re-lacing.
Following this process ensures not only a clean appearance but also the long-term structural preservation of the footwear.
Once the foundational cleaning method is mastered, the next level of expertise involves adapting the technique to specific materials. Treating delicate suede with the same approach as durable leather is a guaranteed method for causing damage.
The art of footwear care lies in material-specific adjustments—altering your brush choice, solution concentration, and scrubbing pressure to safely restore the original texture and finish.
This flowchart represents the core methodology. It is the fundamental process applicable to nearly all footwear cleaning scenarios.
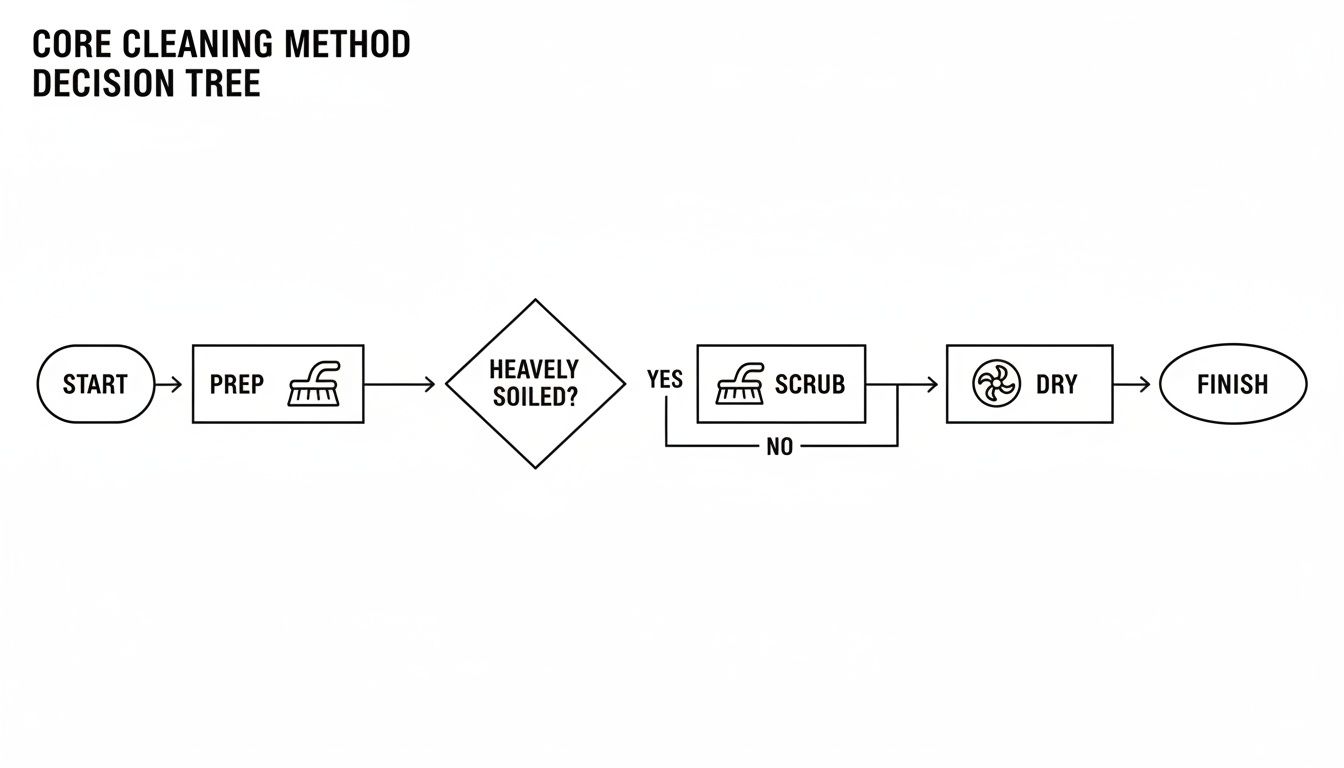
As illustrated, every effective cleaning process follows the sequence of dry preparation, controlled wet cleaning, and proper air drying.
Treating Smooth and Tumbled Leather
Leather is durable but requires proper care to maintain its natural oils and finish. For smooth leather, generate foam on a soft-bristle brush and work it into the surface with gentle, circular motions. The key is to wipe away the suds immediately with a microfiber towel to prevent the solution from drying on the surface.
Tumbled leather features a textured grain. The process is similar, but slightly more pressure may be needed to work the foam into the grain. Avoid oversaturation at all costs. Excess water is leather's enemy, causing stiffness and cracking upon drying.
The Nuances of Suede and Nubuck
Suede and nubuck are the most misunderstood materials in footwear. They are extremely sensitive to moisture, and improper cleaning can result in permanent water spots, discoloration, and a flattened texture. A "dry cleaning" approach is safest.
- Start Dry: Use a dedicated suede brush to gently remove surface dirt. This action also helps restore the material's nap (its characteristic texture). Always brush in a single direction for a uniform finish.
- Use a Suede Eraser: For scuffs and stubborn marks, a suede eraser is the ideal tool. Rub it gently over the affected area to lift the stain from the fibers.
- Liquid as a Last Resort: Use liquid only when absolutely necessary. For a deep stain, lightly dampen a corner of a microfiber towel with a minimal amount of cleaning solution. Gently blot the stain—do not scrub. Allow it to air dry completely, then use a dry brush to restore the nap.
For suede, prioritize precision over power. The goal is to lift stains out of the delicate fibers, not saturate the material. Patience and a light touch are essential.
Cleaning Porous Mesh and Canvas
Mesh and canvas are highly absorbent and prone to trapping dirt. Aggressive brushing can cause fraying and pilling. The key is to allow the cleaning solution to perform the work.
Apply a generous amount of foam to the soiled area and let it dwell for one to two minutes. This allows the cleaning agents to penetrate the weave and break down embedded grime.
After dwelling, use a medium-bristle brush to gently agitate the area, bringing the loosened dirt to the surface. Wipe it clean with a microfiber towel. For stubborn grass or mud stains, a second application may be necessary.
The growth of the shoe care industry is a direct response to the complexity of modern footwear. With global market projections expected to reach USD 7.79 billion by 2031, it is clear that consumers are investing in tools to maintain their footwear properly. For a comprehensive overview of this trend, see the latest market research about shoe care products.
Post-Cleaning Care: Preservation and Protection
Cleaning your footwear is only the first half of the process. The post-cleaning phase is what separates a temporary fix from a long-term restoration, and the drying stage is the most critical component.
The use of direct heat from a hairdryer or radiator is a common and destructive mistake. Heat makes leather brittle, weakens adhesives, and can cause yellowing in white rubber midsoles. Similarly, UV radiation from direct sunlight degrades materials and fades colors over time.
There is only one correct drying method: patient, natural air-drying. This technique allows materials to retain their original shape, texture, and flexibility without risking thermal damage.
Properly air-drying footwear is a simple but non-negotiable process that ensures the shoe returns to its intended form.
The Right Tools for Drying and Shaping
First, insert adjustable cedar shoe trees into each shoe. This professional practice is superior to using newspaper because cedar actively absorbs residual moisture from the lining while perfectly maintaining the shoe's structure, preventing creasing and collapse as it dries.
Next, place the shoes in a location with good air circulation, away from direct sunlight or heat sources. Then, allow them to rest for a minimum of 8-12 hours, or until completely dry to the touch, both inside and out. Only then should they be re-laced. Patience during this stage is crucial for preventing mildew growth and ensuring the shoe's structural integrity is fully restored.
Long-Term Protection
Once the shoes are completely dry, apply the final, proactive layer of care. A quality protective spray creates an invisible barrier against water and stains, simplifying future cleanings. This step is indispensable for porous materials like suede and nubuck. To understand the science behind this protective measure, review our guide on the benefits of a suede and leather waterproof spray.
This level of detailed care is becoming the industry standard. For collectors and resellers, soiled footwear can lose significant value, making a comprehensive care routine essential. Field data shows that proper maintenance can extend the functional life of footwear by 2-3 times, providing a tangible benefit for all users.
Frequently Asked Questions About Footwear Care
Even with a defined process, specific questions arise. These are our field-tested answers to the most common inquiries we receive.
How Often Should I Clean My Sneakers?
Frequency depends entirely on usage. For daily-wear shoes, a light cleaning every one to two weeks is recommended. This prevents surface dirt from becoming deeply embedded and causing permanent staining.
For footwear worn less frequently, a full cleaning after every three to four wears is a sound guideline. It is also essential to clean shoes before placing them in long-term storage to prevent dirt from setting in.
Proactive care is always more effective. It is significantly easier to address a minor scuff or spill immediately than to attempt a full restoration on a long-neglected shoe.
Is This Kit Suitable for Other Types of Shoes?
Yes. A high-quality, pH-neutral tennis shoe cleaning kit is versatile enough for most casual footwear, including leather boots and canvas slip-ons.
However, exercise judgment. Specialty footwear, such as high-end dress shoes requiring specific conditioners or shoes made from exotic materials, demand their own unique care protocols. When in doubt, always test the cleaning solution on a small, inconspicuous area first.
What Is the Correct Method for Cleaning Shoelaces?
Never place shoelaces in a washing machine. The aggressive agitation frays the fabric and destroys the plastic tips (aglets).
The professional method is simple:
- Remove the laces from the shoes.
- Submerge them in a small bowl of warm water with a few drops of cleaning solution.
- Allow them to soak briefly, then gently work out the dirt by hand or with a soft brush.
- Rinse them thoroughly with clean water and hang them to air dry before re-lacing.
What Is the Single Most Damaging Sneaker Cleaning Mistake?
The most common and destructive mistake is oversaturation with water, followed by accelerated drying with direct heat.
Soaking footwear, especially materials like suede and leather, can cause permanent water stains and compromise adhesives. The subsequent application of heat from a hairdryer or radiator will crack materials, warp soles, and cause yellowing.
Patience is the most valuable tool in footwear care. Use minimal moisture and always allow shoes to air dry naturally.
Ready to implement a professional care system for your collection? The Gold Standard Premium Shoe Cleaning Kit provides every tool you need for a complete, material-safe restoration. Shop the complete kit today.