
A quality sneaker water repellent spray is an invisible, breathable shield for your footwear. It’s engineered to fend off unexpected puddles and spills without suffocating the materials. Consider it the foundational first step in preventing long-term material degradation before it starts.
Why Your Footwear Needs a Protective Barrier
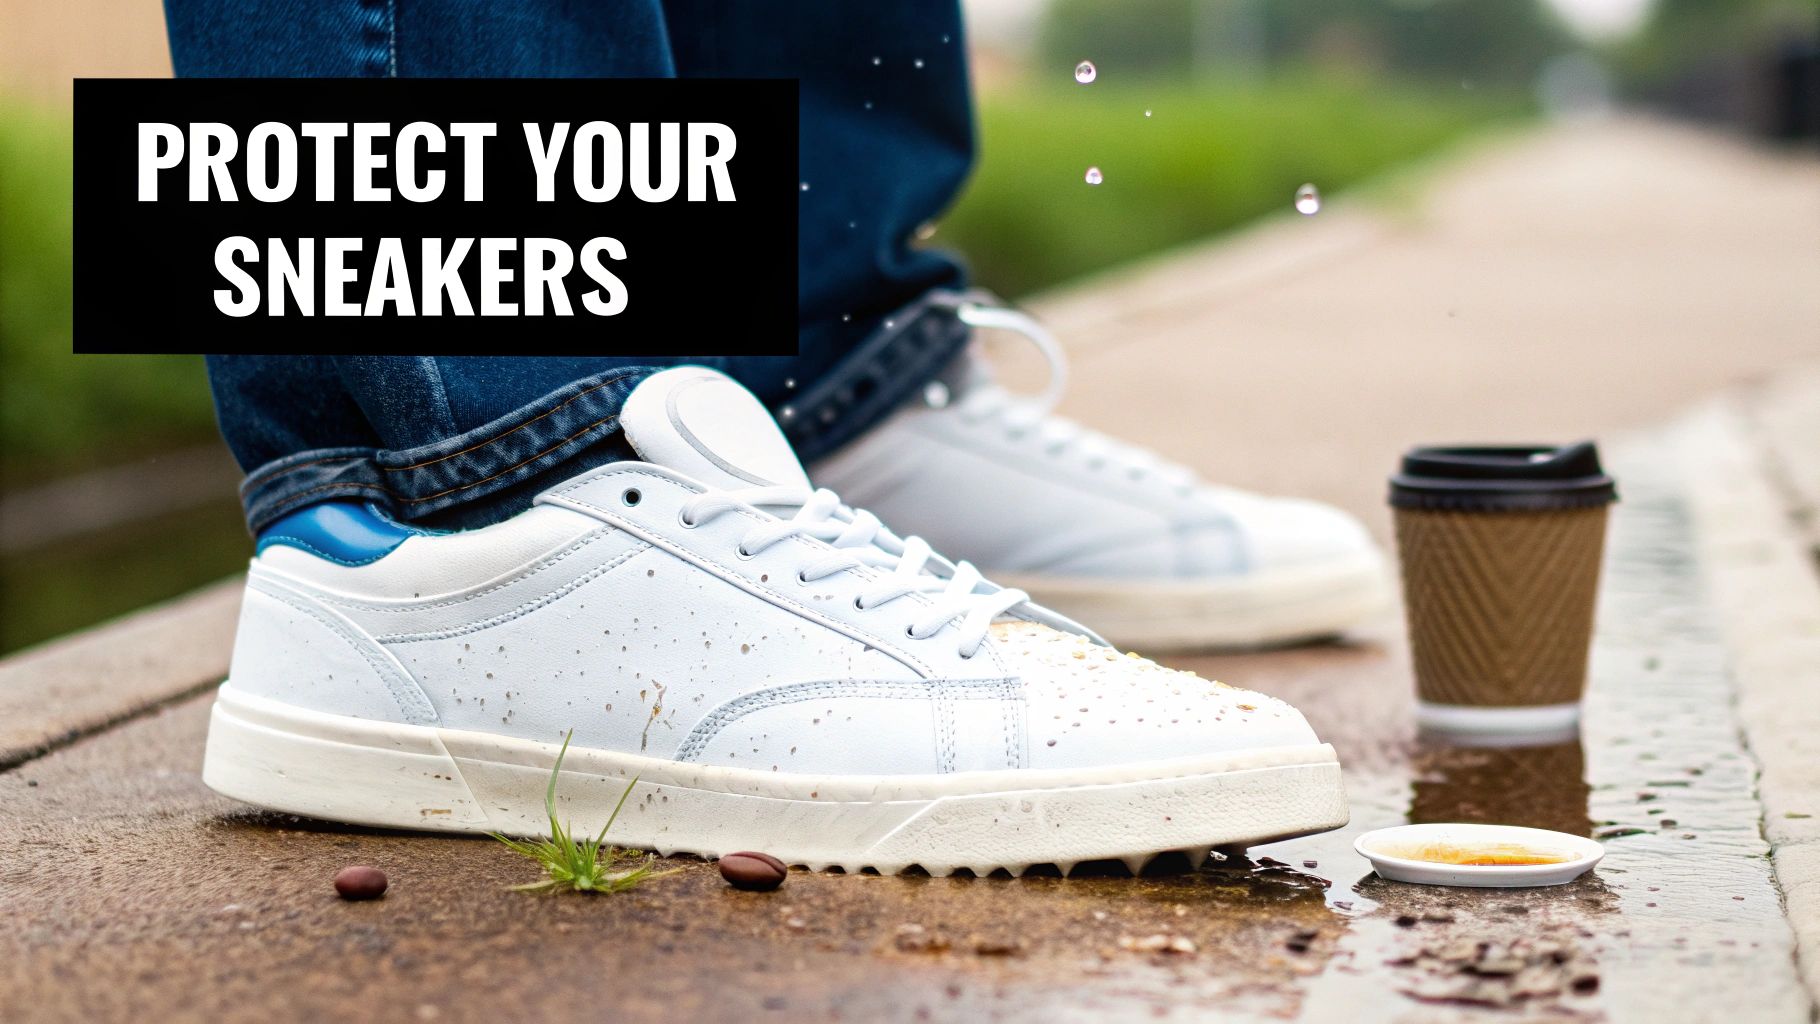
We've all experienced it. You step out in a fresh pair, and then it happens—a sudden downpour, a dropped coffee, a splash from a passing car. It’s a gut-wrenching moment. But the real problem isn't the surface-level stain. Water, dirt, and oils are the primary agents of decay, working tirelessly to break down the materials that give your sneakers structure and aesthetic appeal. Without a proper barrier, you're leaving your collection exposed and vulnerable to permanent damage.
The Science of Material Breakdown
Different materials have inherent weaknesses, and moisture exploits every one. Understanding these vulnerabilities is critical for proper footwear care.
- Suede & Nubuck: These leathers are highly porous. Their delicate, open fibers absorb moisture readily, causing them to swell. When they dry, the fibers become stiff and brittle, permanently losing their soft, velvety texture.
- Canvas & Knit: Much like a cotton t-shirt, absorbent fabrics like canvas and engineered knits wick up any liquid they touch. This leads to deep-set stains that are exceptionally difficult to remove. Worse, trapped moisture creates an ideal breeding ground for odor-causing bacteria and mildew.
- Structural Adhesives: Your sneakers are assembled with powerful adhesives. Constant exposure to dampness weakens these chemical bonds, leading to sole separation—a classic sign of a well-worn pair that was never properly protected from the elements.
This concept of proactive defense isn't unique to footwear. The same principle applies to automotive paint protection film. A barrier is applied to shield a valuable asset from environmental damage. Your footwear collection deserves the same level of considered care.
Water-Repellent vs. Waterproof: A Critical Distinction
Let’s clarify a common point of confusion: “water-repellent” and “waterproof” are not interchangeable terms.
A truly waterproof shoe, like a rubber boot, creates an impermeable seal. Nothing gets in, but nothing gets out, either. As your feet perspire, that moisture becomes trapped, creating a high-humidity, bacteria-friendly environment that degrades the shoe's internal materials from within.
A quality sneaker water repellent, in contrast, creates a breathable barrier. This is superior technology. Water vapor from your feet can escape, while external liquids bead up and roll off the surface.
This is the optimal state for footwear protection. Your feet stay dry and comfortable, and the shoe’s materials are shielded without altering their factory look, feel, or function. A premium spray will not change the texture of suede or make knit uppers feel stiff. It’s an essential tool for anyone serious about preserving their sneaker collection.
This is just one component of a complete care regimen. For a comprehensive overview, see our guide on how to keep sneakers clean, where proactive protection is a central theme.
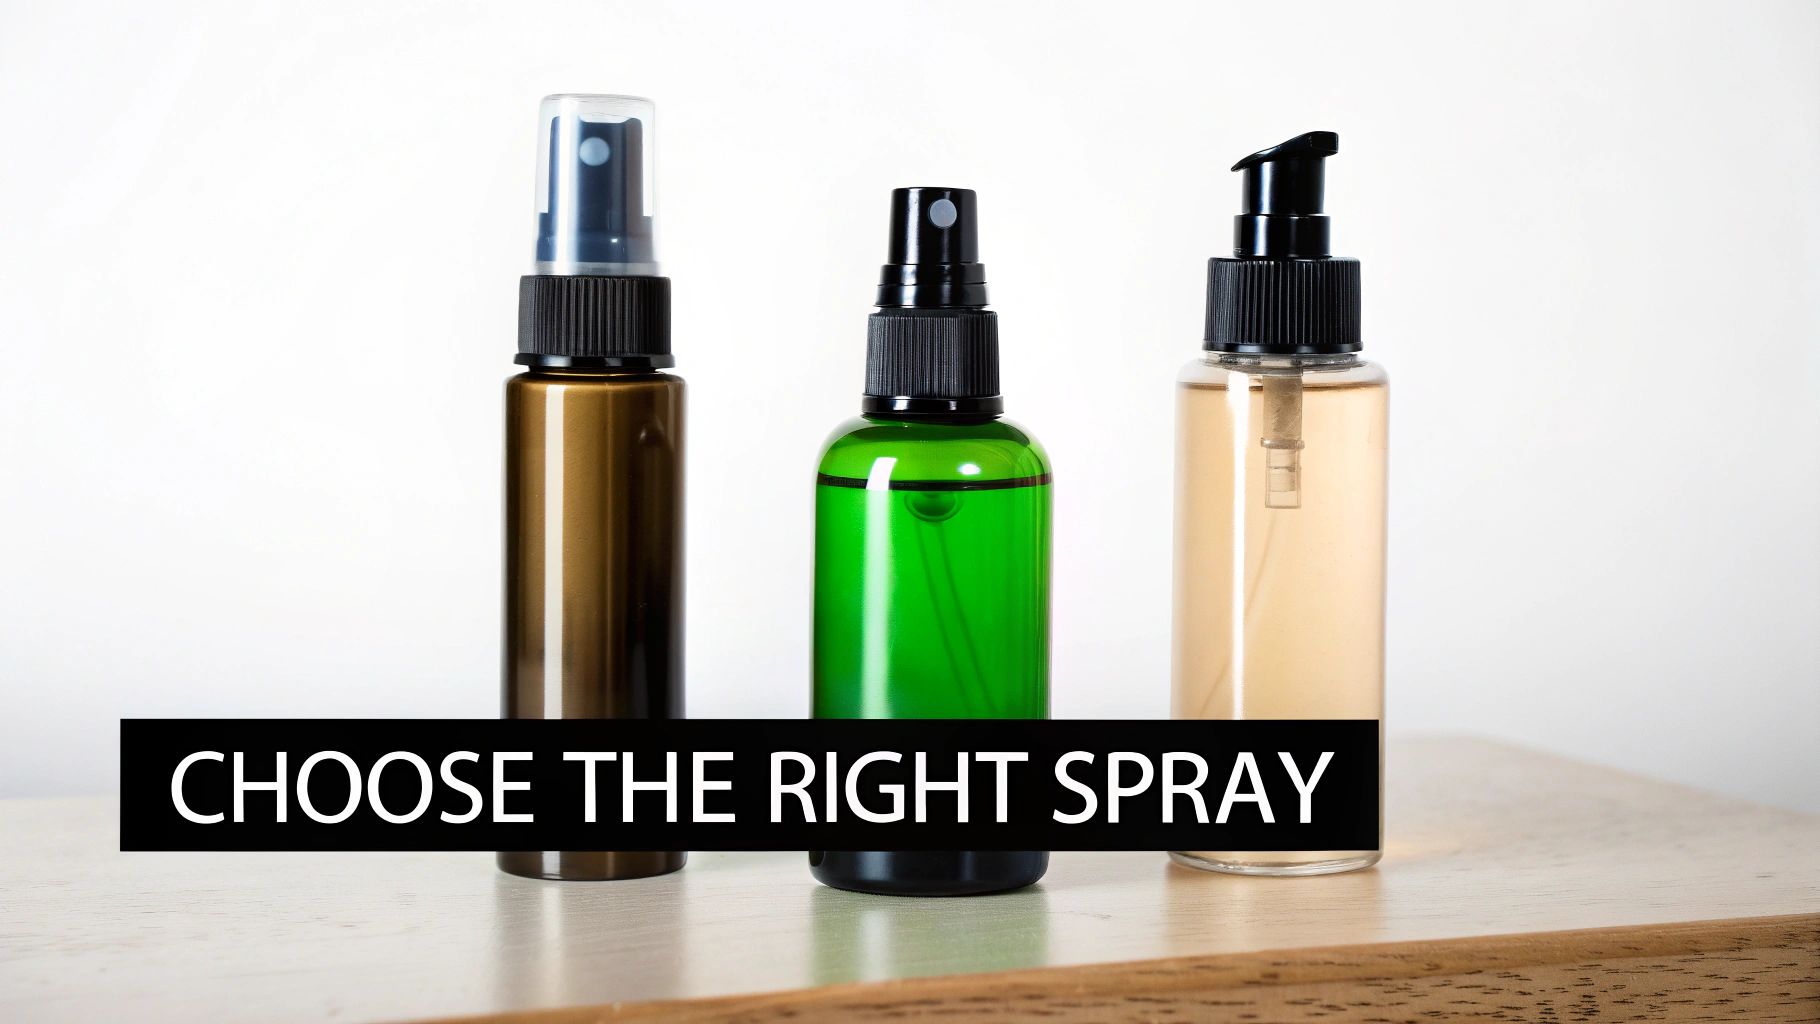
Selecting the Right Formula: Not All Sprays Are Created Equal
It is essential to understand that not all sneaker water repellent sprays are formulated to the same standard. The chemical composition inside the container is what separates a true protective treatment from a temporary cosmetic coating. Recognizing this difference is the first step toward making an informed choice for your collection.
Fundamentally, there are two categories of formulas on the market. Each functions via a different mechanism, which directly impacts performance, breathability, and the haptic qualities of your sneakers post-treatment.
The Legacy Technology: Silicone-Based Sprays
Silicone sprays represent an older technology. They function by coating the material with a heavy, physical barrier.
- How they work: Large silicone molecules form a thick film that physically blocks water.
- The advantages: They are often inexpensive and provide some initial water resistance.
- The disadvantages: This heavy barrier suffocates the material. It clogs the pores on leather and suede, trapping perspiration and turning your footwear into a microbial incubator. Over time, it can cause stiffening, discoloration, and leave a greasy residue that attracts dirt and dust.
The Modern Standard: Advanced Fluoropolymer Formulations
This is where material science advances the industry. The best sprays, such as the formulas we have spent years refining at Gold Standard, utilize advanced fluoropolymers to create a more intelligent barrier.
Instead of sitting on top of the material, these microscopic polymers bond with the individual fibers of the fabric at a molecular level. This creates a protective matrix while leaving the interstitial spaces between the fibers open, allowing the material to breathe naturally.
This is the key technological advantage. You achieve a super-hydrophobic surface that forces water to bead up and roll away, without sacrificing breathability. Your feet remain dry from external moisture, while perspiration can still escape—a crucial factor for both comfort and the long-term preservation of the footwear's materials.
For any serious collector, this is a non-negotiable attribute. A modern formula protects your assets without compromising their factory finish, texture, or color. If you wish to explore this topic further, our guide to the best shoe waterproofing solutions provides a more detailed analysis.
Aerosol vs. Pump: The Delivery System Matters
The formula is only half the equation; the delivery system is equally important. Whether a product is dispensed from an aerosol can or a pump sprayer significantly affects application coverage, user control, and environmental impact.
Aerosol Sprays
- The technology: Uses a chemical propellant to atomize the liquid into a fine, continuous mist.
- The upside: Facilitates a very even and consistent coat with minimal effort.
- The downside: Offers less user control, which can lead to oversaturation. Furthermore, the propellants (VOCs) have known environmental and health considerations.
Non-Aerosol Pump Sprays
- The technology: Employs a simple mechanical pump to convert the liquid into a spray.
- The upside: Provides superior control, allowing for precise application. They are also free of volatile chemical propellants, making them a cleaner choice.
- The downside: May require slightly more care to achieve a perfectly even coat, but the trade-offs in control and safety are substantial.
The footwear care industry is evolving. Consumers are moving beyond basic cleaning and are now focused on true material preservation. This has created significant demand for safer, more advanced formulas like those found in premium pump sprays—a trend that is elevating standards across the board.
The Professional Application Method for Flawless Protection
The difference between an invisible shield and a splotchy, ineffective coating is entirely in the technique. A premium sneaker water repellent is a precision tool; its efficacy is directly tied to the skill of the user.
To achieve the flawless, comprehensive coverage your footwear deserves, you must master the application process. This is not about indiscriminate spraying; it is a systematic procedure to create a durable, high-performance protective barrier.
Stage One: Preparation (Non-Negotiable)
You would not apply wax to a dirty car. The same logic applies here, but the stakes are higher. Applying a repellent spray to anything but a perfectly clean and dry surface is the most common and critical mistake. Doing so seals dirt, dust, and oils into the material, which compromises the spray's ability to bond with the fibers. The result is a weak, patchy barrier destined for rapid failure.
Before application, your footwear must be spotless. This requires a deep clean appropriate for the specific material, followed by a complete drying period. For most materials, allow at least 24 hours to air dry in a well-ventilated area away from direct sunlight or heat sources. Rushing this step traps moisture beneath the protective coating, which can slowly degrade the material from the inside out.
Your workspace is equally important. Select a well-ventilated area—outdoors on a calm day or in an open garage is ideal. This prevents inhalation of atomized particles and ensures they do not settle back onto the shoe unevenly. Lay down newspaper to protect surfaces from overspray.
Stage Two: Mastering the Spray Technique
The objective is a fine, even mist—not a soaking. Drenching the material leads to common problems like stiffness, dark spots, or a tacky finish. The formula is engineered for application in thin, consistent layers.
Key technical points:
- Maintain Distance: Hold the sprayer approximately 6 to 8 inches from the sneaker. Too close, and you create wet spots; too far, and the droplets may evaporate before reaching the surface.
- Use Continuous Motion: Employ a smooth, sweeping motion, similar to spray painting. Never hold the spray in one spot. A professional technique is to begin the spray just before the shoe and end it just after—this ensures even coverage at the edges without oversaturation.
- Work Methodically: Mentally divide the sneaker into sections—toe box, side panels, heel. Apply one light, even coat to each section before proceeding. This systematic approach prevents missed spots and unintentional double-coating.
The professional standard is to apply one light base coat, allow it to become touch-dry (approximately 15-20 minutes), then apply a second light coat. This layering technique builds a stronger, more uniform protective shield than a single heavy-handed application ever could.
Stage Three: The Curing Process (Exercise Patience)
This is the critical final phase where the chemical bonding occurs. After the final coat, the spray requires time to cure, which is distinct from merely drying. During the curing process, the protective polymers are cross-linking and bonding with the individual fibers of the sneaker's material. It is this molecular bond that imparts a top-tier product with its superior repellency and durability.
This process requires a full 24 hours to complete. While the sneakers may feel dry to the touch much sooner, the barrier is still finalizing its bond. Exposing them to moisture or dirt during this window will significantly compromise the shield's integrity and longevity.
Set them aside in a cool, dry place and allow the formula to work. Resisting the urge to wear them immediately is the final step to achieving true, professional-grade protection.
Material-Specific Treatment Protocols
One cannot apply a sneaker protector with a single, universal technique. Different materials possess unique properties and require tailored application methods. Treating delicate suedes in the same manner as rugged canvas is a formula for material damage.
From our experience, we have seen generic techniques lead to darkened colors, stiffened textures, and a protective barrier that fails under stress. A deep understanding of material science is the only way to preserve the integrity of your collection.
The objective is to have the protective formula work with the material, not against it. The foundational process, however, remains consistent.
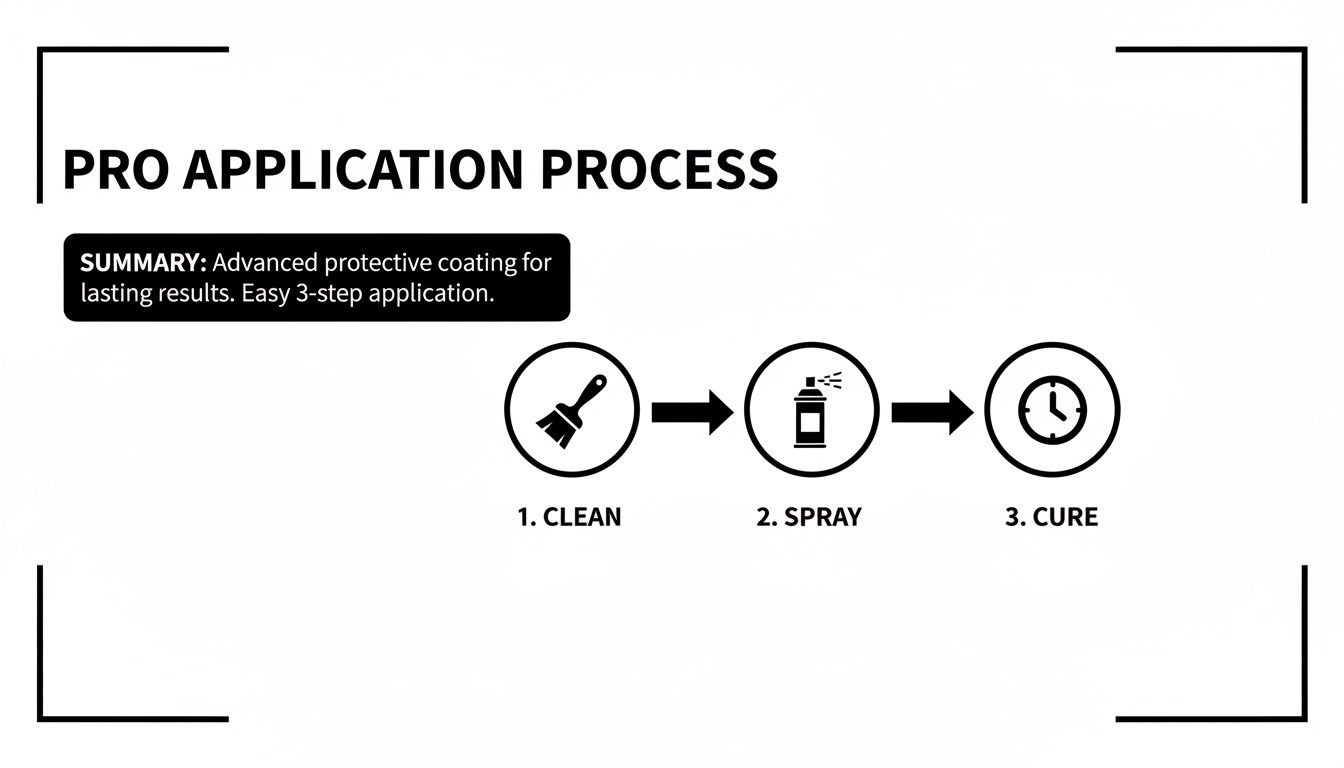
This three-step sequence—Clean, Spray, Cure—is the bedrock of effective, long-lasting sneaker protection. It ensures the repellent can properly bond to the material's fibers. Now, let’s detail the protocols for each material type.
This quick-reference table breaks down the essential parameters for each sneaker material, ensuring a correct application every time.
Application Guide by Sneaker Material
| Material | Key Preparation Step | Application Technique | Common Mistake to Avoid |
|---|---|---|---|
| Suede & Nubuck | Gently brush with a suede-specific brush to lift the nap and remove all surface dirt. | Apply 2 very light coats from 8-10 inches away to create a fine mist. | Spraying too close or applying too heavily, which darkens the color and flattens the texture. |
| Leather | Wipe down with a clean, dry microfiber cloth to remove all surface dust. | Apply one even coat in smooth, sweeping motions from 6-8 inches away. | Allowing the product to pool or drip; failing to wipe away excess immediately. |
| Canvas & Mesh | Ensure the material is completely bone-dry. Any residual dampness will prevent a proper bond. | Apply a light first coat, wait 20 mins, then a second, more thorough coat. | Applying only a surface-level coat that fails to penetrate the woven fibers. |
| Knit Uppers | Begin with a clean, lint-free surface. Use a lint roller if necessary. | Use 2 very light misting coats from 8 inches away, with 30 mins dry time between coats. | Using a heavy, silicone-based spray that stiffens the knit and destroys breathability. |
While this table serves as your guide, it is beneficial to understand the why behind each technique.
Suede and Nubuck Nuances
Suede and nubuck are notoriously difficult to maintain due to their soft, napped surfaces that readily absorb water and stains. The objective is to protect them without flattening the signature texture or causing discoloration.
Before application, the surface must be immaculate. Use a dedicated suede brush to gently lift dirt from the nap, always brushing in a single direction to maintain a uniform appearance. Skipping this step will permanently seal grime into the material.
When spraying:
- Increase the distance. Hold the sprayer 8-10 inches away to create a fine, almost-dry mist.
- Apply two very light coats, allowing 30 minutes between applications.
- After the final coat has fully cured (wait 24 hours), use your suede brush again for a final pass to lift and restore the nap.
This delicate approach is crucial for preventing oversaturation, the primary cause of suede darkening after treatment.
Smooth and Tumbled Leather Protocols
Leather is a skin; it has pores and requires breathability to maintain its integrity. The goal is to create a surface shield without clogging these pores, which can lead to drying and eventual cracking. A greasy or sticky post-treatment feel indicates incorrect product choice or application.
For smooth or tumbled leathers, a clean, dry microfiber cloth is sufficient for removing surface dust.
Maintain a consistent distance of 6-8 inches and use smooth, sweeping motions. One solid, even coat is typically sufficient. The key is to prevent the spray from pooling. If you observe any excess, wipe it away immediately with a clean cloth before it can dry. This protects the leather while preserving its natural sheen. The core principles are consistent across industries, as seen in the application of various protective sprays and leather treatments for marine materials.
Canvas and Mesh Deep Penetration
For materials like canvas and mesh, protection is contingent on the repellent penetrating deep into the weave and bonding with the fibers. A mere surface coating will quickly fail as the fabric flexes.
The goal is to achieve full fiber saturation without oversaturation. The material should feel damp with the product, but not soaking wet. This creates a durable barrier from the inside out.
Begin with a shoe that is 100% dry. For canvas specifically, any residual moisture will dilute the formula and render it ineffective. For a more detailed look at this material, refer to our guide on using a canvas sneaker protector spray.
Apply one light coat from approximately 6 inches away. Wait 20 minutes for it to penetrate, then apply a second, slightly more generous coat. Pay special attention to seams and high-wear areas where moisture ingress is most likely.
Flexible Knits (e.g., Flyknit, Primeknit)
Modern knit uppers present a unique challenge. They are engineered for elasticity, light weight, and maximum breathability. An incorrect spray or technique will leave them stiff and plasticized, destroying their sock-like comfort.
With knits, you must work with the material's elasticity. You need a formula that bonds to the fibers without adhering them together. This is where a premium, non-silicone spray like the Gold Standard Water & Stain Repellent demonstrates its value. Its micro-bonding technology preserves the material's natural flex.
For knits, adopt a hybrid approach:
- Apply a very light, even mist from 8 inches away. This first pass acts as a primer.
- Allow it to dry for 20-30 minutes.
- Apply a second light coat, ensuring complete coverage without allowing the formula to pool in the knit's crevices.
This layering method provides comprehensive protection while maintaining the shoe's original breathability and flexibility.
Maintaining Protection and Reapplication Strategy
Applying a water repellent is not a permanent solution. The protective shield is a sacrificial layer, designed to absorb the abuse of dirt, abrasion, and moisture so your footwear doesn't have to. Every step and scuff mechanically abrades this barrier.
This is not a product failure; it is the nature of protective coatings. The goal is not to find a permanent force field, but to implement a consistent maintenance routine. Proactive reapplication is what separates a pristine collection from one that appears prematurely worn.
Identifying a Failing Barrier
Your sneakers provide clear visual cues when the protective layer needs replenishing. The primary indicator is how they interact with water.
A fresh, effective repellent creates a high surface tension, causing water to form tight beads that roll off. This is the hydrophobic effect. As the barrier degrades, this effect diminishes.
The definitive sign of a failing barrier is when water begins to "wet out" the material. Instead of beading, droplets will flatten, spread, and darken the surface as they are absorbed. The moment you observe this, it is time to reapply.
Do not wait for a downpour to test your protection. Periodically test a small, inconspicuous area with a few drops of water. This is a simple, non-destructive way to assess the shield's integrity.
Reapplication Frequency
There is no universal schedule for reapplication. The required frequency depends on three main factors:
- Wear Frequency: A daily commuter pair will require more frequent treatment than a collector's piece worn once a month. For daily-wear shoes, a monthly reapplication is a sound baseline.
- Environmental Conditions: If you live in a region with frequent rain or snow, the constant exposure to moisture will accelerate the degradation of the coating. During wet seasons, consider reapplying every 2-3 weeks.
- Material Type: Flexible materials like knit or suede experience more friction and mechanical stress, which can wear down the coating faster than on a rigid leather upper.
The sneaker market has seen explosive growth; proper care is more important than ever. In 2023, global demand reached approximately 1.2 billion pairs. With many collectors holding collections valued between $1,200–$1,800, a top-tier repellent is not a mere accessory—it is an investment in asset protection. Preserving even one high-value pair from a permanent stain justifies the cost of a premium spray. You can learn more about the growing sneaker market and its trends.
The Correct Reapplication Process
Re-coating your sneakers is straightforward, but one rule is absolute: always begin with a clean surface. Applying a new coat over a soiled shoe traps grime, compromises the bond of the new layer, and reduces its effectiveness.
First, perform a material-specific cleaning and allow the footwear to dry completely—a minimum of 24 hours. Once bone-dry, apply two light, even coats of your Gold Standard Water & Stain Repellent, following the original application procedure. This simple, disciplined rhythm transforms sneaker care from a chore into a professional maintenance habit.
Frequently Asked Questions: Expert Answers
Even with detailed instructions, specific questions arise. As material specialists, we have addressed nearly every conceivable query. Here are field-tested answers to the most common questions from the sneaker community.
Will this spray make my sneakers fully waterproof?
This is the most critical concept to grasp: a quality spray renders your sneakers water-repellent, not waterproof.
The distinction is significant. A waterproof item, like a rubber boot, is impermeable. While it prevents water ingress, it also traps all perspiration. This creates an unhealthy internal environment and can accelerate the breakdown of inner materials.
A high-performance repellent creates a breathable barrier. This advanced technology forms a microscopic shield around each fiber, causing external water to bead and roll off. Crucially, the spaces between the fibers remain open, allowing water vapor (perspiration) to escape. This is essential for both comfort and the long-term structural health of the shoe.
Can I use this product on hats or backpacks?
Generally, yes. A premium, material-safe sneaker protector is typically versatile enough for use on other absorbent textiles. Formulas designed to be gentle on sensitive materials like suede, canvas, and knit are usually safe for items such as:
- Canvas or suede hats
- Fabric backpacks and bags
- Certain types of outerwear
However, the immutable rule is: always perform a patch test first. Do not skip this step. Select a small, inconspicuous area—the inside of a jacket cuff or the underside of a hat's brim—and apply a small amount of spray. Allow it to cure for a full 24 hours to ensure there is no discoloration or adverse texture change before treating the entire item.
Why do my shoes have white spots or a sticky feeling?
A hazy white film or a tacky residue is almost always a symptom of oversaturation. This occurs from spraying too much product, at too close a distance, or in a poorly ventilated area where the carrier solvents cannot properly evaporate.
The solution is typically straightforward. Begin by gently buffing the affected area with a clean, dry microfiber cloth. In many cases, this is sufficient to remove the excess residue. If the film is more stubborn, you can lightly dampen the cloth with water to help break it down.
Of course, prevention is the best remedy. Always spray from 6-8 inches away, use smooth, even strokes, and remember that two light coats are superior to one heavy application.
Does this product block every type of stain?
A quality water repellent is your primary defense against liquid-based stains. It is highly effective against spills like coffee, water, or soda. It provides a critical window of time to wipe the liquid away before it can penetrate the material and set.
However, it is not a panacea. It is less effective against:
- Oil-based substances (e.g., grease, salad dressing)
- Viscous, heavy compounds (e.g., mud, ketchup)
These types of stains tend to sit on top of the protective barrier and can still cause damage if not removed promptly. Think of the spray as an essential shield against daily moisture and accidental liquid spills, not a magical solution for every possible contaminant. The market reflects this growing understanding of specialized care; the global sneakers waterproof spray market was valued at USD 1.07 billion in 2023 and is projected to more than double by 2035. This indicates a significant shift in how consumers approach the preservation of their collections. You can discover more insights about the sneaker protection market trends for a deeper analysis.
You invest significant time and capital in building your collection. The final step is protecting it. Do not settle for anything less than the Gold Standard. Our Water & Stain Repellent utilizes advanced, breathable technology to shield your most valuable footwear without altering its original look or feel. Protect your investment today.