
The secret to keeping sneakers clean is not frantic, last-minute scrubbing. It is a discipline of proactive maintenance—a consistent methodology that prevents dirt and grime from compromising the materials. This approach doesn't just maintain aesthetics; it preserves the structural integrity, value, and lifespan of your footwear.
Why Proactive Sneaker Care is a Non-Negotiable Discipline
Effective sneaker care is a mindset, not a chore. The objective is to move from reactive cleaning—addressing a coffee spill or mud stain—to a protective routine that begins before the first wear. The most effective cleaning method is the one you rarely need to perform.
This guide establishes a professional maintenance framework, focusing on foundational habits that reduce the need for aggressive deep cleaning, which can stress materials and shorten a sneaker's lifespan.
The Foundation of Lasting Cleanliness
At Gold Standard, our methodology is built on a single, core principle: prevention is superior to restoration. Integrating key habits into your routine builds a formidable defense against daily wear and environmental contaminants.
This proactive approach is concentrated on two critical actions:
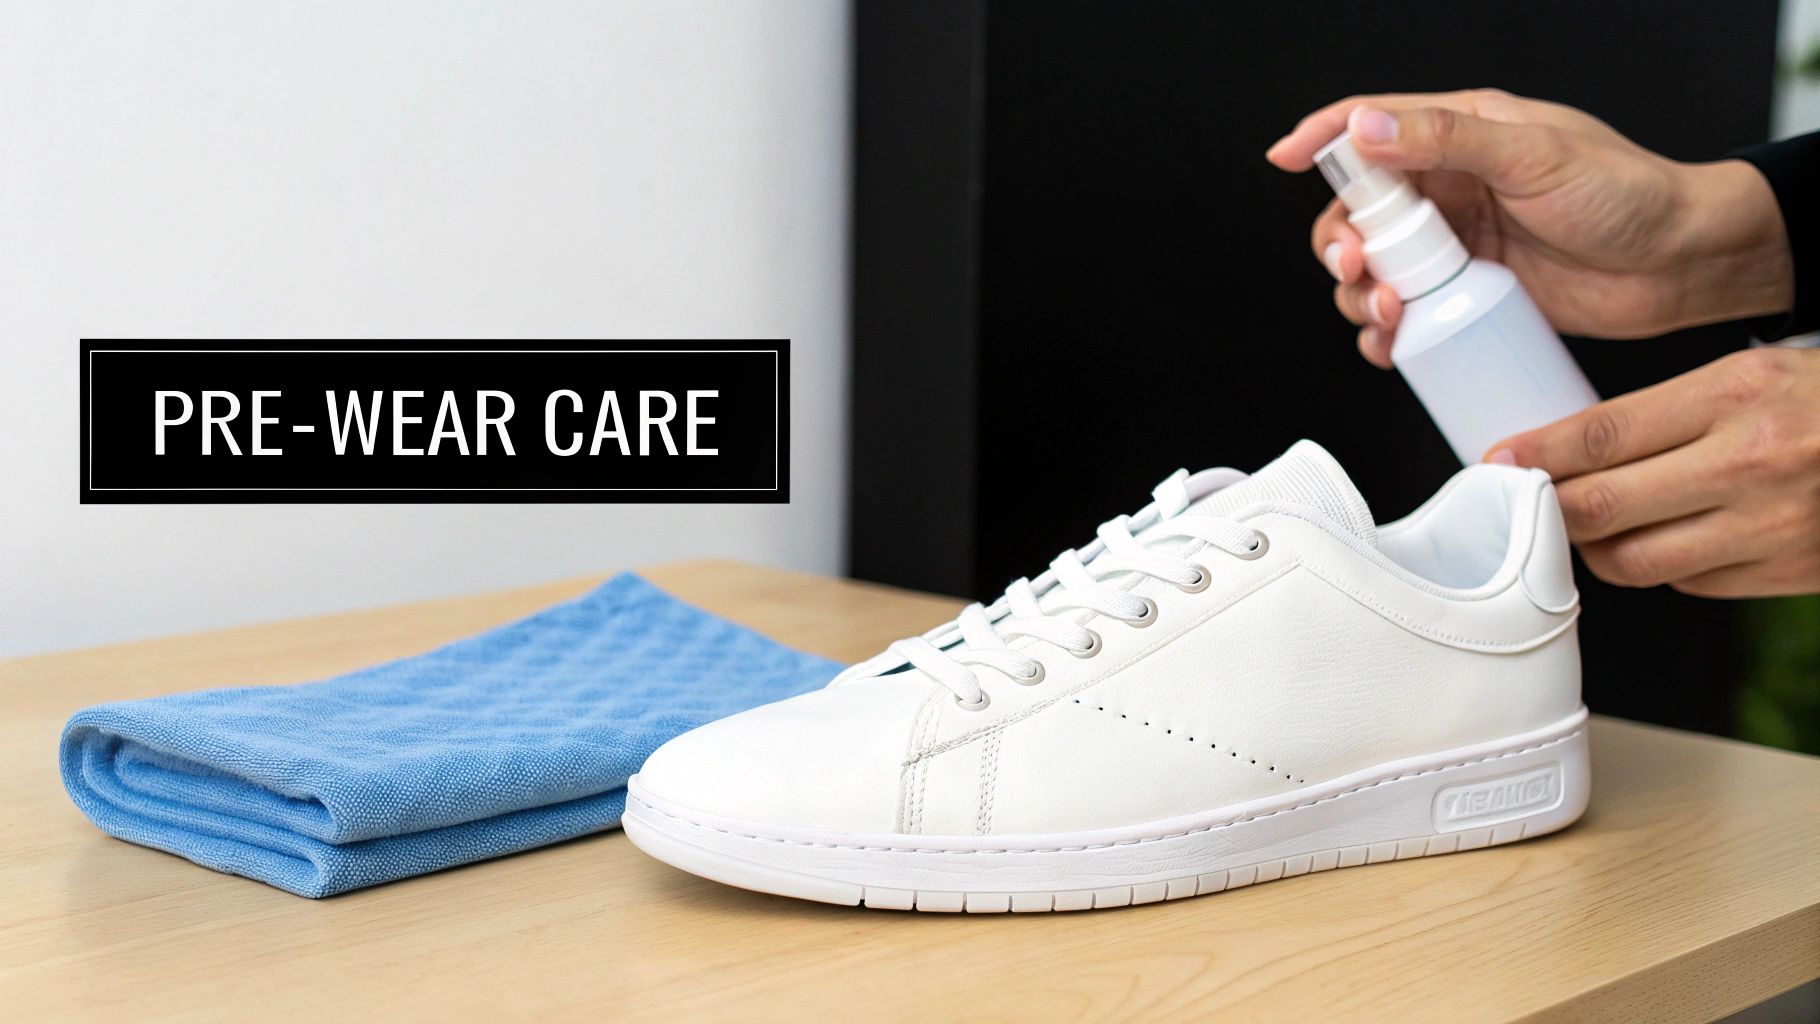
- Pre-Wear Protocols: The actions taken before a sneaker makes contact with any surface. The single most effective step is the application of a high-quality protectant spray. This creates an invisible barrier against moisture, dirt, and stains.
- Post-Wear Habits: What is done upon removing the shoes is equally crucial. A brief wipe-down to remove surface particulates and proper storage prevent grime from setting into the materials over time.
A sneaker's condition directly reflects its owner's habits. Ten minutes of preventative care per week can save hours of restorative cleaning. It is the distinction between preservation and repair.
A critical component of this discipline is understanding that each material requires a specific protocol. What is effective for a rubber midsole can be destructive to a suede upper. Adopting this material-specific mindset is what separates amateur attempts from professional results. Mastering this foundation not only keeps your collection immaculate but also protects your investment for years to come.
The Definitive Guide to Cleaning Different Sneaker Materials
The most common mistake that causes irreversible damage to footwear is applying a single, universal cleaning method to a diverse collection. From years of professional footwear care, we know this is a critical error. Every material possesses unique properties and requires a specific treatment protocol. Identifying your sneaker's material composition is the foundational step to proper maintenance.
This material-specific approach is gaining traction. Market research indicates a significant rise in demand for specialized cleaning and protection products as owners prioritize the appearance and longevity of their footwear. Cleaning products, in fact, represent the fastest-growing segment of the shoe care industry.
The global shoe care market was valued at USD 4.47 billion and is projected to reach USD 7.23 billion by 2032. This data underscores a critical shift: consumers are moving away from generic household cleaners and investing in specialized, purpose-built solutions. You can explore the detailed market analysis to understand the scale of this movement.
This guide provides the exact, field-tested techniques required to maintain your collection to a professional standard. No guesswork, only proven results.
Before delving into material specifics, consult this reference chart. It provides a concise overview of the necessary tools and methodologies for the most common sneaker materials.
Sneaker Material Cleaning Reference
| Material | Primary Tool | Recommended Solution | Key Technique |
|---|---|---|---|
| Canvas & Mesh | Medium-Bristle Brush | Gentle Foaming Cleaner | Small, circular scrubbing motions |
| Leather | Soft Microfiber Cloth | pH-Neutral Cleaner & Conditioner | Wipe, don't scrub; condition post-cleaning |
| Knit | Ultra-Soft Brush | Mild, Water-Based Solution | Gentle dabbing or patting; avoid aggressive scrubbing |
| Suede & Nubuck | Suede Eraser & Brush | Specialized Suede Cleaner | Dry-clean first; use liquid sparingly as a last resort |
Consider this table your foundational knowledge. We will now elaborate on the science behind these methods and their precise execution.
Cleaning Durable Canvas and Mesh
Canvas and mesh are ubiquitous in footwear due to their durability and breathability. However, their woven texture effectively traps particulates, which can lead to deep-set discoloration if not addressed. Excessive force during cleaning will fray the fibers and degrade the material.
The correct methodology is gentle and systematic.
- Preparation is critical: With a dry, medium-bristle brush, remove all loose surface dirt and dust. This step is non-negotiable. Neglecting it will turn dry particulates into mud, driving the stain deeper into the fabric upon the application of liquid.
- Formulate the Solution: A small amount of a quality sneaker cleaner diluted in warm water is sufficient. The Gold Standard Sneaker Cleaning Kit contains a precisely balanced formula designed to lift contaminants without the use of harsh chemicals that cause long-term material degradation.
- Execute the Right Motion: Dip the brush into the solution and apply it to the canvas or mesh using small, circular motions. The objective is to generate a light foam, which is the mechanism that lifts dirt from the fibers. Apply slightly more pressure on stubborn areas, but allow the cleaning solution to perform the majority of the work.
- Wipe, Do Not Smear: Use a clean, damp microfiber towel to absorb the foam and lifted dirt. A high-quality microfiber towel traps the contaminants rather than redistributing them across the surface.
Allow the sneakers to air-dry completely, away from direct sunlight or artificial heat sources. Inserting paper towels into the shoes during drying absorbs excess internal moisture and helps maintain their structural shape.
Restoring Classic Leather Uppers
Leather is a timeless material, but it is fundamentally a skin. It requires proper care to prevent it from drying, cracking, and losing its finish. Unlike fabric, leather must be both cleaned and conditioned.
Begin by removing the laces. Use a soft-bristle brush, such as one with hog hair, to gently sweep away surface dust. Any brush with stiffer bristles will inflict micro-scratches on the leather's surface. Next, apply a small amount of a pH-neutral cleaner to a microfiber cloth and wipe the shoe down using smooth, even strokes.
Professional Protocol: Never apply cleaning solution directly onto leather. Always apply it to the cloth first. This ensures even distribution and prevents oversaturation, which leads to water spots and discoloration.
After cleaning, conditioning is mandatory. A quality leather conditioner replenishes the natural oils within the material, maintaining its suppleness and preventing cracks. Apply a small amount with a clean cloth, allow it to penetrate for 15-20 minutes, then buff with a dry cloth to a subtle sheen.
Handling Delicate Knit Materials
Modern knit uppers, prevalent in high-performance and lifestyle sneakers, offer exceptional comfort but are structurally delicate. Their open-weave construction is susceptible to snags, pilling, and deformation if cleaned improperly. Aggressive scrubbing is the primary cause of damage.
The key to cleaning knit is a light, precise touch. Use the softest brush available and a mild cleaning solution. The technique is dabbing or patting, not scrubbing. For embedded dirt, gently agitate the area with the brush and allow the foam to lift the particle. Wipe away the residue with a microfiber towel, pressing gently to absorb moisture.
Due to the material's flexibility, insert shoe trees before cleaning and during the drying process. This is the only way to ensure the sneaker retains its original engineered shape.
The Challenge of Suede and Nubuck
Suede possesses a unique aesthetic but is notoriously difficult to maintain due to its absorbent, open-pored nature. Water is the primary adversary of suede and nubuck, often leaving permanent stains. Liquid cleaners should only be considered as a final resort.
The essential tools for suede and nubuck care are a dedicated suede eraser and brush.
- Always Dry Brush First: Use a suede brush to gently work the surface in a single direction. This action lifts the nap and removes loose surface dirt.
- Erase the Stains: For scuffs and minor stains, use the suede eraser. Gently rub it over the mark as you would a pencil mark. The friction created lifts embedded dirt from the delicate fibers.
- Reset the Nap: After erasing, brush the area again to restore the material's soft, uniform texture.
For aggressive stains like oil or grease, a specialized suede cleaner may be necessary. However, always test it on a small, inconspicuous area first and adhere strictly to the product's instructions. The objective is to use the minimal amount of liquid possible and ensure rapid, even drying.
How to Tackle Tough Stains and Scuffs
Even with meticulous maintenance, scuffs and stains are inevitable. At this point, a simple wipe-down is insufficient. It is time to transition from general upkeep to targeted, expert-level treatment.
Addressing specific contaminants—such as oil on leather or salt lines on suede—is not just about the action, but the material science behind it. The method must be compatible with both the material and the stain.
It's no surprise that the demand for specialized cleaners is rising. Sneakers have evolved from athletic equipment to high-value assets, and the global shoe care market reflects that, hitting about USD 4.7 billion in 2023. It’s projected to jump to roughly USD 7.3 billion by 2032.
This trend confirms that knowledgeable owners are moving beyond all-purpose cleaners, seeking effective solutions for specific, challenging problems.
To begin, you must understand your material. This infographic breaks down the essential characteristics of the most common ones.
Differentiating between these materials is the foundation of effective stain removal. Now, let's address some of the most common material-specific issues.
Targeted Solutions for Common Sneaker Stains
Successful stain removal is a matter of precision: matching the right technique to the right material and contaminant. A method that saves a canvas shoe could permanently damage suede.
- Ink on Canvas: You must act quickly. First, gently blot the fresh ink with a clean, dry cloth to absorb as much as possible. Next, dip a cotton swab in isopropyl alcohol and carefully dab the stain, working from the outside edge inward to prevent spreading.
- Oil on Leather: Do not use water; it will exacerbate the stain. Immediately apply a generous amount of cornstarch or talcum powder directly onto the oil spot. Allow it to sit for several hours; the powder will absorb the oil from the leather's pores. Afterward, gently brush the powder away.
- Salt Stains on Suede: Winter conditions can leave unsightly white salt lines on suede. Prepare a solution of two parts water and one part white vinegar. Lightly dampen a clean cloth with the solution, dab the stained areas, and allow the shoe to air dry completely. Finally, restore the nap with a suede brush.
These are scenarios where a specialized, material-specific formula becomes non-negotiable. A generic cleaner will either be ineffective or, worse, cause permanent damage. A targeted approach is the only safe way to restore your sneakers.
Reversing Yellowed Midsoles
The gradual yellowing of a white midsole is one of the most common signs of aging. This is not dirt; it is oxidation, a chemical reaction caused by UV exposure. Standard scrubbing will not reverse it.
To restore the original white, you need a sole brightening agent specifically formulated to reverse oxidation. First, thoroughly clean the midsole. Then, apply the solution evenly, cover it with clear plastic wrap to prevent evaporation, and place the sneakers in direct sunlight for several hours. The UV rays activate the formula, breaking down the yellowing and restoring the white color.
For severe yellowing, this process may need to be repeated. This is the professional-level technique for reversing oxidation. For more in-depth solutions, consult our complete guide on how to remove shoe stains.
The Right Way to Dry and Store Your Sneakers
The cleaning process is not complete after the final scrub. The drying phase is where many well-intentioned owners inflict the most damage, nullifying their careful work.
Accelerating the process with heat is the most common—and destructive—mistake. Applying heat from a hair dryer, radiator, or direct sunlight is a guaranteed method to crack leather, melt adhesives, and fade colors. Patience is the most critical tool in this phase.
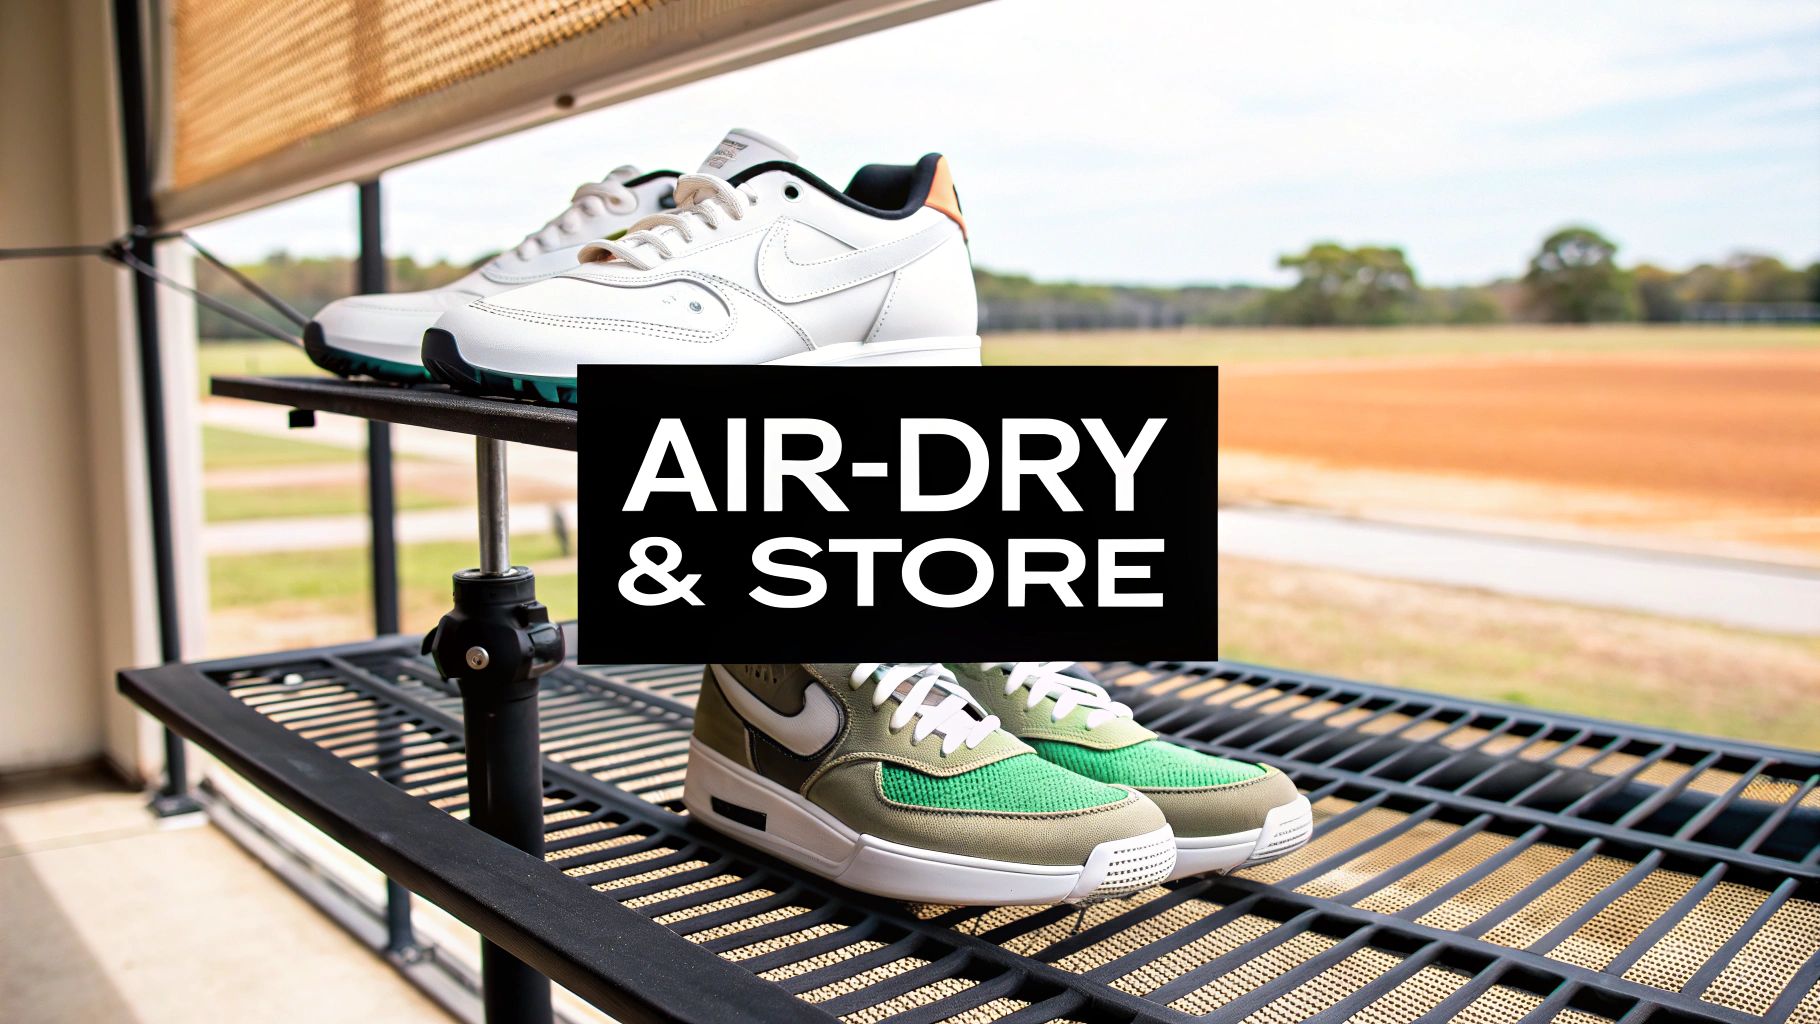
The Professional Air-Drying Method
The only professionally accepted method for drying sneakers is with cool, indirect air circulation. This gentle approach preserves the integrity of all materials, from delicate knits to structured leather. Exploring various effective drying solutions can help you find the best setup for your collection.
Follow this exact protocol:
- Disassemble Components: Always remove laces and insoles. Drying these components separately is essential for thorough aeration and preventing moisture from being trapped within the shoe's interior.
- Stuff the Interior: Pack the inside of the sneakers with absorbent paper towels or a clean microfiber cloth. This wicks moisture away from the interior lining, accelerating the drying time from the inside out.
- Select the Right Location: Place them in a well-ventilated area, away from direct sunlight or heat sources. A position near an open window or a fan providing gentle airflow is ideal.
The goal is evaporation, not dehydration. Heat forces moisture out too rapidly, causing materials to shrink and warp. Slow, steady air-drying allows the sneaker to return to its natural state without structural stress.
Maintaining Shape and Proper Storage
Once your sneakers are 100% dry to the touch, the final step is proper storage. Tossing them into a pile invites dust, scuffs, and structural compression that will negate your cleaning efforts.
For any serious collector, adjustable shoe trees are a non-negotiable investment. They are the single most effective tool for maintaining a sneaker's original factory shape, preventing creases in the toe box, and absorbing residual moisture. For a deeper analysis of our techniques, review our guide on the best way to dry wet sneakers.
For long-term storage, select a cool, dry environment. Avoid humid basements or hot attics, as temperature extremes will degrade materials over time. Drop-front boxes are an excellent solution, as they protect from dust while allowing for easy viewing and access. This final step ensures a clean pair remains in optimal condition.
Building a Sustainable Sneaker Maintenance Routine
The true method for maintaining pristine sneakers is not an occasional, intensive cleaning session. It is the integration of simple, consistent habits into a sustainable routine. The objective is not brute force, but rhythm and discipline.
A tiered approach is most effective. Not every shoe requires the same level of attention. Differentiate your collection: daily wear, rotational pairs, and special-occasion footwear. Each tier demands a different maintenance schedule.
A Framework for Proactive Care
An effective routine is built on small, consistent actions that prevent the accumulation of dirt and grime. When executed correctly, intensive deep-cleaning sessions become a rare necessity.
Consider this simple framework:
- Weekly Tasks: For daily-wear sneakers, a quick wipe-down is essential. Use a damp microfiber cloth to clean the uppers and midsoles after a few wears. This manages surface dust before it can become embedded.
- Monthly Tasks: Your rotational pairs benefit from a more thorough cleaning every few weeks. This is the time to use brushes and a quality cleaning solution for a proper refresh. If you are unsure which products to select, consult our guide on finding the best sneaker cleaning kit.
- Seasonal Tasks: This is critical for leather. Perform a deep conditioning treatment twice a year—before winter and after. This replenishes essential oils, keeping the material supple and preventing cracking.
A sustainable routine is defined by its efficiency. With the right tools at hand, a five-minute wipe-down is an effortless action, not a project. It is about weaving professional habits into your daily life.
The Importance of Rotation and Rest
An often-overlooked aspect of sneaker preservation is allowing them to rest. Wearing the same pair daily prevents the materials from fully drying and recovering their shape. Trapped moisture from perspiration can weaken adhesives and create an environment for odor-causing bacteria.
By rotating your sneakers, you allow each pair at least 24 hours to breathe, decompress, and reset. This simple habit can dramatically extend the lifespan of your footwear.
This shift toward meticulous, routine care is part of a larger movement. As sneakers are increasingly treated as valuable assets, owners are seeking professional-grade maintenance solutions. This is evidenced by the growth of professional sneaker cleaning services, with one analysis projecting the market to reach USD 4.12 billion by 2025.
As you develop your routine, you can also consider its broader impact by incorporating practical strategies for reducing plastic waste. Ultimately, an intelligent routine makes footwear care a seamless, integrated part of ownership.
Got Questions? We've Got Answers.
Even the most knowledgeable owner encounters challenging situations. Having worked with countless materials and conditions, we have addressed nearly every question imaginable. Here are direct, field-tested answers to the most frequent inquiries we receive, designed to provide you with the confidence to handle any cleaning scenario.
Can I Just Throw My Sneakers in the Washing Machine?
We understand the appeal of this perceived shortcut. However, our professional advice is unequivocal: do not do it.
A washing machine subjects sneakers to a destructive combination of high heat, complete water saturation, and aggressive tumbling. This process is known to dissolve the adhesives that bond the shoe, warp delicate materials, and cause color bleeding.
You are trading minimal convenience for a significant risk of irreparable damage. Adhere to the manual cleaning methods detailed in this guide. They are safer, more effective, and grant you complete control over the process.
What’s the Right Way to Clean Laces and Insoles?
These components must be addressed separately. Removing them is the only way to achieve a truly comprehensive clean.
-
Laces: Remove them and place them in a small bowl with warm water and a small amount of sneaker cleaner. Allow them to soak for 20-30 minutes to loosen embedded dirt. Afterward, scrub them with a soft brush, rinse thoroughly, and hang to air dry.
-
Insoles: Remove and gently scrub them with the same cleaning solution and brush, focusing on the heel and toe areas where dirt and sweat accumulate. Once clean, wipe them with a damp cloth and allow them to air dry completely before reinserting them. This is a critical step in odor prevention.
Professional Protocol: Never reinsert damp insoles into your shoes. This traps moisture, creating an ideal environment for odor-causing bacteria. Ensure they are 100% dry to the touch first.
For a complete care system engineered to handle every material and challenge with professional-grade results, trust Gold Standard. Our products are formulated to protect your investment and maintain that out-of-the-box condition. Explore the Gold Standard collection today.