
To clean footwear correctly, you must first understand its construction. Identify the material—be it leather, suede, canvas, or a modern knit—and then select a cleaning protocol designed for its specific needs. The foundational process involves removing loose debris with an appropriate brush, applying a suitable cleaning solution with a microfiber cloth, and allowing the shoes to air dry completely, away from direct heat.
This methodical approach is the difference between a temporary fix and a technique that preserves the integrity and longevity of your footwear.
Why At-Home Shoe Care is a Critical Skill

Footwear is an investment, whether it's a pair of bench-made dress shoes or a coveted pair of sneakers. Each pair is a statement of personal standards and an extension of your wardrobe.
Consider proper shoe care not as a reactive chore, but as a discipline of preservation. It is the most effective way to protect that investment.
The objective is not to panic-clean after an accident, but to establish a proactive maintenance routine that keeps every pair in optimal condition. This preserves both their aesthetic and structural integrity. This guide will not entertain the risky household "hacks" that often inflict more damage than they remedy. We are focused on the proven, material-safe principles of professional-grade care.
The Shift to Proactive Preservation
Proper shoe care is a technical skill that begins with material science. A common error is using a degreasing agent, such as dish soap, on delicate suede. This action strips the material of its natural oils, resulting in a dry, brittle, and faded appearance.
Another frequent mistake is using a hairdryer on damp athletic shoes. The concentrated heat can compromise the integrity of the adhesives, leading to sole separation.
These errors are entirely preventable. By adopting a material-first mindset, you treat each pair according to its unique requirements. This is the distinction between mere cleaning and active preservation.
At Gold Standard, we operate on the principle that the most effective shoe care is preventative. A few minutes of proper maintenance can prevent hours of future restoration work. It is about respecting the material and craftsmanship of the footwear.
This proactive mindset is reflected in market trends. The global shoe care market reached USD 6.8 billion in 2023 and continues to expand as consumers move away from damaging shortcuts. Proper techniques and quality products can extend a shoe’s functional life by up to two years. For more data on this trend, see the market analysis on Dataintelo.com.
Understanding the True Cost of Neglect
Neglecting footwear does more than diminish its appearance; it actively accelerates its structural decline:
- Material Breakdown: Dirt and particulate matter are abrasive. With every step, they act like fine-grit sandpaper, wearing down textile fibers and scratching leather finishes.
- Structural Damage: Trapped moisture fosters an environment for microbial growth and can degrade internal components like the heel counter and shank, compromising fit and support.
- Loss of Value: For collectors and resellers, condition is paramount. A single improper cleaning can significantly decrease the market value of a rare or sought-after pair.
Mastering how to clean shoes at home with professional precision is an empowering skill. It gives you direct control over the appearance and longevity of your collection, ensuring every pair remains in pristine, wearable condition. This guide provides the foundational knowledge to achieve those results consistently.
Building Your Professional Cleaning Toolkit
Before any cleaning begins, you must assemble the correct tools. Proper equipment is not about extravagance; it is about precision. The difference between a flawless restoration and irreversible damage often comes down to the tool in your hand—specifically, the brush.
A well-curated toolkit prepares you for any scenario, from mud on mesh to a scuff on suede. The goal is to apply the right solution with the right amount of pressure, without compromising the material you are trying to preserve. This is not simply about owning the tools, but understanding why each is the correct choice for a specific application.
The Essential Brushes and Their Purpose
Brushes are the primary implements of shoe care, but they are not interchangeable. Using the wrong brush is a direct path to abraded leather or frayed textiles. The bristle stiffness must correspond to the material’s durability.
Here is the essential breakdown:
- Premium Hog Hair Brush: This is your designated tool for delicate surfaces. Use it on premium leathers, suede, and nubuck. The soft, natural bristles lift dirt without scratching and are ideal for working in conditioners.
- Medium Bristle Brush: This is the workhorse for more robust materials like canvas, mesh, and knit uppers. It has sufficient stiffness to dislodge stubborn grime without snagging or damaging the fibers. It is also the ideal tool for generating a cleaning lather.
- Stiff Bristle Brush: Reserve this brush exclusively for outsoles and midsoles. The rigid bristles are designed to scrub away caked-on dirt, mud, and scuffs from durable rubber and foam compounds. Never use this brush on the uppers of your shoes.
A common mistake is using an old toothbrush for detail work. While seemingly benign, the nylon bristles are often too abrasive for footwear. They can create micro-scratches on leather and plastic components that accumulate over time and dull the finish.
Beyond the Brushes: Key Accessories
With your brushes selected, a few other items are non-negotiable for achieving a professional finish. These are not optional if you are committed to proper footwear care.
A high-quality microfiber towel is essential. Unlike paper towels or cotton rags, microfiber is engineered for high absorbency and is completely lint-free. It traps and lifts moisture and dirt from the surface rather than merely spreading it, which is critical for a streak-free result.
Finally, you need a dedicated cleaning solution. Avoid household cleaners. Products like dish soap contain harsh surfactants designed to strip grease, which will also strip essential oils from leather, fade dyes, and weaken the adhesives that bond your shoes together. A pH-balanced formula engineered for footwear cleans effectively without causing such collateral damage. To see how these components work together, read our analysis of the best sneaker cleaning kit.
Professional Tools vs. Common Household Substitutes
The temptation to use readily available household items is understandable. However, the long-term cost to your footwear can be significant. This table outlines the hidden risks of common substitutes.
| Tool | Gold Standard Recommendation | Common Substitute | Potential Risk of Substitute |
|---|---|---|---|
| Cleaning Brush | Material-specific brushes (hog hair, medium, stiff) | Old toothbrush, kitchen scrubber | Abrasive bristles can scratch leather, fray textiles, and damage delicate uppers. |
| Drying Cloth | Premium Microfiber Towel | Paper towels, cotton rag | Leaves behind lint, can be abrasive when dry, and lacks the absorbency for a streak-free finish. |
| Cleaning Agent | pH-Balanced Shoe Cleaner | Dish soap, all-purpose cleaner | Strips essential oils, causes color fading, weakens glues, and can leave a sticky residue. |
| Suede Care | Suede Eraser & Brush | Pencil eraser, wire brush | Incorrect abrasiveness can permanently damage the nap, creating bald or shiny spots. |
Using professional-grade tools is not merely about cleaning; it is a fundamental aspect of preservation. You invested in your footwear; it is logical to invest in its proper maintenance.
A Material-By-Material Guide to Flawless Cleaning
Every shoe in your collection possesses unique material properties. Applying a universal cleaning method is the quickest way to damage footwear. The techniques that restore a leather dress shoe will ruin a suede loafer, and the approach for rugged canvas will destroy a delicate knit sneaker.
This is the core of effective shoe care: understanding the specific needs of each material. It is about knowing when to be gentle, when to apply pressure, and which tools are appropriate for the task. This knowledge elevates a simple wipe-down into a genuine restoration, ensuring every pair receives the precise care it requires.
This flowchart provides a starting point for selecting the correct brush—the critical first decision in any cleaning protocol.
The principle is straightforward: delicate materials require soft bristles like hog hair, while more durable materials can withstand a stiffer brush for deeper cleaning.
Cleaning Full-Grain and Synthetic Leather
Leather is durable, yet it is fundamentally a skin. It requires cleaning that removes surface contaminants without stripping the natural oils that maintain its suppleness and prevent cracking. Whether you are treating a classic leather boot or a sneaker with synthetic overlays, the core method is consistent.
First, remove the laces. Second, use a soft-bristled brush (hog hair is ideal) to dry-brush the entire shoe and dislodge any loose dirt and dust. Omitting this step will result in grinding abrasive particles into the leather’s finish during the wet-cleaning phase.
Next, apply a small amount of a pH-balanced leather cleaner to your brush, add a bit of water, and generate a light foam. Clean the shoe using small, circular motions, paying close attention to creases and seams where dirt accumulates. Do not oversaturate the leather; a minimal amount of solution is sufficient.
Once clean, wipe away all residual foam with a clean, damp microfiber towel. It is crucial to remove all of the cleaning agent to prevent a hazy film from developing as it dries. Allow the shoes to air dry completely, away from direct sunlight or heat sources. For a more comprehensive protocol, consult our guide on the best way to clean leather shoes, which details everything from scuff removal to conditioning.
The Delicate Art of Suede and Nubuck Care
Suede and nubuck are notoriously sensitive materials. They are intolerant to moisture and prone to staining, which dictates a "dry-first" cleaning approach. Water will matte the delicate nap and leave permanent water spots. Never apply a liquid cleaner directly to a dry stain on suede.
Your primary tools are a dedicated suede eraser and brush. Gently use the eraser on any dry, set-in stains or scuffs to lift the particles from the fibers. Afterward, use the suede brush—moving in a single, consistent direction—to restore the material’s signature texture and nap.
For more stubborn stains, such as oil, a strategic approach is necessary. Apply a minimal amount of a specialized suede cleaner to a brush, not directly to the shoe. Lightly dab the affected area without soaking it. Work quickly and immediately blot the area with a dry microfiber towel to absorb the moisture and cleaning solution.
The most common error in suede care is excessive aggression. The goal is to lift the stain out of the nap, not to scrub it deeper into the material. Patience and a delicate touch are paramount.
After any spot treatment, allow the shoe to dry completely. Once dry, use your suede brush again to restore the velvety finish. Regular dry brushing is the most effective preventative maintenance for suede and nubuck.
Reviving Canvas and Fabric Uppers
Canvas and other woven fabrics are magnets for dirt, but their inherent durability allows for a more assertive cleaning method. For classic canvas sneakers or modern textile shoes, the objective is to lift grime from the weave without causing fraying or color bleed.
Always begin with a dry brush. Use a medium-bristle brush to remove all loose surface dirt. This preliminary step prevents you from converting dry dust into mud when you introduce a liquid cleaner.
Mix your shoe cleaner with warm water, dip your medium brush into the solution, and begin scrubbing the canvas in small circles. This action helps the cleaner to foam and penetrate the fabric weave, lifting dirt from within. You may apply more pressure for difficult stains, but continuously monitor the fabric's response.
After scrubbing, use a microfiber towel saturated with clean water to wipe down the entire shoe. This effectively rinses the material without full submersion. Continue wiping until no suds remain. Finally, stuff the shoes with paper towels or insert shoe trees. This helps them maintain their shape and wicks moisture from the interior as they air dry.
Tackling Modern Mesh and Knit Materials
Contemporary performance and lifestyle sneakers heavily feature engineered mesh and knit uppers. These materials offer breathability and flexibility, but their open-weave structure readily traps dirt and dust. The cleaning method must be effective yet gentle enough to avoid snagging or stretching the delicate fibers.
First, use a soft-bristled brush to gently remove any surface-level debris. Exercise particular care with materials like Primeknit or Flyknit; excessive pressure will push dirt deeper into the weave.
A foaming cleaner is the optimal choice for these materials. Apply the foam directly to the mesh or knit, allow it to dwell for a minute to break down grime, and then use a soft brush to gently agitate the area in a circular motion. The foam will visibly lift the dirt from the fibers.
Wipe away all foam and residue with a clean microfiber towel. Unlike canvas, it is critical to avoid saturating these materials, as they can stretch and lose their shape. A thorough wipe-down is sufficient. Allow them to air dry completely before wearing.
Maintaining Rubber Midsoles and Outsoles
The soles of a shoe endure the most contact with abrasive surfaces, and keeping them clean significantly impacts the overall aesthetic. For routine cleaning, a stiff-bristle brush and your standard shoe cleaning solution are effective. Scrub vigorously to remove dirt, grime, and minor scuffs.
For the stubborn yellowing on white soles caused by oxidation, exercise caution with DIY solutions. While some homemade pastes may show results, the risk of material damage is high. Harsh chemicals can degrade certain compounds, particularly vegan leathers. This has contributed to a 40% increase in demand for professionally formulated, natural solutions since 2022. Using quality, purpose-made products can extend a shoe's life by up to 150%.
We advocate for products specifically formulated for footwear to guarantee safe and effective results. A dedicated sole brightener is engineered to reverse oxidation without endangering the uppers. Ensure you apply these products with precision and strictly adhere to the manufacturer's instructions.
Advanced Techniques for Soles, Laces, and Insoles
A truly professional cleaning extends beyond the uppers. The details—soles, laces, and insoles—are what distinguish a superficial wipe-down from a comprehensive restoration. Properly addressing these often-neglected components is what elevates the final result, restoring the entire shoe to a like-new condition.
Dingy laces can undermine the appearance of an otherwise immaculate pair of shoes. While machine washing is a common temptation, it often results in frayed ends and tangled aglets. The professional method is simpler and safer.
The Definitive Method for Bright Laces
First, remove the laces from the shoes entirely. Create a cleaning solution by mixing a small amount of shoe cleaner with warm water in a bowl. Submerge the laces and allow them to soak for 20-30 minutes. This soaking period allows the solution to penetrate and break down embedded grime.
After soaking, use a medium-bristle brush to gently scrub the entire length of each lace. This crucial step dislodges the dirt that was loosened during the soak. Rinse them thoroughly under cool, running water until the water runs clear. Finally, hang them to air dry. Never place laces in a machine dryer; the high heat can shrink the fibers and melt the plastic aglets.
Restoring Midsoles and Tackling Yellowing
Midsoles, particularly white ones, are prone to scuffs, dirt, and stains. For everyday grime on rubber or foam, a stiff-bristle brush and your cleaning solution will suffice. Apply firm pressure and work in small, circular motions to lift the dirt.
Oxidation—the yellowing that affects older pairs and translucent soles—requires a more specialized approach. While DIY hacks exist, they carry risks. Some household agents can compromise 45% of colors over time. A purpose-built, mild approach can increase a shoe's lifespan by up to 120%. For more on how the industry is shifting toward safer products, you can review these shoe care industry insights.
For consistent and safe results, we recommend a dedicated sole brightening product like the Gold Standard Sole Sauce. These formulas are specifically engineered to reverse oxidation without damaging the sole or adjacent materials.
Pro Tip: Apply sole brighteners with precision. Use a small brush to coat only the yellowed areas of the sole. Avoid contact with leather, suede, or colored fabrics, as these potent products are formulated exclusively for rubber and foam compounds.
Deodorizing Insoles the Right Way
Insole maintenance is a matter of hygiene. Odor is caused by bacteria, and masking it with a fragrance is only a temporary solution. To eliminate the odor, you must eliminate the source.
Begin by removing the insoles. Most stock insoles can be hand-washed using the same shoe cleaner solution and a medium-bristle brush. Gently scrub the entire surface, focusing on the heel and toe areas where bacteria concentrate.
After scrubbing, rinse them well and blot them with a microfiber towel to remove excess water. The most critical step is to let them air dry completely before re-inserting them. Placing damp insoles back into shoes creates an ideal environment for mold and bacteria to proliferate.
The Final Steps: Drying and Protecting Your Footwear
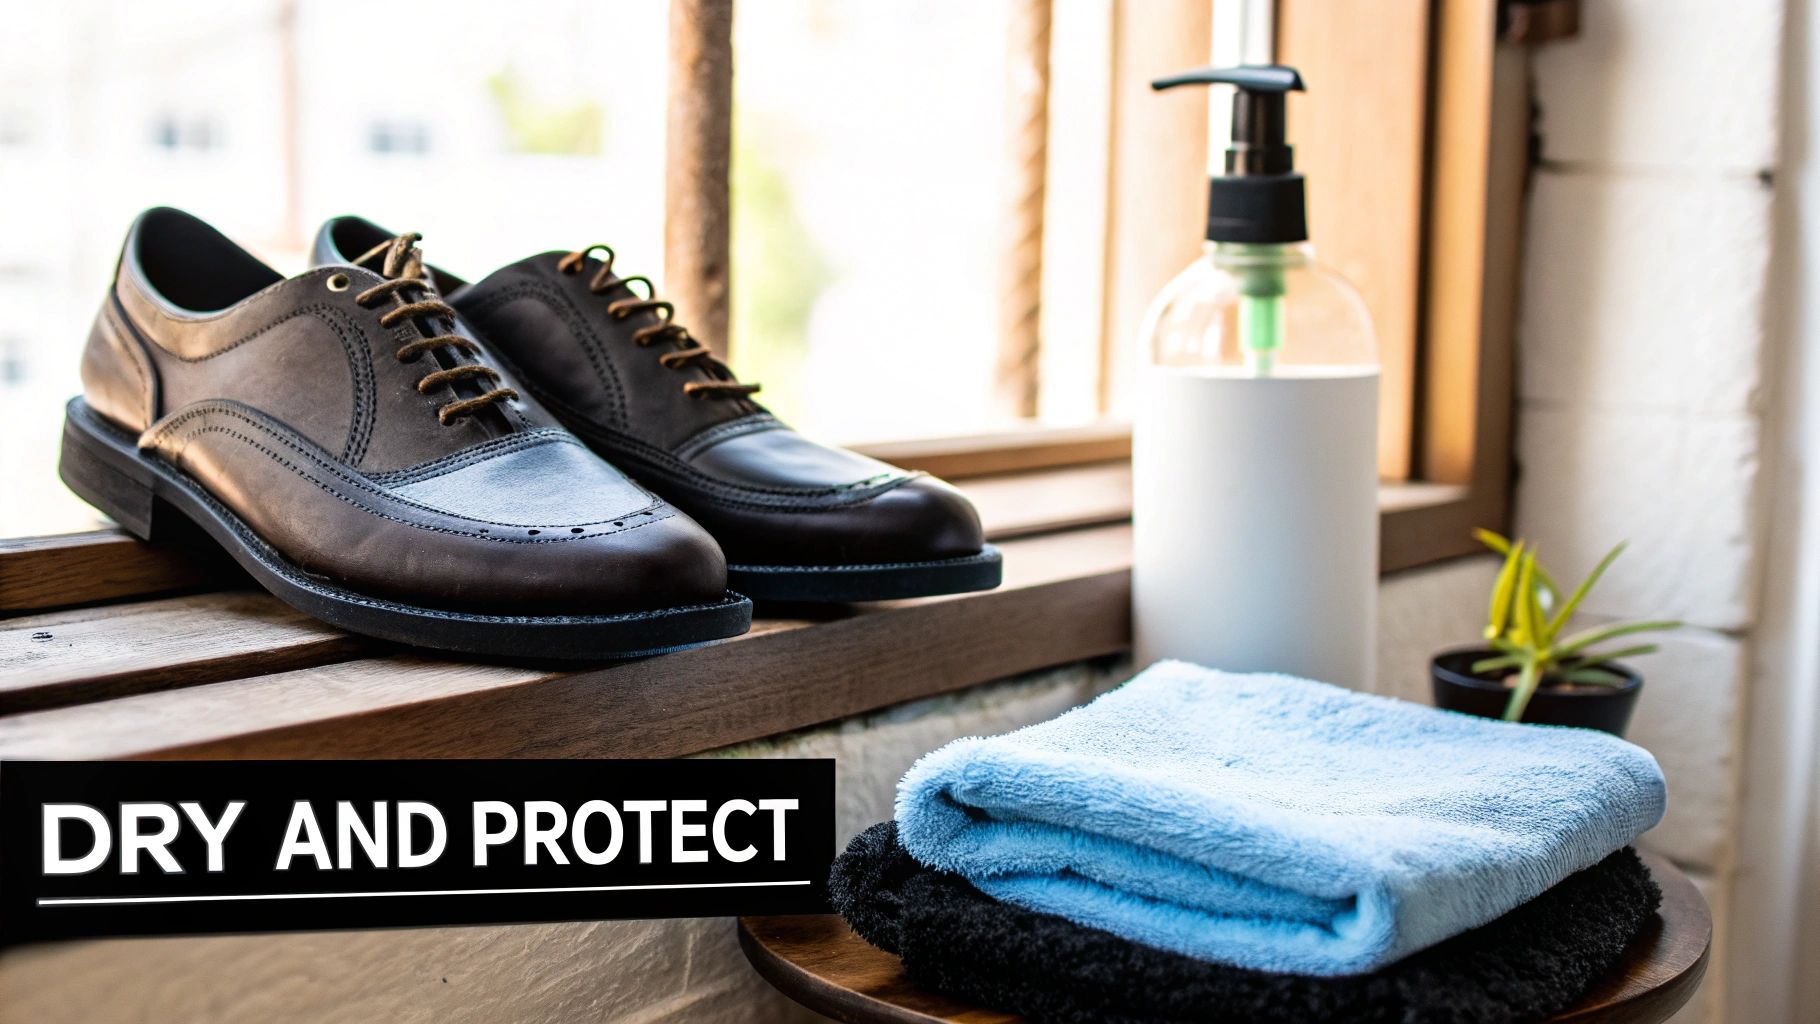
The cleaning phase is complete, but the process is not. The drying stage is as critical as the cleaning itself, and improper technique can cause irreversible damage.
The most prevalent mistake is attempting to accelerate the drying process. Placing wet shoes near a radiator, in direct sunlight, or using a hairdryer introduces intense, direct heat. This can warp uppers, shrink leather, and, most critically, melt the adhesives bonding the sole to the upper, leading to separation.
The Professional Air-Drying Method
The only safe and correct method for drying footwear is to let it air dry at room temperature. This requires patience but protects every component of the shoe, from the stitching to the cement.
Follow these core principles for optimal results:
- Remove Insoles: Always dry the insoles separately. This ensures the interior of the shoe dries thoroughly and prevents the development of musty odors.
- Use Shoe Trees: The ideal tool for this step is a pair of adjustable cedar shoe trees. They absorb moisture from the inside while maintaining the shoe’s shape, preventing creases from setting as the material dries. If shoe trees are unavailable, crumpled, unprinted paper or a small towel can serve as a substitute.
- Find the Right Spot: Place the shoes in a well-ventilated area, away from direct heat or sunlight. A utility room or a shaded spot on a covered porch is ideal.
Depending on the material and ambient humidity, the drying process can take anywhere from several hours to a full day. Rushing this step is never worth the risk of permanent damage. It is a fundamental component of knowing how to clean shoes at home correctly.
Applying the Final Protective Layer
Once your shoes are 100% dry to the touch, it is time for the final, non-negotiable step: protection. This is what distinguishes an amateur cleaning from a professional-level treatment. For a deeper analysis of this topic, read our article on the best way to dry wet sneakers.
A high-quality protectant, such as the Gold Standard Water & Stain Repellent, creates an invisible, breathable barrier on the shoe's surface. This shield does more than guard against precipitation or spills; it actively repels dirt and grime, preventing them from bonding with the material fibers.
Taking this proactive measure significantly simplifies future cleaning sessions and maintains the fresh appearance of your footwear for longer. You are not just cleaning your shoes; you are defending them against future contaminants.
Your Shoe Care Questions Answered
Even with a mastery of the fundamentals, specific questions inevitably arise. We have compiled answers to the most common inquiries we receive, addressing the nuances of footwear maintenance.
This section serves as a reference for navigating challenging shoe care scenarios, dispelling common myths, and providing the confidence needed to tackle any issue.
How Often Should I Clean My Everyday Sneakers?
The cleaning frequency depends on usage. For daily-wear shoes, a quick wipe-down of the soles and uppers once a week is an effective habit. This prevents the initial layer of grime from setting into the material, which simplifies subsequent deep cleanings.
We recommend a full, deep clean every 2-4 weeks, contingent upon wear frequency and environmental conditions. However, for high-value collectibles or pristine white sneakers, clean them immediately after each wear without exception.
Is It Ever Safe to Use a Washing Machine?
In short, no. While the convenience is appealing, a washing machine subjects shoes to prolonged submersion, violent tumbling, and high heat—a combination that can destroy a shoe's internal structure. This process is a direct path to weakened adhesives, warped soles, and ruined materials like leather or suede.
While some durable canvas shoes might survive a gentle, cold cycle inside a mesh laundry bag, it is always a significant risk. Hand-cleaning is the only method that affords you complete control over the process and prevents the catastrophic failure of your footwear.
Consider this analogy: you would not place a fine leather jacket in a washing machine. Your shoes are constructed from similarly complex materials and adhesives and demand the same level of care.
What Is the Best Way to Remove Odors?
Odor is caused by bacteria, which thrive in dark, damp environments. To eliminate the smell, you must address the root cause, not merely mask it. The first step is ensuring your shoes are completely dry, both inside and out.
A proven method is to sprinkle baking soda inside the shoe and let it sit overnight. It is effective at absorbing residual moisture and neutralizing odors. For a more potent and immediate solution, a dedicated shoe deodorizer spray can sanitize the insole and eliminate odor-causing bacteria.
However, the most effective long-term strategy is footwear rotation. Allowing each pair at least 24 hours to air out completely between wears is the single best practice for maintaining freshness.
Can I Fix Yellowing Soles at Home?
Yes, this is possible. The yellow discoloration on rubber and foam soles is due to oxidation, a natural reaction to UV light and oxygen. While various DIY pastes are promoted online, they often yield inconsistent results and can pose a risk to the material.
The safest and most effective solution is a specialized sole brightening product. These are formulated to reverse oxidation through a controlled chemical reaction, typically activated by UV light. Exercise caution: apply the product only to the soles, avoid contact with the uppers, and always perform a spot test on a small, inconspicuous area first.
For every step of your shoe care journey, from deep cleaning to final protection, trust the tools designed for preservation. Gold Standard provides premium, material-safe solutions to keep your entire collection looking its best.