
You invested in New Balance tennis shoes for their engineered performance. But maintaining that performance edge—and sharp aesthetic—after grueling court sessions requires a specific methodology.
The key to getting your New Balance tennis cleaned and restored isn't a generic cleaning hack. It's a professional, material-first approach that respects the shoe's complex construction and protects your investment.
The Professional Approach to Footwear Care
The transition from box-fresh to court-worn can be jarring. We understand. From responsive FuelCell midsoles to breathable synthetic uppers, each component demands specific care. The paradigm shift is to view cleaning not as a chore, but as essential maintenance for longevity and performance.
This guide details the exact, field-tested methods we employ as footwear care specialists. Forget the washing machine or harsh household detergents—those are certain paths to adhesive failure, color bleed, and structural damage. We will demonstrate how to properly address everything from stubborn court stains to accumulated grime, restoring your sneakers without compromising their integrity.
Why Your New Balance Require Specialized Care
The brand's significant market presence underscores the need for proper maintenance. New Balance has secured a formidable 12-16% share of the global athletic footwear market, placing it alongside industry giants.
This position is built on material innovations like Fresh Foam and FuelCell cushioning, which provide critical comfort and stability. For enthusiasts and athletes, this reality leads to a simple conclusion: premium footwear requires premium care to maintain peak performance and condition. For a deeper analysis of market dynamics, see the report from Future Market Insights.
At Gold Standard, we approach footwear care as a science. The objective is to understand the interaction between a cleaning solution and a specific material—be it synthetic mesh, delicate suede, or high-rebound midsole foam. The goal is not merely to remove dirt, but to do so without altering the material's inherent properties.
Our methodology is founded on several core principles:
- Material-First Assessment: Always identify the materials before any cleaning agent is applied.
- Correct Tool Selection: Employ tools designed specifically for footwear, not repurposed household items.
- Controlled Hand Cleaning: Manual application provides precision that machine washing cannot replicate.
- Proper Drying Protocol: Air-drying is non-negotiable. Direct heat will warp structural components and degrade adhesives.
Your Essential Pre-Cleaning Assessment
Before reaching for any cleaning solution, pause. The most critical phase of the process occurs now, with a dry shoe and a discerning eye. A common mistake is to immediately apply a wet cleaner and begin scrubbing. This approach often leads to irreversible damage.

Treating a delicate suede panel with the same aggressive technique used on a rubber outsole is a recipe for disaster. I have witnessed the consequences countless times: permanent water stains, discoloration, and destroyed textures. To get your New Balance tennis cleaned to factory-fresh condition, you must first understand the materials and the nature of the soil.
Identify Your Shoe's Materials
New Balance tennis models are complex assemblies, often blending multiple materials on a single upper. Each requires a distinct handling protocol.
Here is a brief overview of common materials:
- Synthetic Mesh & Knits: Essential for breathability, these materials are magnets for fine dust and court grit. Their porous nature makes them susceptible to damage from excessive abrasion.
- Suede or Nubuck Overlays: These premium materials provide structure but are notoriously sensitive to moisture. A dry-cleaning approach is the mandatory first step.
- Leather Panels: Whether synthetic or genuine, leather adds durability. It can withstand more rigorous cleaning but is prone to drying and cracking if exposed to harsh, stripping chemicals.
- Foam Midsoles (FuelCell/Fresh Foam): The core of the shoe's comfort, this soft, porous foam traps dirt deep within its structure, leading to discoloration over time.
- Rubber Outsoles: The most durable component, its deep grooves are designed for traction but readily trap clay, debris, and other contaminants.
To simplify this assessment, use the following reference table. It serves as a concise guide to material identification and critical handling instructions.
New Balance Material Identification and Care Primer
| Material Type | Common On | Primary Cleaning Goal | Critical Mistake to Avoid |
|---|---|---|---|
| Mesh/Knit | Uppers, tongue | Lifting out fine particulate | Aggressive scrubbing that frays fibers |
| Suede/Nubuck | Overlays, heel caps | Removing surface stains without liquid | Introducing moisture before dry brushing |
| Leather | Side panels, logos | Wiping away scuffs and grime | Using harsh cleaners that cause cracking |
| Foam Midsole | Between upper & outsole | Extracting deep-set dirt | Using a hard-bristle brush that tears foam |
| Rubber Outsole | Bottom of the shoe | Dislodging caked-on debris | Neglecting to clean deep traction grooves |
Consider this table your pre-operation checklist. A quick review can prevent significant, often irreversible, errors.
Assess the Type of Debris
With materials identified, analyze the stains. Is it a grass stain on mesh? A scuff mark on leather? A clay smudge on the midsole? Each requires a tailored strategy.
The single most important piece of advice is this: dry preparation is non-negotiable. Before any liquid cleaner is introduced, you must use a soft-bristled brush to remove all loose, caked-on dirt. This step prevents you from converting dry dust into a muddy paste that gets ground deeper into the shoe’s fibers.
Begin by striking the soles together firmly to dislodge trapped rocks and clumps of clay. Next, take a dry brush and sweep the entire shoe, removing surface dust from the uppers and midsoles. This isn't just cleaning; it's strategy. By removing superficial debris first, you allow your cleaning solution, like Gold Standard Shoe Cleaner, to concentrate its efficacy on embedded, set-in stains.
Assembling the Correct Cleaning Toolkit
The outcome of a restoration effort often depends on the tools employed. To properly get your New Balance tennis shoes cleaned, you must look beyond common household items. An old toothbrush and dish soap are inadequate for modern performance footwear.
Investing in a dedicated, purpose-built toolkit is the first step toward achieving professional-grade results. You would not use a butter knife for surgery; the same principle applies here. Each tool has a specific function, and using the right one prevents iatrogenic damage.
The Foundation: A pH-Neutral Cleaner
The cornerstone of any effective cleaning kit is a pH-neutral solution. Many household soaps and all-purpose sprays are highly alkaline or acidic, which can be catastrophic for the advanced materials in your New Balance. These harsh formulas can strip color from suede, dehydrate and crack leather, and even begin to dissolve the adhesives bonding the sole to the upper.
A professionally formulated shoe cleaner, such as Gold Standard Premium Shoe Cleaner, is engineered to be tough on dirt but gentle on materials. It works by breaking down and lifting grime without altering the texture or color of the underlying surface. The goal is to remove the contaminant, not the shoe's original finish.
The most common error we observe is the use of an inappropriate cleaning agent. People use dish soap, then wonder why their shoes feel tacky and seem to attract dirt more quickly. A professional-grade cleaner rinses completely, leaving zero residue.
The Brush Trio for Precision Application
A single brush is insufficient. Different shoe components require different levels of abrasion to be cleaned effectively without causing damage. A comprehensive toolkit should contain three distinct brushes.
-
Soft Bristle Brush: This is for delicate surfaces. Use it on fine synthetic mesh, knit uppers, and especially any suede or nubuck panels. The bristles are gentle enough to lift dirt without fraying fibers or causing scratches.
-
Medium Bristle Brush: The workhorse for general cleaning on more durable uppers and leather sections. It possesses sufficient stiffness to remove common grime without damaging the shoe's primary structure.
-
Stiff Bristle Brush: Reserve this for heavy-duty applications—the rubber outsole and foam midsole. The stiff bristles are essential for penetrating deep outsole grooves to remove caked-on clay and debris. This is the only brush that can effectively scrub a soiled midsole without abrading the foam.
Assembling these specific tools is mandatory for anyone serious about footwear maintenance. If you're looking to acquire a complete set, we have compiled a guide on what constitutes the best sneaker cleaning kit to ensure you are properly equipped. Protecting your investment begins with using the right equipment.
Step-by-Step Material-Specific Cleaning Techniques
With the right tools assembled, we move to execution. This is where technique and material knowledge separate a superficial wipe-down from a true restoration. Each material on your New Balance tennis shoes requires its own cleaning protocol to avoid damage.
Let's break down the process, material by material.
First, familiarize yourself with the simple, three-step process that forms the basis of any effective clean.
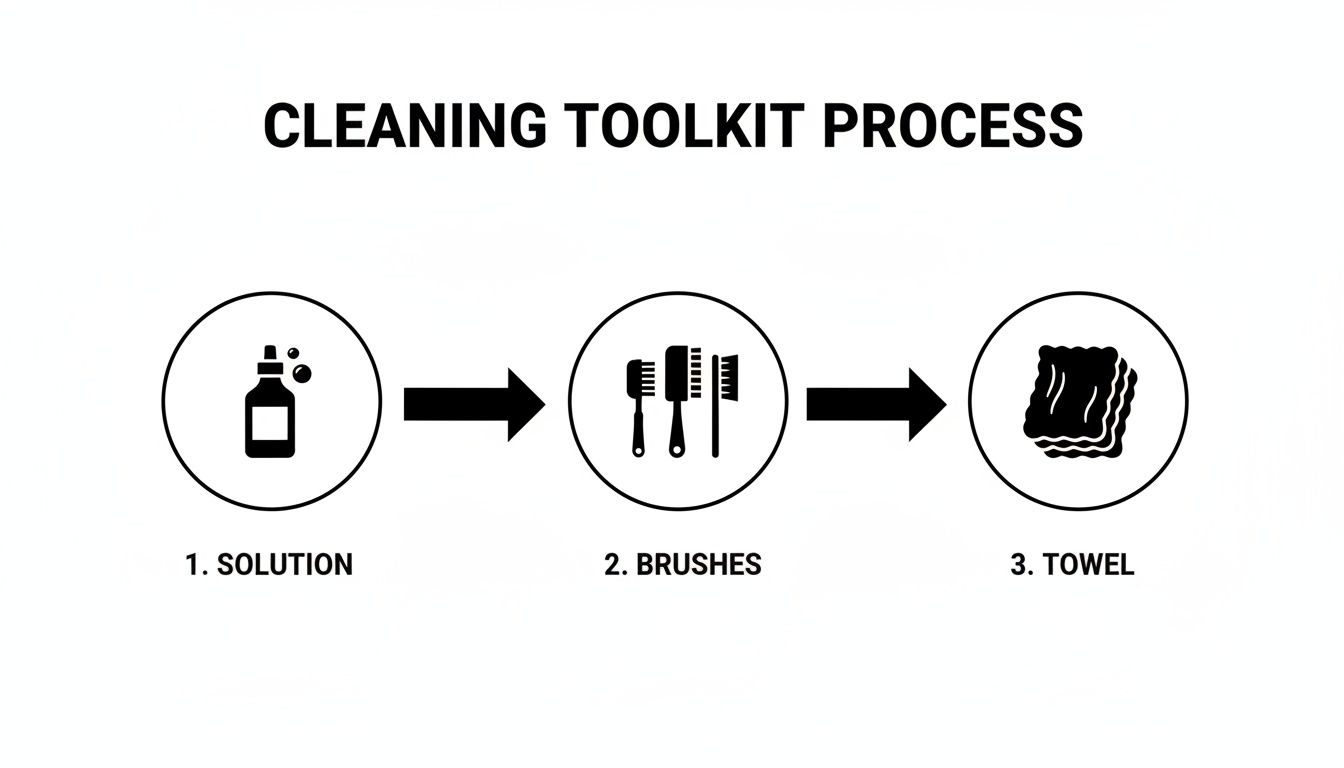
This "solution, brush, towel" sequence is your key to systematically applying the cleaner, agitating the soil, and blotting away the residue.
Deep Cleaning Mesh and Synthetic Uppers
The breathable mesh on models like the FuelCell 996v5 is a performance asset, but it readily traps fine dirt and clay. The objective is to clean it thoroughly without oversaturating the fabric, which can lead to water stains or mildew growth.
Begin with your soft-bristle brush. Dip it into a bowl of water, then apply a small amount of Gold Standard Premium Shoe Cleaner. Gently work the solution into the mesh using small, circular motions. A light foam will develop—this is the cleaning action, lifting dirt from the fibers.
Immediately upon cleaning a section, use a clean microfiber towel to blot the area, absorbing the soiled foam and excess moisture. The key is blotting, not rubbing, which can fray the delicate mesh fibers. This technique is equally effective on other synthetic panels, ensuring a uniform finish across the shoe.
For a broader overview of sneaker care, consult our comprehensive guide on how to clean sneakers at home.
Restoring Suede and Nubuck Panels
For suede, the protocol is inverted: this is primarily a dry cleaning process. Applying excess liquid too quickly is the most efficient way to create permanent water spots and ruin the material's nap.
First, use a completely dry suede brush (your soft-bristle brush is suitable) and gently brush the suede in a single direction. This lifts the nap and removes surface-level dust. For more stubborn scuffs, apply slightly more pressure, brushing back and forth to work out the mark.
Only when dealing with a deep-set stain should you consider using a liquid cleaner, and even then, it must be applied sparingly. Apply a minuscule amount of cleaner to the corner of a microfiber towel, gently dab the stain, and then immediately blot the area with a dry section of the towel. The goal is to lift the stain without soaking the material.
A common mistake: someone spills a liquid on suede and instinctively floods it with water. This only serves to spread the stain. The correct response is to blot immediately with a dry cloth, then use a dedicated suede eraser to gently lift the residue once dry, before attempting any spot-cleaning.
Whitening Midsoles and Cleaning Outsoles
The midsole is often the first component to show a shoe's age, collecting scuffs and ground-in dirt. This is where your stiff-bristle brush is indispensable.
Apply the Gold Standard cleaner directly to the brush and begin scrubbing the foam or rubber midsole. Use firm, consistent pressure. The stiff bristles are necessary to penetrate the porous texture of foams like FuelCell or Fresh Foam and agitate trapped dirt.
For the outsole, do not be tentative. Use significant pressure to dislodge all caked-on clay and debris from the deep traction grooves.
The global footwear market is projected to grow substantially, indicating a continued influx of innovative designs. This also means more frustration when court grime compromises a crisp, white midsole. Gold Standard’s formulas and specialized tools are designed to restore that original appearance without using harsh chemicals that can scratch, degrade, or discolor materials.
Proper Drying and Long-Term Protection
An immaculate cleaning job can be undone by an improper drying process. A few common errors can lead to warped uppers, mildew, and damage that negates all your careful work.
The single most damaging action is applying direct heat to freshly cleaned footwear. I have seen sneakers destroyed on radiators, in front of heating vents, and by hairdryers. This intense heat is the enemy of modern shoe construction; it can melt the structural adhesives and shrink or warp sensitive upper materials.
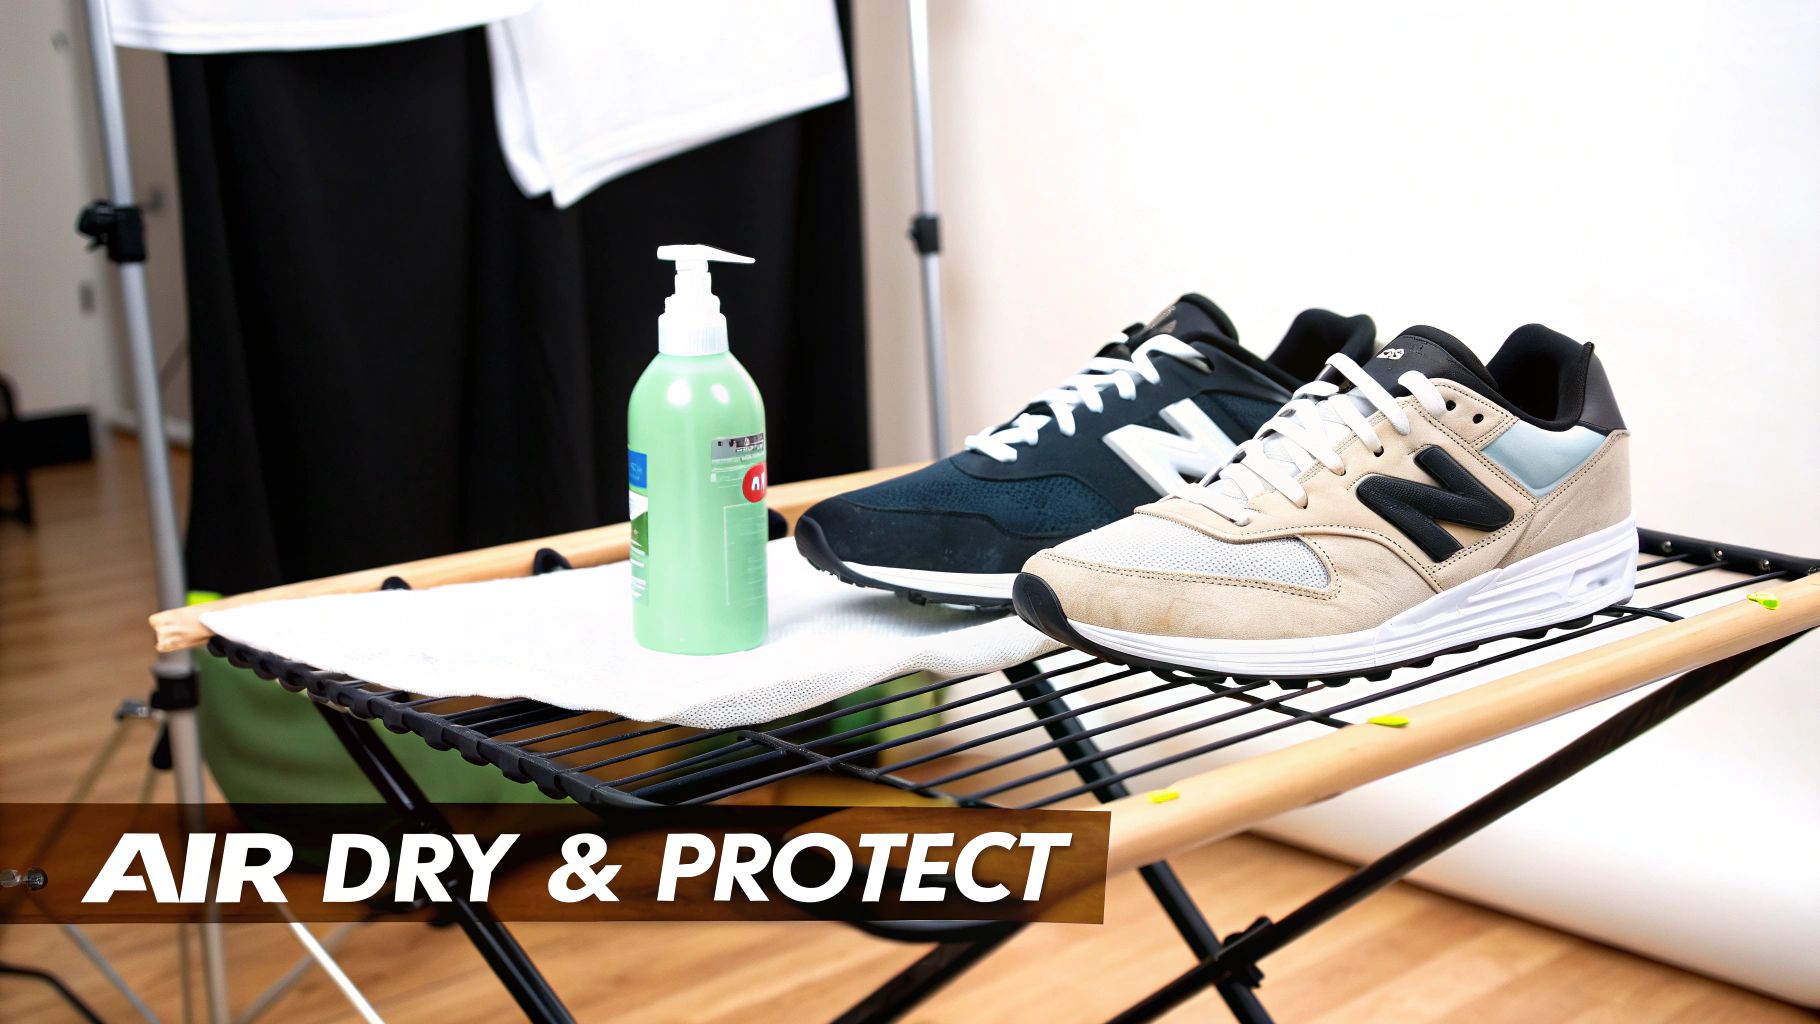
The only professionally accepted method is patient air-drying.
The Art of Air-Drying Sneakers
Proper air-drying is straightforward but requires attention to detail. Remove the insoles and laces to dry separately. This critical step opens the shoe's interior, promoting air circulation and preventing moisture from being trapped, which is the primary cause of odor and mildew.
Next, place the shoes in a location with ample indirect air circulation. Avoid direct sunlight, as UV rays can fade colors and cause foam midsoles to yellow and become brittle. A shaded porch, a laundry room with a fan, or any well-ventilated interior space is ideal.
To help your New Balance maintain their shape during drying, stuff them with clean paper towels or un-inked paper. This not only absorbs excess internal moisture but also provides the necessary structure to prevent the uppers from creasing or collapsing.
For a more detailed protocol, see our guide on the best way to dry wet sneakers.
Proactive Protection for Lasting Condition
Once your New Balance are completely dry, the final step is proactive protection. This elevates a one-time clean into a long-term care strategy. A quality repellent spray creates an invisible, breathable barrier over the shoe's surface.
This barrier prevents water, dirt, and oils from penetrating the material. Spills will bead up and roll off rather than soaking in and staining. This makes subsequent cleanings significantly easier and serves as a preventative measure. A light application every few weeks is a prudent investment in the longevity of your footwear.
This practice is essential not only for personal use but also for the resale market. Keeping sneakers in pristine condition is paramount. Protecting your investment ensures it retains its value.
Common Questions About Cleaning New Balance
Even with a detailed guide, specific questions arise. Here are our expert answers to the most common inquiries from New Balance owners.
Can I put my New Balance tennis shoes in the washing machine?
While tempting for its convenience, we strongly advise against it. Machine washing is one of the most efficient ways to destroy a pair of high-performance sneakers.
The combination of intense heat, aggressive tumbling, and prolonged submersion in water can warp the shoe's structure, degrade the critical adhesives holding the sole assembly together, and cause significant discoloration.
Hand-cleaning provides the control necessary to protect your investment.
How do I remove yellowing from my rubber midsoles?
The yellow tint that develops on rubber and foam midsoles is typically caused by oxidation, a natural reaction to UV light exposure over time. A thorough cleaning can remove the surface dirt that exacerbates the appearance of yellowing, but it may not reverse the oxidation itself.
Begin by scrubbing the midsoles thoroughly with our Gold Standard Premium Shoe Cleaner and a stiff-bristle brush. You will likely be surprised at how much of the discoloration is simply deeply embedded grime.
If yellowing persists after a comprehensive clean, the oxidation has likely set in at a molecular level, which is a much more complex issue to address.
A key takeaway: Consistent cleaning is the best defense. By regularly removing sweat, oils, and dirt, you inhibit the chemical processes that lead to the dulling of white midsoles.
How often should I clean my New Balance tennis shoes?
The ideal frequency depends on usage patterns and environmental exposure.
For avid players or those who wear their New Balance in heavy rotation, a light maintenance clean after each use is optimal. Simply brush off any loose court clay or surface dust before it has a chance to set.
For a full, deep clean following the steps in this guide, we recommend a frequency of every 4-6 weeks for regularly worn shoes, or whenever they become visibly soiled. Proactive maintenance is always more effective than attempting to reverse months of accumulated neglect. This consistency is the true secret to keeping your New Balance tennis cleaned and ready for performance.
At Gold Standard, we believe that proper care is an extension of your investment in quality gear. Our tools are designed by experts for individuals who demand the best.
Equip yourself with professional-grade tools. Explore the Gold Standard Premium Shoe Cleaner Kit and give your footwear the meticulous treatment it deserves.