
Removing creases from sneakers requires a controlled application of indirect heat, typically using an iron or heat gun over a damp cloth to gently relax the material. Before any heat is applied, however, the critical first step is to stuff the shoe tightly. Packing it with shoe trees or other firm material creates a smooth, solid surface, which is essential for effective crease removal.
Understanding Material Fatigue: Why Sneakers Crease
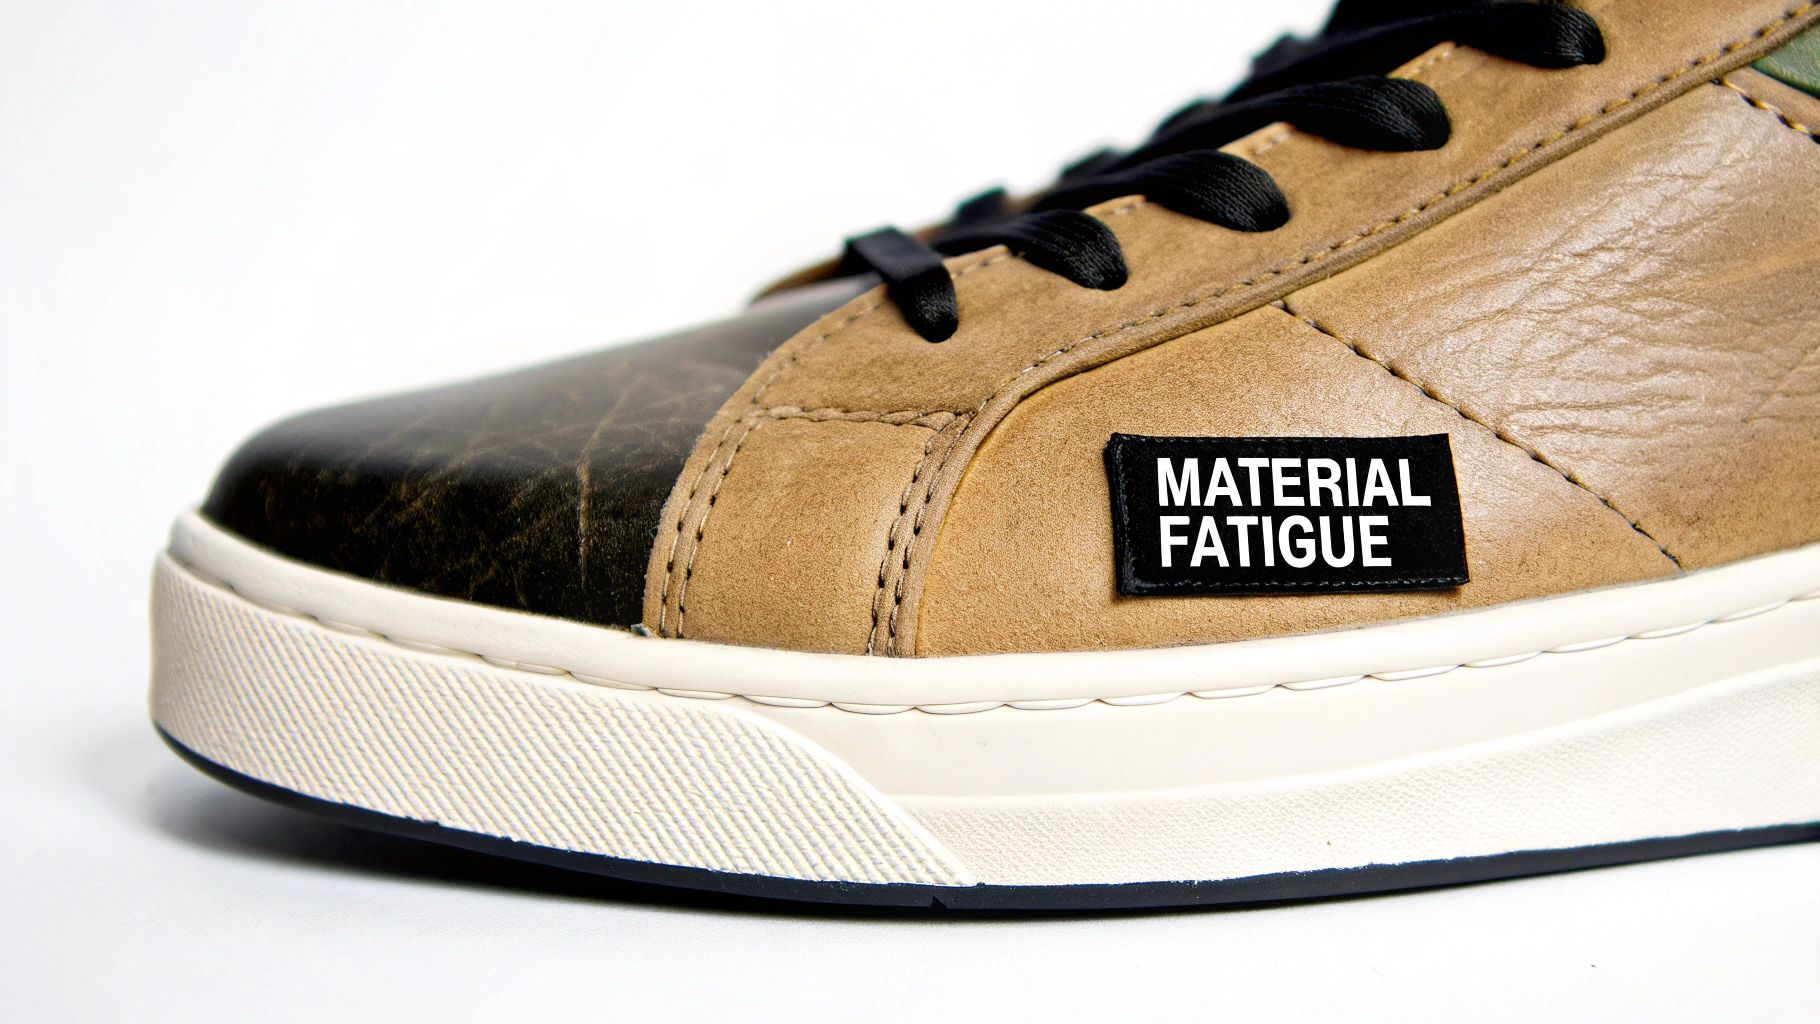
The first crease across a new pair of sneakers is a frustrating but unavoidable reality of wear. Each step flexes the shoe's upper, creating a fold where the foot bends. Over time, this repetitive stress degrades the material's structural integrity, leaving a permanent line.
This is more than a cosmetic flaw; it is a clear sign of material fatigue. Consider folding a piece of paper repeatedly in the same spot. The fibers weaken and eventually break. The same principle applies to your sneakers, whether they are constructed from premium leather, canvas, or advanced synthetics.
The Science Behind the Fold
The severity of creasing is determined by three primary factors:
- Material Properties: Softer, natural materials like full-grain leather have a greater tendency to crease. Rigid synthetics may resist initial creasing but can crack under prolonged stress.
- Shoe Construction: The design and reinforcement of the toe box can either mitigate or encourage crease formation.
- Fit and Gait: A shoe that is too large allows excess material to collapse into deep folds with each step. An individual's gait also determines the specific pressure points where creases will develop.
Ignoring early creases allows them to deepen, leading to cracking, peeling, and permanent damage that cannot be reversed. This not only compromises the aesthetic of the sneaker but also significantly diminishes its structural integrity, lifespan, and value.
The Financial Impact of Creases
Maintaining the condition of your sneakers is an act of protecting a valuable asset. The global sneaker market was valued at an estimated $84.9 billion in 2024, and in this market, condition dictates value.
Research indicates that up to 70% of sneaker damage, including deep creases, can occur within the first 100 wears if proper care is neglected. On prominent resale platforms, visible creasing can decrease a sneaker's value by 25-40%.
Viewing creases as material fatigue—not just a surface-level flaw—is the key to professional-level care. It shifts the approach from reactive repair to proactive preservation of the structure, integrity, and value of your footwear.
Understanding the mechanics of creasing is the first step toward effective treatment and, more importantly, prevention. This guide details the professional techniques required to manage creasing across all common sneaker materials.
Your Professional Crease Removal Toolkit
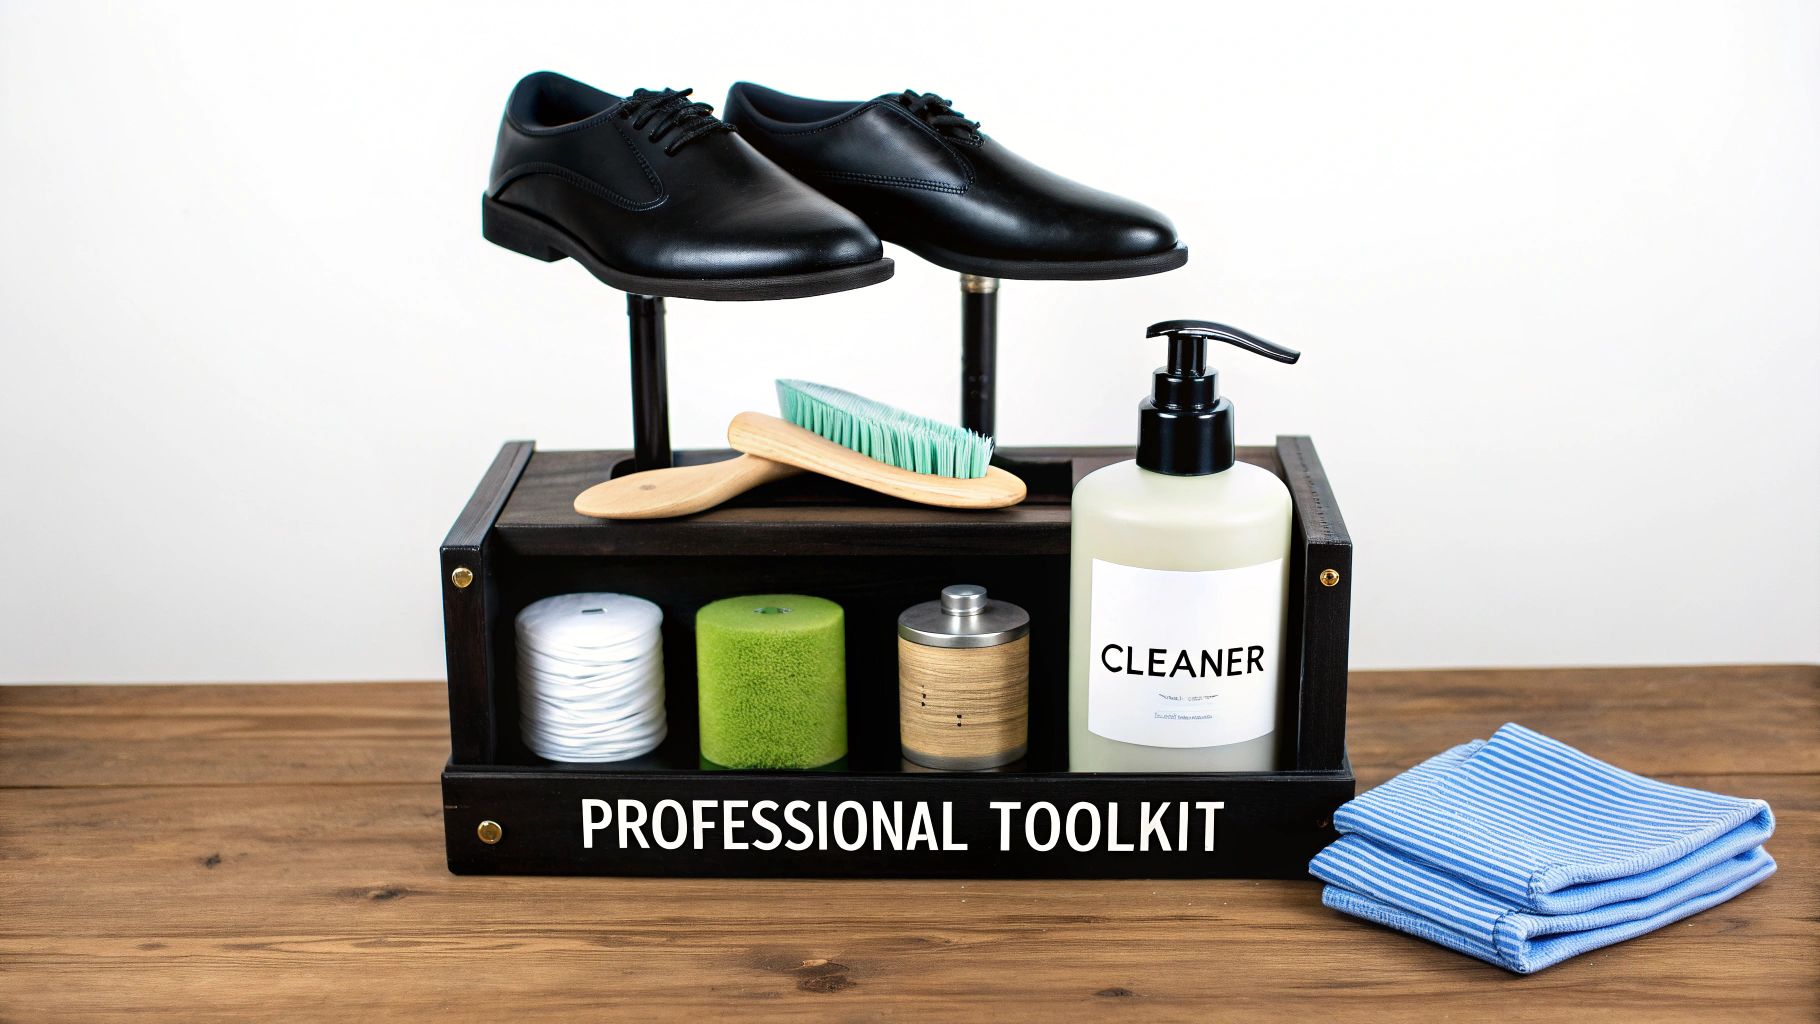
Effective crease removal depends on proper preparation. Applying heat directly to a dirty, unstructured shoe is a common mistake that can permanently set stains into the material. Assembling the correct tools is not about acquiring every available gadget; it is about using a few essential items that ensure a safe and successful outcome.
Foundational Tools for Structure and Support
First, you must restore the sneaker's intended shape. Attempting to smooth a crease on a collapsed toe box is ineffective. A firm, even surface must be created from within.
- Adjustable Shoe Trees: These are non-negotiable for serious footwear care. Cedarwood is ideal as it absorbs moisture and odor, but quality plastic trees also provide the necessary structure to push creases out from the inside.
- Alternative Stuffing Material: In the absence of shoe trees, you can use tightly packed socks, clean rags, or balled paper. The key is to pack the shoe firmly enough to create a smooth, lump-free interior surface.
Surface Preparation and Cleaning Essentials
Applying heat to a soiled surface will bake dirt and oils into the material, causing permanent discoloration. The process must begin with a clean foundation.
Gold Standard’s all-natural Sneaker Cleaner is formulated to lift contaminants without the harsh chemicals that can damage leather or delicate knits. A clean surface is significantly more receptive to crease treatment. For a complete overview of a proper cleaning setup, see our guide to the best sneaker cleaning kit.
A pristine surface is the canvas for effective crease removal. Skipping the initial cleaning phase is the single most common reason for disappointing results, as it compromises the material's ability to respond to treatment.
Application and Finishing Tools
With the sneaker clean and properly shaped, you can proceed with the active crease removal.
- High-Quality Microfiber Cloths: A microfiber cloth serves as a protective barrier between the heat source and the sneaker, distributing heat evenly and absorbing excess moisture without leaving lint residue.
- Specialized Brushes: A soft-bristle brush, such as one made from hog hair, is ideal for pre-cleaning dry brushing and for applying conditioner post-treatment. Stiff-bristle brushes should be reserved exclusively for midsoles and outsoles.
Method 1: Treating Leather and Durable Synthetics
Leather is a classic sneaker material due to its durability and comfort, but as a natural material, it is highly susceptible to creasing. The goal of treatment is to apply controlled heat to relax the leather fibers, allowing them to be reshaped.
We will detail two field-tested methods: the damp cloth and iron technique, and the more advanced heat gun method.
The Damp Cloth and Iron Method
This is the most accessible and controlled technique, suitable for moderate to heavy creases. Begin with a clean, tightly stuffed sneaker.
Moisten a microfiber cloth with distilled water; it should be damp, not saturated. This cloth acts as an essential barrier, diffusing heat and preventing direct contact that would scorch the leather. Set a household iron to its lowest heat setting (e.g., silk/synthetics).
Place the damp cloth over the creased area. Press the warm iron onto the cloth for 5-10 seconds at a time, using continuous motion. Never allow the iron to remain stationary. Periodically lift the iron and cloth to assess your progress. The leather will gradually relax, and the creases will diminish. Repeat in short intervals until the desired result is achieved. Patience is critical to prevent heat damage.
Expert Insight: Always use distilled water. Minerals in tap water can leave chalky residue on leather as it evaporates, creating a new problem.
The Heat Gun or Hair Dryer Method
For stubborn creases, a heat gun or hair dryer offers a faster alternative, but it carries a higher risk and requires greater care. Constant motion is absolutely essential.
Start with a clean, stuffed sneaker. Set your heat device to its lowest temperature setting, as the objective is to warm the leather, not heat it excessively. Hold the heat source a minimum of six to eight inches from the sneaker's surface.
Sweep the heat back and forth across the creases in a smooth, continuous motion. Once the leather feels warm and pliable, use your free hand to massage the creases out. This combination of gentle heat and manual manipulation helps reset the material's shape. Work in brief 20-30 second intervals, allowing the leather to cool between applications. This prevents heat buildup that can dry out the material, cause shrinkage, or melt adhesives.
This technique is effective for both leather and some synthetic materials. Internal testing shows that a hair dryer on a low setting (<120°F) held six inches away can reduce crease visibility by up to 75% on certain materials. For more detailed instructions, see our comprehensive guide on removing creases from all types of leather shoes.
Heat Application Method Comparison for Leather
| Method | Ideal For | Heat Level | Key Precaution | Gold Standard Pro-Tip |
|---|---|---|---|---|
| Damp Cloth & Iron | Beginners; moderate to heavy creases. | Low & Indirect | Always use a damp cloth barrier. | Use distilled water to avoid mineral stains from tap water. |
| Heat Gun/Dryer | Experienced users; stubborn creases. | Low & Direct | Keep the heat source moving and 6-8 inches away. | Work in short intervals (20-30 seconds) to prevent overheating. |
Both methods are effective when executed correctly. The key is to apply heat judiciously and methodically.
The Non-Negotiable Final Step: Conditioning
This step separates a temporary fix from a lasting restoration. Applying heat depletes the natural oils and moisture from leather, leaving it brittle and susceptible to future cracking.
Once the sneaker has cooled completely, this moisture must be replenished. Apply a small, dime-sized amount of a high-quality leather conditioner, such as our Gold Standard Water & Stain Repellent, to a clean microfiber cloth. Work the conditioner into the entire leather upper using small, circular motions to ensure even application.
Allow the conditioner to penetrate for several hours, or overnight for best results, before wiping away any excess with a dry cloth. This critical step rehydrates and protects the leather, locking in the repair and preserving the material's flexibility for the long term. Do not skip it.
Method 2: Suede, Canvas, and Delicate Synthetics
Applying the high, direct heat used for leather to materials like suede, canvas, or certain synthetics will cause irreversible damage. These materials have a much lower tolerance for heat and moisture and require a fundamentally different approach. Using an iron or heat gun can result in scorched fibers, melted plastics, delaminated adhesives, or permanent water stains. Successful treatment requires adapting the technique to the specific material properties.
The Controlled Steam Method for Suede and Nubuck
Suede and nubuck are exceptionally delicate. Their napped texture is easily damaged by direct heat or excess moisture. For these materials, controlled steam is the only safe and effective method for relaxing creases.
The objective is to use warm humidity, not liquid water. A handheld garment steamer is the ideal tool, but holding the sneaker six to eight inches over steam from a kettle can work as a substitute.
- Stuff Tightly: First, pack the toe box with shoe trees or paper to create a firm, smooth interior surface.
- Apply Steam Briefly: Hold the steamer at a safe distance, passing it over the crease in short, sweeping motions for no more than 20-30 seconds. The goal is to make the material warm and pliable, not wet.
- Brush Immediately: While the suede is still warm, use a proper suede brush to gently restore the nap, brushing in multiple directions. This lifts the fibers and helps massage the crease away.
- Air Dry Thoroughly: Allow the sneaker to air dry completely, away from direct heat or sunlight. Do not rush this step.
This steam-and-brush technique has been shown to reduce crease visibility in suede by up to 85% in a single treatment. However, over-steaming can permanently warp the material.
Managing Creases on Canvas and Mesh
Canvas and mesh are textiles, and their creases behave like wrinkles in fabric. Steam is again the most effective tool, as it relaxes the fibers without the risk of scorching. The process is similar to that for suede: after lightly steaming the affected area, keep the shoe tightly stuffed and allow it to cool and dry completely. The tension from the internal stuffing will pull the wrinkles out as the steamed fibers set. Direct ironing should be avoided; if absolutely necessary, use a protective cloth and the iron's lowest setting.
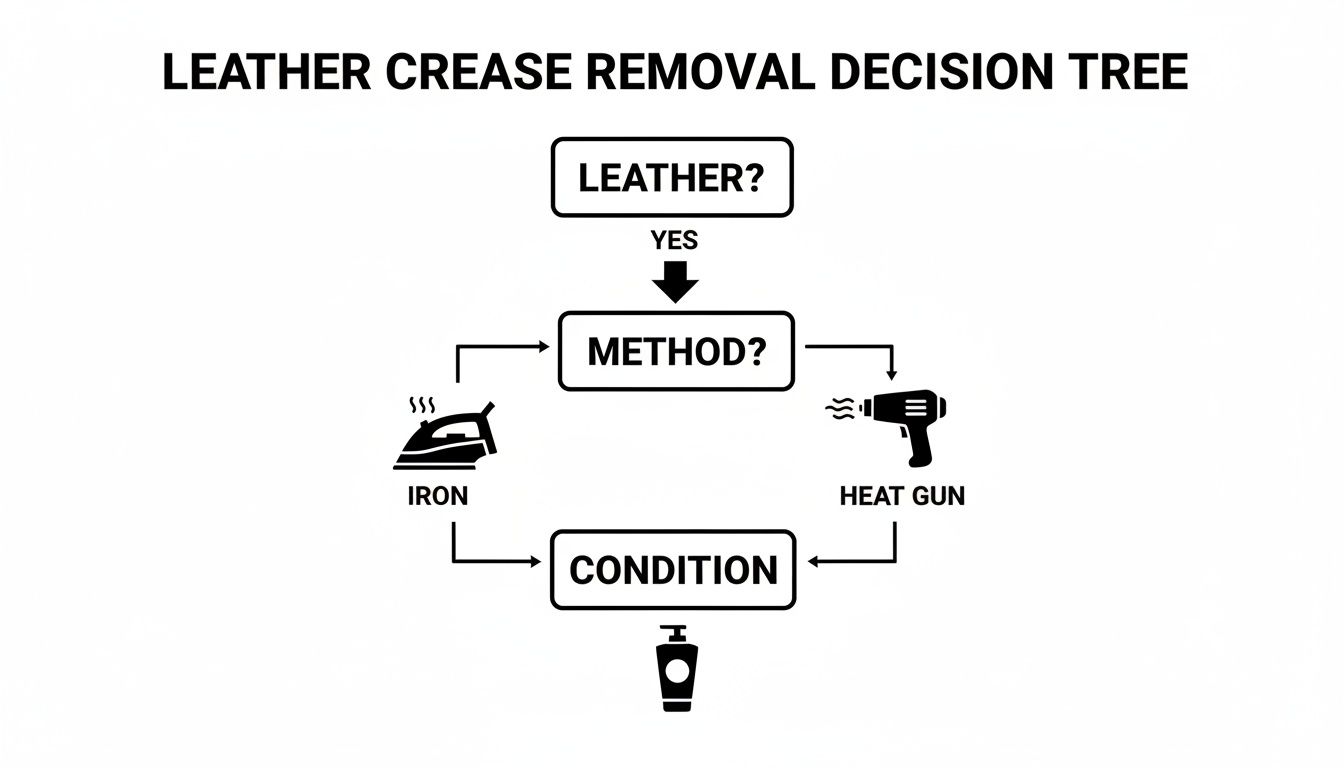
As the graphic shows for leather, the process involves a choice of heat source, but the final, essential step is always conditioning to restore the material.
Tackling Modern Synthetics and Mixed Materials
Synthetic materials vary widely, from plastic overlays to performance knits. The universal rule is to use the lowest heat possible. Many synthetics have a low melting point, and excessive heat will cause permanent damage.
For creases on synthetic leather or plastic components, a hair dryer on its lowest, coolest setting is the safest tool.
- Hold the dryer at least eight inches from the surface.
- Keep it in constant motion to distribute heat evenly and prevent hotspots.
- Once the material is pliable, use your fingers to gently massage the crease out.
- Leave the shoe stuffed until it has cooled completely to retain its new shape.
Gold Standard Warning: Never use an iron on synthetic uppers, even with a cloth barrier. The risk of melting the material or the underlying adhesives is far too high. Gentle, indirect heat from a distance is the only professionally sanctioned method.
The Art of Prevention: How to Keep Sneakers Crease-Free
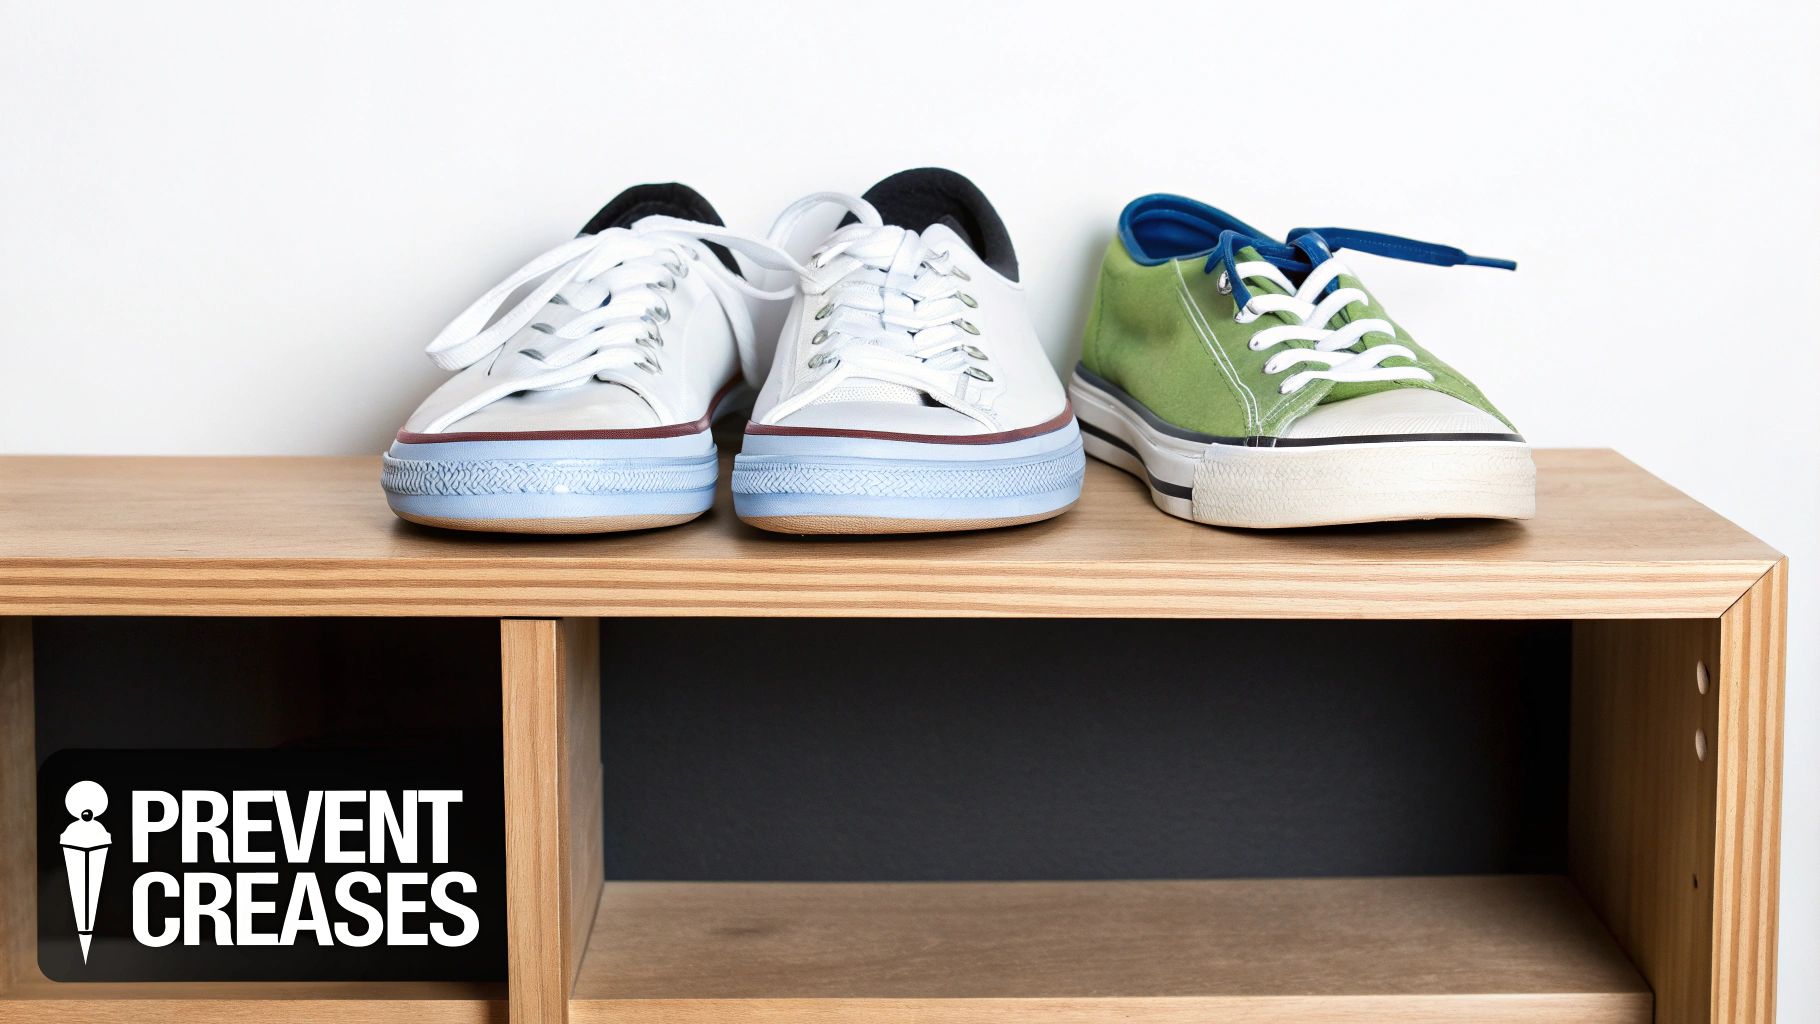
While crease removal is a valuable skill, professional-level care prioritizes prevention. Proactive maintenance is the only way to preserve the long-term structure, value, and lifespan of your footwear collection. By adopting a few simple habits, you can shift from a reactive cycle of repair to a proactive routine of preservation, keeping your sneakers in optimal condition from the first wear.
The Foundational Role of Shoe Trees
If you adopt only one practice from this guide, it should be this: use high-quality shoe trees. They are the single most important tool for sneaker preservation.
Insert shoe trees immediately after taking off your sneakers. This accomplishes two critical functions. First, they absorb the damaging moisture and salts from perspiration. Second, and more importantly, they provide the internal structure necessary to smooth out minor wrinkles accumulated during wear, holding the sneaker’s original shape as the material rests and cools.
Think of it this way: your sneakers spend hours flexing with your foot. Shoe trees reverse that stress, gently resetting the material and stopping those temporary folds from becoming permanent, deep-set creases.
Cedar wood is the superior material for its moisture-wicking and deodorizing properties, but well-fitting plastic trees also provide the necessary structural support. This simple habit is the foundation of long-term sneaker preservation.
A Practical Look at Crease Protectors
Crease protectors are plastic or foam inserts designed to sit inside the toe box. They are effective at preventing the initial formation of deep creases, particularly in new sneakers with large, unstructured toe boxes.
However, their effectiveness is entirely dependent on fit. A poorly sized protector will be uncomfortable and can create unnatural pressure points inside the shoe. They are a useful tool for casual wear but are not recommended for athletic activities where natural foot flexion is required. Use them strategically.
Essential Habits for Long-Term Preservation
Beyond specific tools, several key habits will dramatically reduce creasing over time.
- Ensure the Right Fit: This is critical. A shoe that is too large has excess space in the toe box, allowing the material to collapse into sharp folds. A proper fit ensures the sneaker flexes with your foot, not against it.
- Rotate Your Collection: Avoid wearing the same pair on consecutive days. Allowing sneakers at least 24 hours to rest with shoe trees inside lets them dry completely and recover their shape, drastically reducing material fatigue.
- Store Them Properly: Do not store sneakers in a pile. Keep them on a shelf or in their original box to prevent them from being crushed or deformed. Proper storage protects them from developing creases while not in use.
Mindful ownership is key. Understanding material behavior—similar to knowing tips on how to fold garments to avoid wrinkles—is part of a holistic approach to care. Prevention transforms small daily habits into a long-term strategy for a pristine collection.
Frequently Asked Questions About Sneaker Creases
Even with detailed guidance, specific questions arise. Here are field-tested answers to the most common inquiries we receive, designed to help you navigate challenges and avoid common mistakes.
Can I use a regular household iron?
Yes, provided it has adjustable temperature settings and you proceed with extreme caution. Always use the lowest possible heat setting (e.g., 'silk' or 'synthetic').
The immutable rule is to never let the iron make direct contact with the sneaker. Always use a clean, damp microfiber cloth as a protective barrier. This distributes heat evenly and prevents the material from scorching. Keep the iron in constant motion and check your progress every few seconds to avoid causing permanent damage.
How long until the creases return?
The durability of your crease removal work depends on three factors:
- The quality of the treatment: How effectively you smoothed the material and conditioned it afterward.
- The sneaker's material: Soft leathers will naturally recrease more readily than rigid synthetics.
- Your preventative care regimen: This is the most significant factor.
A well-executed treatment on quality leather sneakers, followed by the consistent use of shoe trees, can keep major creases from reappearing for months. However, creasing is an inherent part of wearing footwear. The goal is management, not permanent elimination. A disciplined care routine is the only method for maintaining a like-new appearance.
Are crease protectors bad for my sneakers or feet?
Crease protectors can be highly effective for preventing creases, but their success is 100% dependent on a proper fit. An ill-fitting protector will cause discomfort, rubbing, and blisters. For the sneaker, a poor fit can create unnatural pressure points, leading to wear patterns that are worse than the creases themselves. Our recommendation is to use them for casual wear only and remove them for any athletic use that requires natural foot flexion.
The Biggest Mistake We See: Applying too much direct heat, too quickly. Impatience is the primary cause of damage during crease removal. Users increase the heat in an attempt to speed up the process and end up scorching leather, melting synthetics, or weakening adhesives. It is always better to repeat the process multiple times with low heat than to risk destroying your sneakers in a single attempt.
For every step of your sneaker care journey, from deep cleaning to crease prevention, Gold Standard provides the professional-grade tools and all-natural formulas your collection deserves. Protect your investment with products designed to deliver superior results.
Explore our premium care solutions at https://gold-standard-approved.myshopify.com.