
Restoring old sneakers is a craft. It moves beyond a simple scrub-down into a methodical process involving assessment, material-specific cleaning, targeted repairs, and long-term protection. With the right techniques and a clear understanding of how materials like leather, suede, canvas, and rubber behave, you can successfully revive a pair you might have considered a lost cause.
Why Sneaker Restoration Is More Than Just a Deep Clean
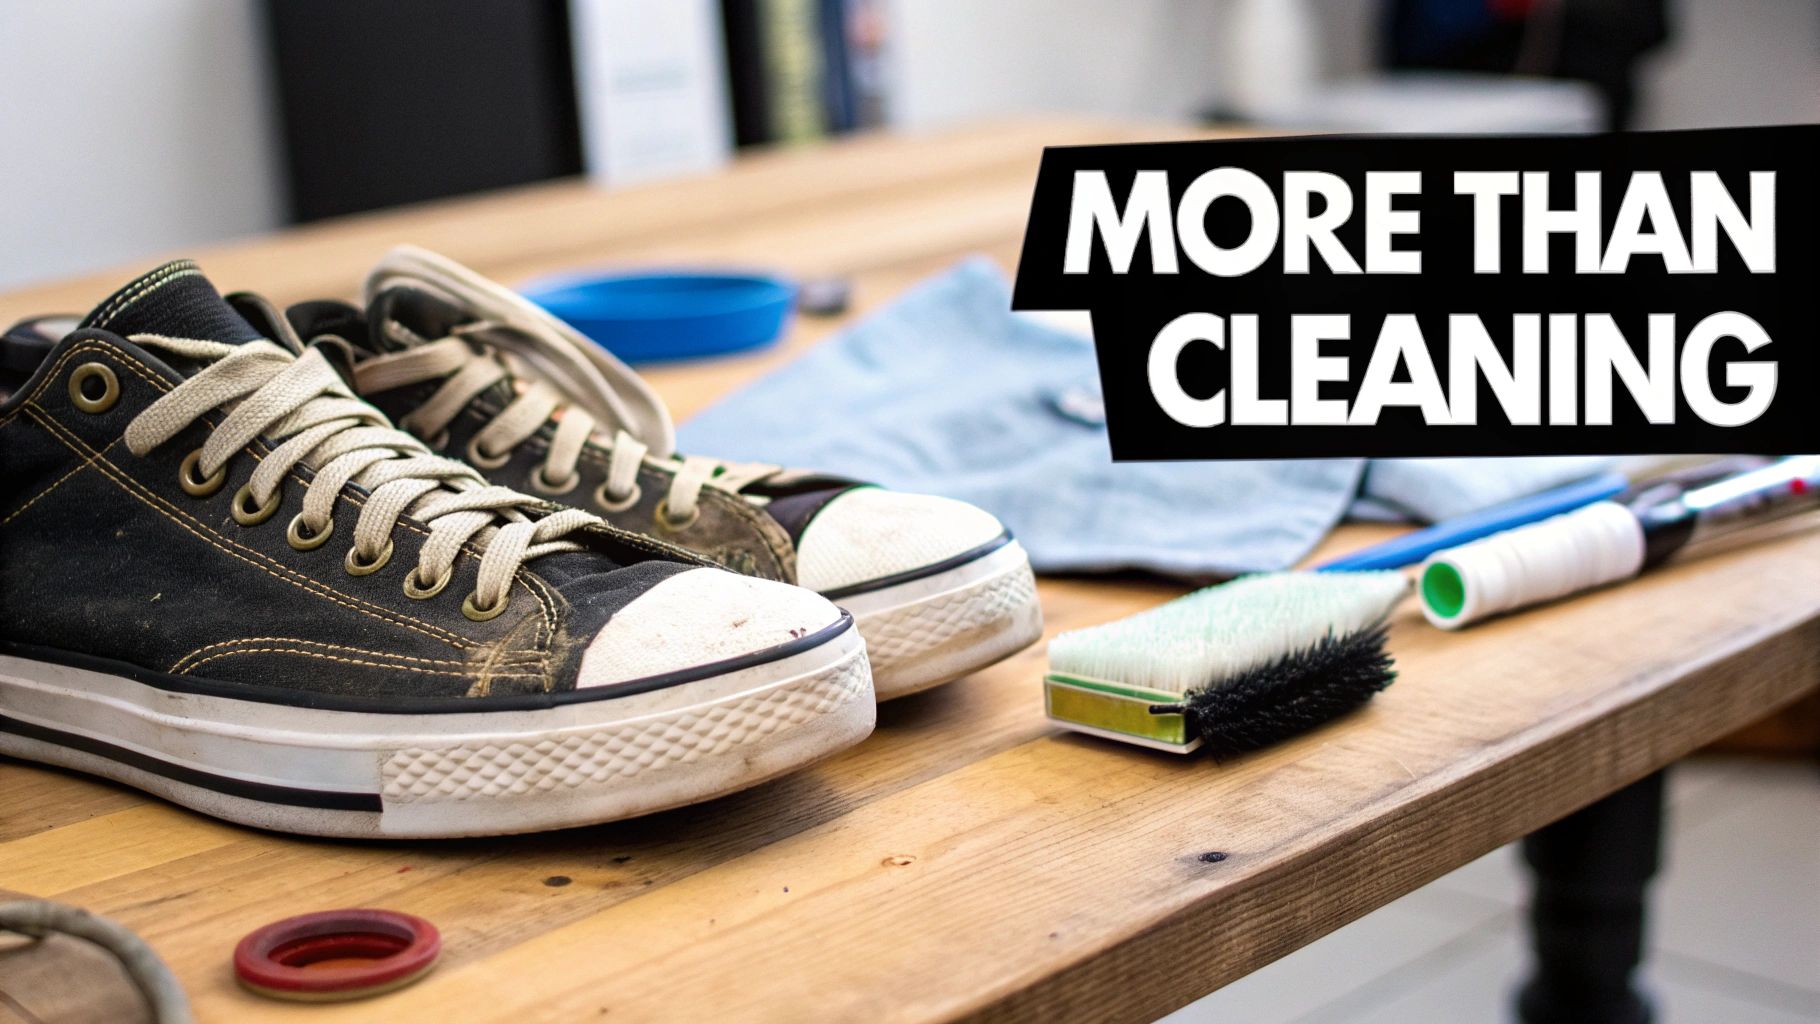
Anyone can apply a brush and soap to a dirty shoe. True sneaker restoration, however, is about systematically reviving footwear that holds value—whether it's a rare collector's piece or a reliable pair that has traveled countless miles with you. This process addresses the fundamental signs of aging that a superficial wash cannot.
We are moving beyond surface grime to confront the core issues that make a sneaker show its age:
- Oxidation: The stubborn yellowing that develops in white rubber midsoles over time due to UV exposure.
- Structural Failure: The degradation of adhesives that leads to sole separation.
- Material Fatigue: Deep-set creases in leather or persistent discoloration in suede.
Correctly addressing these issues requires a methodical, material-first approach. You cannot treat delicate suede with the same methods used for a durable leather toe box. This is where expertise distinguishes a quick clean from a full restoration.
The Restoration Mindset
View restoration not as a single task but as a multi-stage project. Each step prepares the sneaker for the next, ensuring the final result is not only visually impressive but also structurally sound for future use. Rushing the process or using an inappropriate product is the fastest way to turn a potential revival into permanent damage.
At Gold Standard, we view every scuff, stain, and sign of wear as an opportunity. The goal is not merely to make sneakers look new, but to honor their original construction and extend their functional life, preserving both their value and their history.
A Roadmap for Revival
This guide provides a clear roadmap. We will break down the entire process from start to finish, equipping you with the knowledge to take on projects you might have previously thought were beyond repair. You will learn not just how to perform each step, but the critical why behind each technique.
From the initial assessment to the final protective application, every action is crucial. We will cover material identification, workspace setup, and advanced repairs like re-gluing soles and de-yellowing midsoles. Upon completion, you will possess a framework to bring sneakers back from the brink, transforming neglected footwear into pairs you are proud to wear again.
Your Pre-Restoration Assessment and Prep
Initiating a cleaning without a proper assessment is a common mistake that separates amateur efforts from professional results. A successful restoration begins with a careful examination of the sneaker. This diagnostic phase involves identifying the core issues, understanding the materials you're working with, and setting the stage for a safe and effective treatment.
A physician does not prescribe treatment without first understanding the symptoms; the same principle applies here. Rushing this step will compromise your results.
Your first action is to gain a complete understanding of the damage. Differentiate between surface-level dirt and deeper structural problems. Document everything: stains, scuffs, sole yellowing, and any signs of weakness like sole separation or frayed stitching. This assessment dictates the specific tools and techniques you will need.
Identifying Your Materials
Sneaker materials are not created equal, and treating them uniformly can cause irreversible harm. A gentle approach for suede would be ineffective on durable rubber, while a method suitable for leather would destroy a delicate knit upper.
Here is a brief field guide to common materials:
- Smooth Leather: Characterized by its finished, slightly lustrous surface. It is durable but can dry, crack, or scuff if treated improperly.
- Suede & Nubuck: Identified by their soft, napped texture. These materials are highly sensitive to moisture and prone to staining and discoloration.
- Canvas & Mesh: Woven fabrics known for breathability and flexibility. Their porous nature allows them to absorb stains readily, making deep cleaning a challenge.
- Knit: Materials like Primeknit or Flyknit. As textiles, they require a gentle touch to avoid snagging or stretching the fibers.
- Rubber & Foam: Found on midsoles and outsoles. These components are tough but susceptible to oxidation (yellowing) and can trap embedded dirt in their porous structures.
Understanding these distinctions is the foundation of a proper restoration and prevents critical errors, such as using a stiff brush on a knit upper or saturating a suede panel with liquid.
Before beginning, assemble your toolkit. Having all necessary items organized makes the process more efficient and professional.
The Essential Sneaker Restoration Toolkit
| Tool or Product | Primary Use | Recommended For |
|---|---|---|
| Soft Bristle Brush | Dry brushing loose dirt; gentle wet cleaning. | Suede, nubuck, knit, premium leather, canvas. |
| Medium Bristle Brush | General cleaning on most uppers. | Leather, canvas, mesh, rubber. |
| Stiff Bristle Brush | Aggressive scrubbing on durable areas. | Outsoles and midsoles only. |
| Premium Sneaker Cleaner | Breaking down dirt and stains safely. | All materials (when used as directed). |
| Suede & Nubuck Kit | Erasing stains and restoring nap. | Suede and nubuck specifically. |
| Microfiber Towel | Drying and buffing without leaving lint. | All materials. |
| Shoe Trees | Maintaining shape during cleaning and drying. | All shoe types. |
| Sole Brightener | Reversing oxidation and yellowing. | Icy/translucent and white rubber soles. |
This toolkit will equip you for approximately 90% of common restoration tasks.
The Non-Negotiable Prep Work
With your diagnosis and material identification complete, it is time to prepare the sneaker. This setup phase is non-negotiable and ensures each part of the shoe receives the necessary attention.
First, remove the laces and insoles. Laces must be washed separately to remove grime trapped within their fibers. Removing the insoles allows the shoe's interior to dry completely, preventing mildew growth, and provides unobstructed access to the tongue and eyelets.
Next, use a soft-bristle brush, such as a natural hog-hair brush, for a thorough dry brushing of the entire shoe. The objective is to dislodge and remove all loose dirt, dust, and debris from the uppers and midsoles. Using a soft brush is critical; a stiff synthetic brush can create micro-abrasions, especially on delicate leathers and textiles, permanently dulling the finish.
A thorough dry brush before introducing any liquid is a professional-grade habit. It prevents you from turning loose dirt into mud, which creates new, more stubborn stains during the wet cleaning phase.
Finally, stuff the shoe tightly. Use proper shoe trees if available, or balled-up socks as an alternative. This step is crucial for two reasons: it maintains the sneaker's natural shape during handling, and it provides a firm surface to press against while scrubbing. This simple action prevents the toe box from collapsing and ensures you can apply even pressure for a consistent clean. This foundational prep work is the key to making the entire process of how to restore old sneakers smoother and more effective.
Getting Down to the Details: Material-Specific Cleaning
With the preparation complete, we proceed to the core of the restoration. This is where precision and material-specific knowledge are paramount.
A one-size-fits-all approach is ineffective and damaging. What works for a durable leather upper will ruin delicate suede trainers. Success depends on understanding how each material behaves and applying the correct technique.
This simple flow should guide your actions before applying any cleaner.
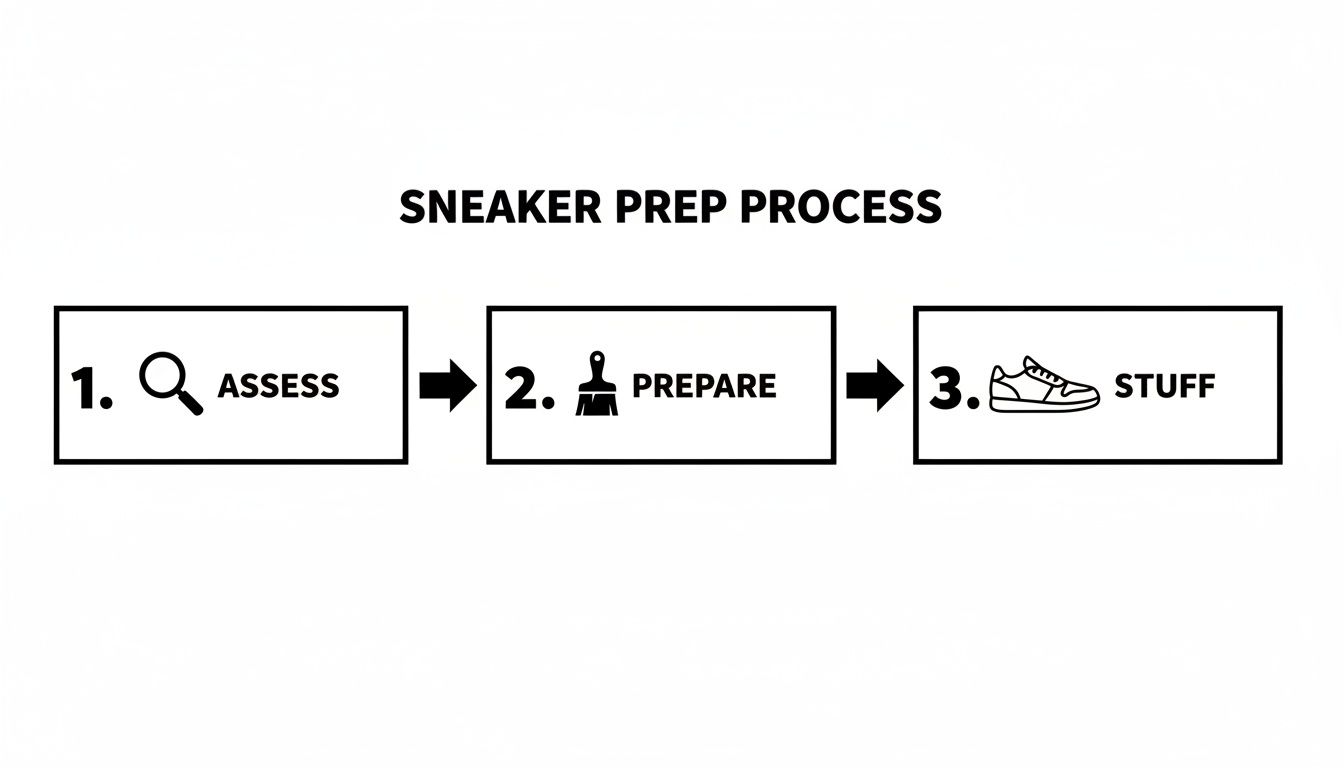
Following this Assess, Prepare, and Stuff sequence helps you avoid common mistakes like embedding dirt deeper into the fabric or distorting the shoe's shape during cleaning.
Cleaning Smooth and Tumbled Leather
Leather is durable, but it is still a natural material. Improper treatment can cause it to dry out, crack, or lose its finish. Our objective is to lift dirt and grime while preserving its natural oils and structural integrity.
For this task, you will need a quality cleaning solution, a medium-bristle brush, and a microfiber towel. Apply a small amount of cleaner to the brush, dip it into a bowl of cool water, and scrub the leather in small, circular motions. Aim to generate a light foam that lifts dirt from the grain. Avoid over-saturating the leather.
Immediately after cleaning a section, wipe the foam away with a clean, damp microfiber towel. This step is critical. Allowing the solution to dry on the surface can leave a residue film. By working in small, manageable sections, you maintain control and achieve a clean, uniform finish.
The Delicate Art of Suede and Nubuck Restoration
Suede and nubuck are among the most sensitive materials you will encounter. Their soft, napped texture readily absorbs dirt and water, making mistakes difficult to reverse. For this reason, a dry-first approach is non-negotiable. Applying a liquid cleaner directly to dirty suede will set the stain and create water spots.
A suede eraser and a proper suede brush are your primary tools.
- For Dry Stains and Scuffs: Use the suede eraser to gently rub out marks. This action will lift and crumble the stained surface fibers away.
- Restoring the Nap: After erasing, use your suede brush to lightly brush the surface in a single direction. This step lifts the matted-down fibers, restoring the material's velvety texture and color.
For more stubborn, set-in stains, a dedicated suede cleaner may be necessary, but it must be used sparingly. Apply a minimal amount to your brush (never directly to the shoe), gently work it into the affected area, and immediately blot with a dry microfiber towel to extract the moisture. For a full breakdown of different methods, check out our guide on how to clean sneakers at home.
Tackling Canvas, Mesh, and Knit Fabrics
Fabrics like canvas, mesh, and knits attract dirt due to their porous, woven structure. They can withstand a thorough cleaning, but overly aggressive methods can fray threads, stretch the material, or cause color bleeding.
The process is similar to cleaning leather but requires a much lighter touch. Use a soft-bristle brush with your cleaning solution and cool water. Gently work the foam into the fabric, allowing it to penetrate the weave and lift out trapped dirt. You may need to treat a deep stain multiple times, but resist the urge to oversaturate the material.
Always use cool or lukewarm water when cleaning fabrics. Hot water can weaken the adhesives holding your sneakers together and may cause certain dyes, especially in canvas, to bleed, resulting in permanent discoloration.
After scrubbing, press a dry microfiber towel firmly into the fabric to absorb as much moisture as possible. This action is vital for accelerating drying time and preventing water stains. Never twist or wring out the shoe, as this will stretch the fibers and permanently ruin its shape.
Revitalizing Rubber Midsoles and Outsoles
Midsoles and outsoles endure the most abuse, constantly accumulating caked-on dirt and grime. Their textured surfaces require a more aggressive approach than the uppers.
Here, a stiff-bristle brush is appropriate. Its bristles can effectively penetrate the grooves and patterns in the rubber, removing dirt that a softer brush cannot reach. Apply your cleaning solution directly to the brush and scrub vigorously. These components are designed to withstand such treatment.
Watching a valued pair of sneakers yellow and fade is a common frustration. This has fueled a robust restoration culture, with the global shoe restoration market projected to grow significantly. When restoring your own pairs, starting with a gentle yet effective brush, like a hog-hair brush, is key for premium care without harsh chemicals. Dipping it in a quality cleaning solution can lift a surprising amount of dirt without damaging more delicate materials.
For stubborn scuffs on white midsoles, a melamine foam eraser can be used carefully, but exercise caution on painted sections, as it is abrasive. Once clean, give the soles a final, thorough wipe-down. A pristine midsole frames the restored uppers, making the entire sneaker appear renewed.
Advanced Repairs From Sole Whitening to Structural Fixes
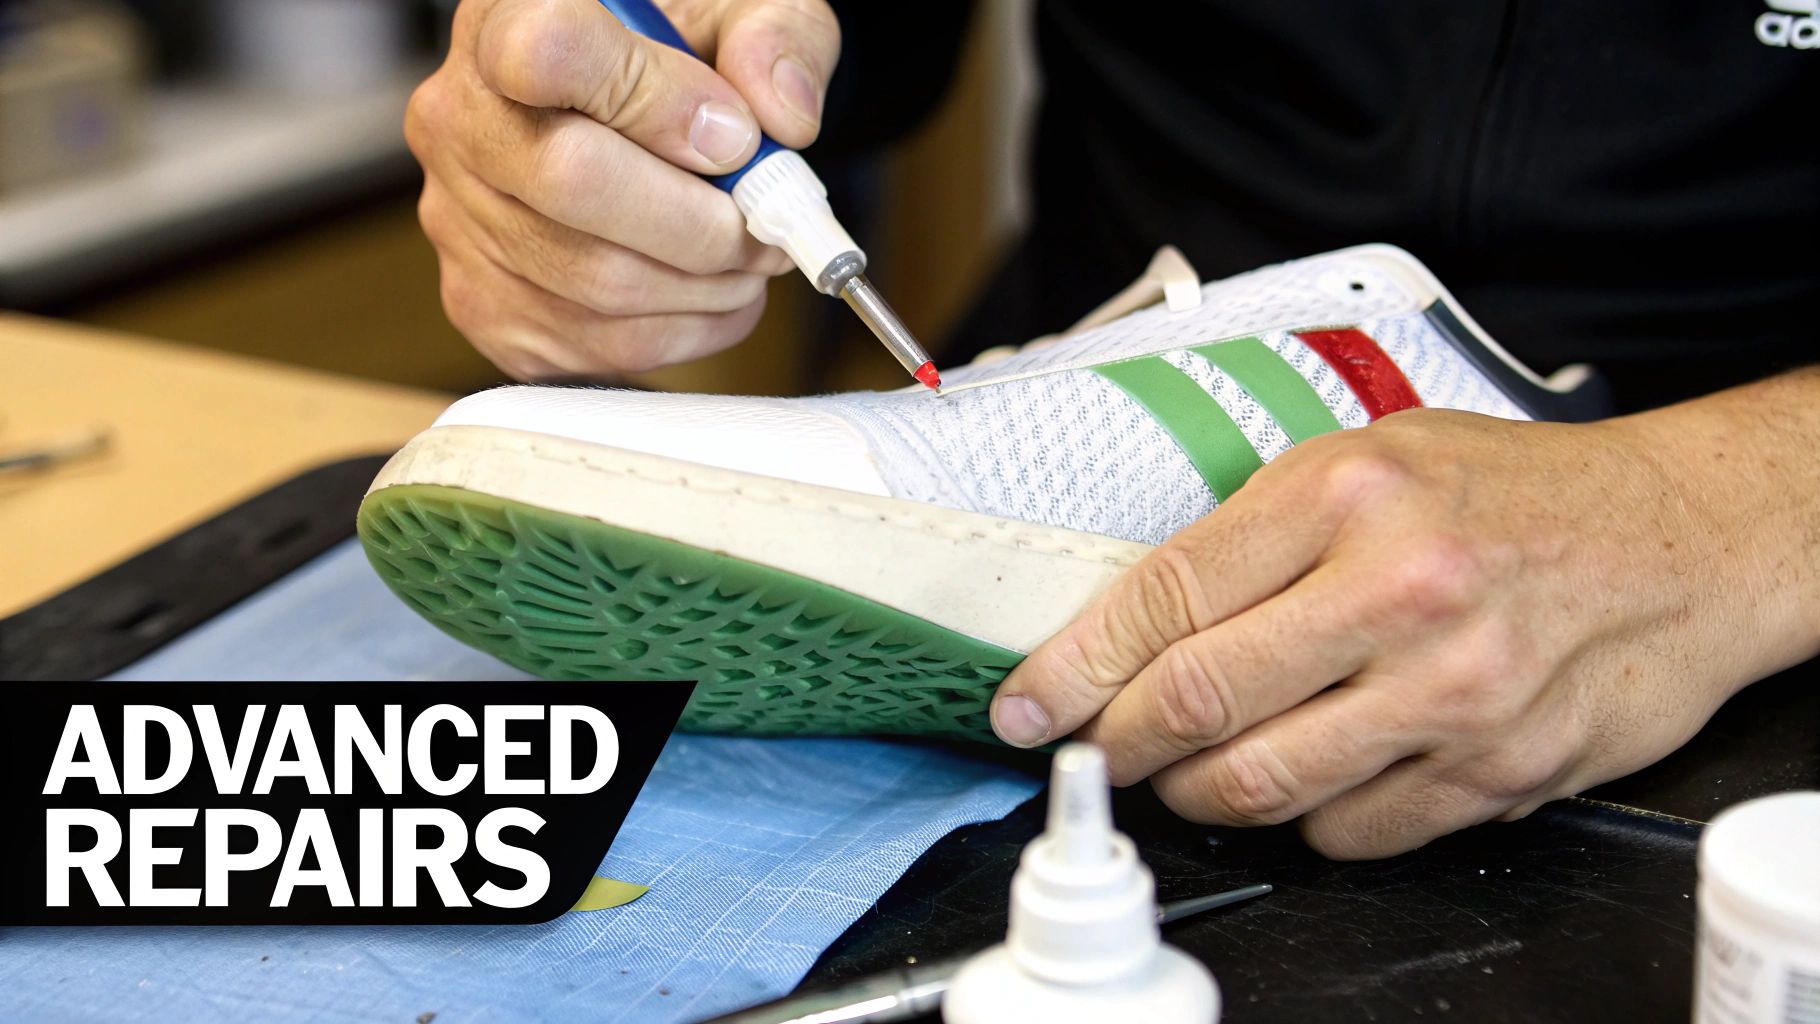
With the uppers cleaned, it is time to address the advanced repairs that often lead owners to discard their footwear. This phase distinguishes a simple clean-up from a true restoration. We will focus on reversing stubborn signs of aging that require patience, precision, and the correct methodology.
This stage is about reversing oxidation, repairing sole separation, and addressing cosmetic damage that standard cleaning cannot fix. These techniques restore not only the sneaker's appearance but also its structural integrity for continued wear.
Reversing Sole Yellowing
The yellow tint that develops on white or icy rubber soles is caused by oxidation—a natural reaction between the rubber, oxygen, and UV light. Fortunately, this process is reversible.
The key is a specialized deoxidizing agent, commonly sold as a "sole brightener." This is not a simple bleach but a targeted formula designed to safely lift yellowing from the rubber.
- Application: Use painter's tape to carefully mask off any parts of the upper that contact the midsole, especially delicate materials like suede. Then, use a small brush to apply a thin, even layer of the deoxidizing agent to the yellowed areas.
- Activation: This process requires UV light. Cover the treated soles with clear plastic wrap to prevent the agent from drying out prematurely. Place the sneakers in direct sunlight for short sessions of 30-60 minutes each.
- Monitoring: Monitor the process closely. De-yellowing can be uneven, so you may need to rotate the shoes to ensure consistent light exposure. Repeat the process as needed, wiping the soles clean between sessions, until the yellowing is gone.
Patience is critical. Rushing the process with excessive sun exposure or too much product can make the rubber brittle. Slow, controlled, repeated sessions yield the safest and most effective results.
The effort is worthwhile. A properly restored sneaker can retain a significant portion of its value. While a full sole swap is an option for maximizing lifespan, excellent results can be achieved at home. Using a quality kit with effective deoxidizing agents and the right tools can drastically reduce the risk of material damage compared to using harsh household chemicals.
Addressing Structural Failures and Scuffs
Older sneakers often exhibit structural failures. The most common is sole separation, which occurs when the original factory adhesive degrades from years of flexion and environmental exposure.
Re-gluing Separated Soles
Repairing a separating sole requires more than standard super glue, which dries brittle and will crack under stress. You need a purpose-built, flexible footwear adhesive designed to withstand constant movement.
- Prep the Area: Thoroughly clean both surfaces of the separation. Use rubbing alcohol on a cotton swab to remove all old glue residue, dirt, and oils. A clean surface is essential for a strong bond.
- Apply and Clamp: Brush a thin, even coat of adhesive onto both surfaces. Allow it to become tacky for a few minutes (refer to the product instructions), then press the pieces together firmly. Use clamps or heavy rubber bands to maintain pressure for at least 24 hours to allow the adhesive to fully cure.
Touching Up Scuffs and Reducing Creases
For scuffs on smooth leather, use a color-matched leather cream or paint. Apply it sparingly with a fine-tip brush or sponge, feathering the edges to blend it seamlessly.
To address heavy creases in the toe box, first stuff the shoe tightly with shoe trees or socks. Lay a damp microfiber cloth over the creased area and gently pass an iron on a low heat setting over it. Keep the iron in constant motion. The steam helps the leather relax and reshape, which can significantly reduce deep-set wrinkles.
Protecting Your Work for Long-Term Wear
The most intensive work is complete. You have cleaned, de-yellowed, and repaired your sneakers. However, the restoration process is not finished. The final, crucial step is protection.
After investing significant effort, you must protect your work from the dirt, water, and grime that caused the initial damage. This step acts as an insurance policy for your time and labor. Without it, you risk undoing your progress with the next unexpected puddle or spill.
Keep That Leather Supple with Conditioner
For restored leather footwear, conditioning is not optional—it is essential. The deep cleaning process, while effective at removing dirt, can also strip away the natural oils that keep leather soft and flexible. Neglecting this step will lead to dryness and cracking over time.
A quality leather conditioner is formulated to penetrate the pores and replenish these oils, preventing the material from becoming stiff and helping to minimize the formation of deep creases.
- Apply sparingly: Dab a small amount of conditioner onto a clean microfiber cloth.
- Work it in: Gently massage the conditioner into the leather using small, circular motions. Ensure you are working it into the material, not just wiping it across the surface.
- Allow absorption: Let the conditioner sit for 15-20 minutes to be fully absorbed.
- Buff off excess: Use a separate clean, dry cloth to buff the surface. This will remove any excess product and leave a healthy, subtle sheen.
This routine does more than improve the leather's appearance; it nourishes it from within, maintaining its strength and resilience.
The Invisible Shield: Stain and Water Repellent
Once your sneakers are clean, conditioned, and completely dry, apply a high-quality stain and water repellent spray. This creates a breathable, invisible barrier that causes liquids to bead up and roll off the surface rather than soaking in. It is your primary defense against rain, spills, and mud.
A common mistake is to oversaturate the shoe with repellent. A heavy coat can alter the texture of materials like suede or leave a sticky residue. Two light, even coats are always more effective than one thick application.
Adjust your technique based on the material. For durable materials like leather, canvas, and mesh, hold the can 6-8 inches away and use a smooth, sweeping motion to cover the entire upper. For delicate materials like suede, nubuck, or knits, apply an even lighter coat to avoid weighing down the fibers.
Always allow the first coat to dry for at least 30 minutes before applying the second. Then, let the shoes cure for a full 24 hours before wearing them outdoors. This allows the protective barrier to fully bond with the material. To maintain this protection, a consistent upkeep routine is necessary—you can learn more about how to keep your sneakers clean with regular maintenance.
Make it Last: Building a Maintenance Routine
The sneaker care market is expanding rapidly, a testament to the growing understanding that routine maintenance is valuable. You can discover more insights about the growing sneaker care market on businessresearchinsights.com.
A simple plan can preserve your hard work.
- Use Shoe Trees: This is non-negotiable. Insert cedar shoe trees immediately after removing your shoes. They absorb moisture, neutralize odors, and, most importantly, help the sneaker maintain its original shape by preventing creases and toe box collapse.
- Spot-Clean Immediately: Address spills as soon as they happen. Use a gentle cleaner and a microfiber cloth to prevent a small spot from becoming a permanent stain.
- Rotate Your Footwear: Avoid wearing the same pair on consecutive days. Allowing sneakers a day to rest lets them air out and dry completely, which preserves their structure and freshness.
This proactive approach ensures your restoration is not a one-time fix but a lasting investment in your footwear.
Your Sneaker Restoration Questions, Answered
Even with a comprehensive guide, questions often arise. Having addressed countless scenarios, we have compiled answers to the most common inquiries to help you avoid pitfalls that could damage your footwear.
Can I Just Use Dish Soap or Other Household Cleaners?
The answer is a firm no. While tempting, using dish soap is one of the most detrimental actions you can take for your sneakers.
Dish soap is a degreaser, designed to strip oils. This is catastrophic for materials like leather, as it removes essential moisture, leading to dryness and cracking. Other household cleaners containing bleach or ammonia are equally harmful; they can cause permanent yellowing on soles and break down adhesives and fabrics over time.
A purpose-built, pH-balanced sneaker cleaner is formulated to be tough on grime while remaining gentle on the shoe's materials. It respects the color, texture, and integrity of your footwear in a way that a generic household cleaner cannot.
How Do I Get Rid of These Deep Creases in My Leather Sneakers?
The toe box crease is a common sign of wear, but its appearance can be minimized. The technique involves using steam to relax the leather, allowing it to be reshaped.
Here is the method we use:
- Stuff the shoe firmly. Use a solid shoe tree or pack the toe box tightly with socks to push the crease out from the inside and create a firm working surface.
- Apply moist heat. Dampen a microfiber cloth (it should not be dripping wet) and lay it over the creased area.
- Gently apply heat. Set an iron to a low-to-medium setting and glide it over the cloth. Keep the iron moving continuously to avoid scorching the leather. The steam will allow the leather fibers to relax.
- Cool and set. Leave the stuffing inside and allow the shoe to cool completely for several hours. This is crucial for it to retain its new, smoother shape. Once cool, apply a quality leather conditioner to replenish moisture.
Is It Ever Okay to Throw My Sneakers in the Washing Machine?
As a general rule, avoid it. A washing machine subjects sneakers to aggressive tumbling, hot water, and harsh detergents—a combination that often leads to damage.
The spinning cycle can destroy the adhesives holding the shoe together, leading to sole separation. Leather and suede will warp, shrink, and become discolored. While a durable, all-canvas shoe might survive a delicate, cold cycle inside a mesh laundry bag, the risk is not worth it. Hand-cleaning provides complete control and is always the safer, more effective method for protecting your investment.
How Long Do I Really Need to Wait Between Steps?
Patience is the most critical component of a successful restoration. Rushing the process is the single biggest mistake and almost always compromises the final result.
After a deep clean, you must allow your sneakers to air dry for at least 24 hours. Place them in an area with good air circulation, away from direct sunlight or heat sources, which can make materials brittle. Attempting to glue, paint, or condition a shoe that is still damp is futile; the products will not bond or absorb correctly. Each step builds upon the previous one, so allow adequate time for each stage to set properly.
Restoring your favorite pair is about more than just cleaning; it's about investing in their future. To make sure all your hard work pays off, you need the right tools for the job. The Gold Standard Ultimate Sneaker Care Kit gives you everything you need to get those professional-level results at home, from our signature all-natural cleaner to the perfect hog-hair brush.
Don’t compromise when it comes to your collection. Explore the Gold Standard collection today and see the difference for yourself.