
Before any cleaning can begin, a clear methodology is required. Cleaning Timberland boots is not about brute-force scrubbing; it is a systematic process designed to preserve the integrity of the material—particularly the signature nubuck leather—while restoring its original condition. This is a four-stage process: dry preparation, targeted stain treatment, a controlled wet clean, and the critical drying and conditioning phase. Deviating from this process risks permanent damage to the nubuck's texture or, worse, causing the leather to crack.
The Foundation of Proper Timberland Boot Care
Your boots are an investment in quality craftsmanship and durable materials. Proper care is the variable that determines whether they last for years or fail after a single season. The classic "yellow boot" is crafted from nubuck, a top-grain leather that has been sanded to create a soft, velvety texture. While visually appealing, this delicate surface demands a specialized cleaning approach that avoids generic soaps and excessive water.
Why a Methodical Approach Is Non-Negotiable
Applying a harsh household cleaner or an overly stiff brush is the most efficient way to flatten the nubuck's nap, strip its essential oils, and cause irreversible discoloration. The objective is to lift particulate matter out of the material's fibers, not to grind it deeper.
Our cleaning philosophy is built on a sequence of four distinct, logical stages:
- Dry Preparation: Always begin dry. A soft brush is used to remove all loose surface dirt and grit before any liquid is introduced.
- Targeted Stain Treatment: Address specific issues such as scuffs, salt lines, or oil spots with precision tools before proceeding with a general clean.
- Gentle Wet Clean: This stage utilizes a dedicated, pH-balanced foam cleaner designed to lift embedded grime without oversaturating and damaging the leather.
- Drying & Conditioning: This final, crucial phase restores the boot's texture and establishes a protective barrier against future wear.
A common mistake is equating a "deep clean" with aggressive scrubbing. For nubuck and suede, the opposite is true. Finesse is paramount. The correct tools, applied with a gentle hand, will always yield a superior result and preserve the material's intended finish.
To streamline the process, consult this reference guide for the most common materials found on Timberland footwear. This allows for the correct tool selection from the outset.
Material-Specific Cleaning At a Glance
| Material Type | Primary Tool | Key Technique | Recommended Product |
|---|---|---|---|
| Nubuck/Suede | Soft-bristle brush & suede eraser | Gentle, circular motions; nap restoration | Gold Standard Premium Shoe Cleaner |
| Smooth Leather | Microfiber towel or horsehair brush | Wipe, don't scrub; apply conditioner | Gold Standard Water & Stain Repellent |
| Canvas/Fabric | Medium-bristle brush | Light scrubbing with foam cleaner | Gold Standard Sneaker Cleaner Wipes |
This table serves as a starting point. Identify your material, select the appropriate tool, and you have established the foundation for a professional-grade clean.
The Real Cost of Neglecting Your Boots
Neglecting regular cleaning doesn't just impact aesthetics; it actively accelerates the degradation of the materials. Dirt and grit are abrasive. With every step, these microscopic particles function like sandpaper, wearing down the delicate nubuck fibers. When combined with road salt and other environmental contaminants, you create the ideal conditions for permanent staining and compromised leather.
Footwear longevity studies indicate that boots cleaned irregularly can see their functional lifespan reduced by up to 40%. A premium footwear investment can be rendered unusable in a fraction of its potential service life. You can find further data on boot longevity at Boot World. This guide provides the routine necessary to avoid material failure and maintain your Timberlands for years to come.
Assembling Your Professional Cleaning Toolkit
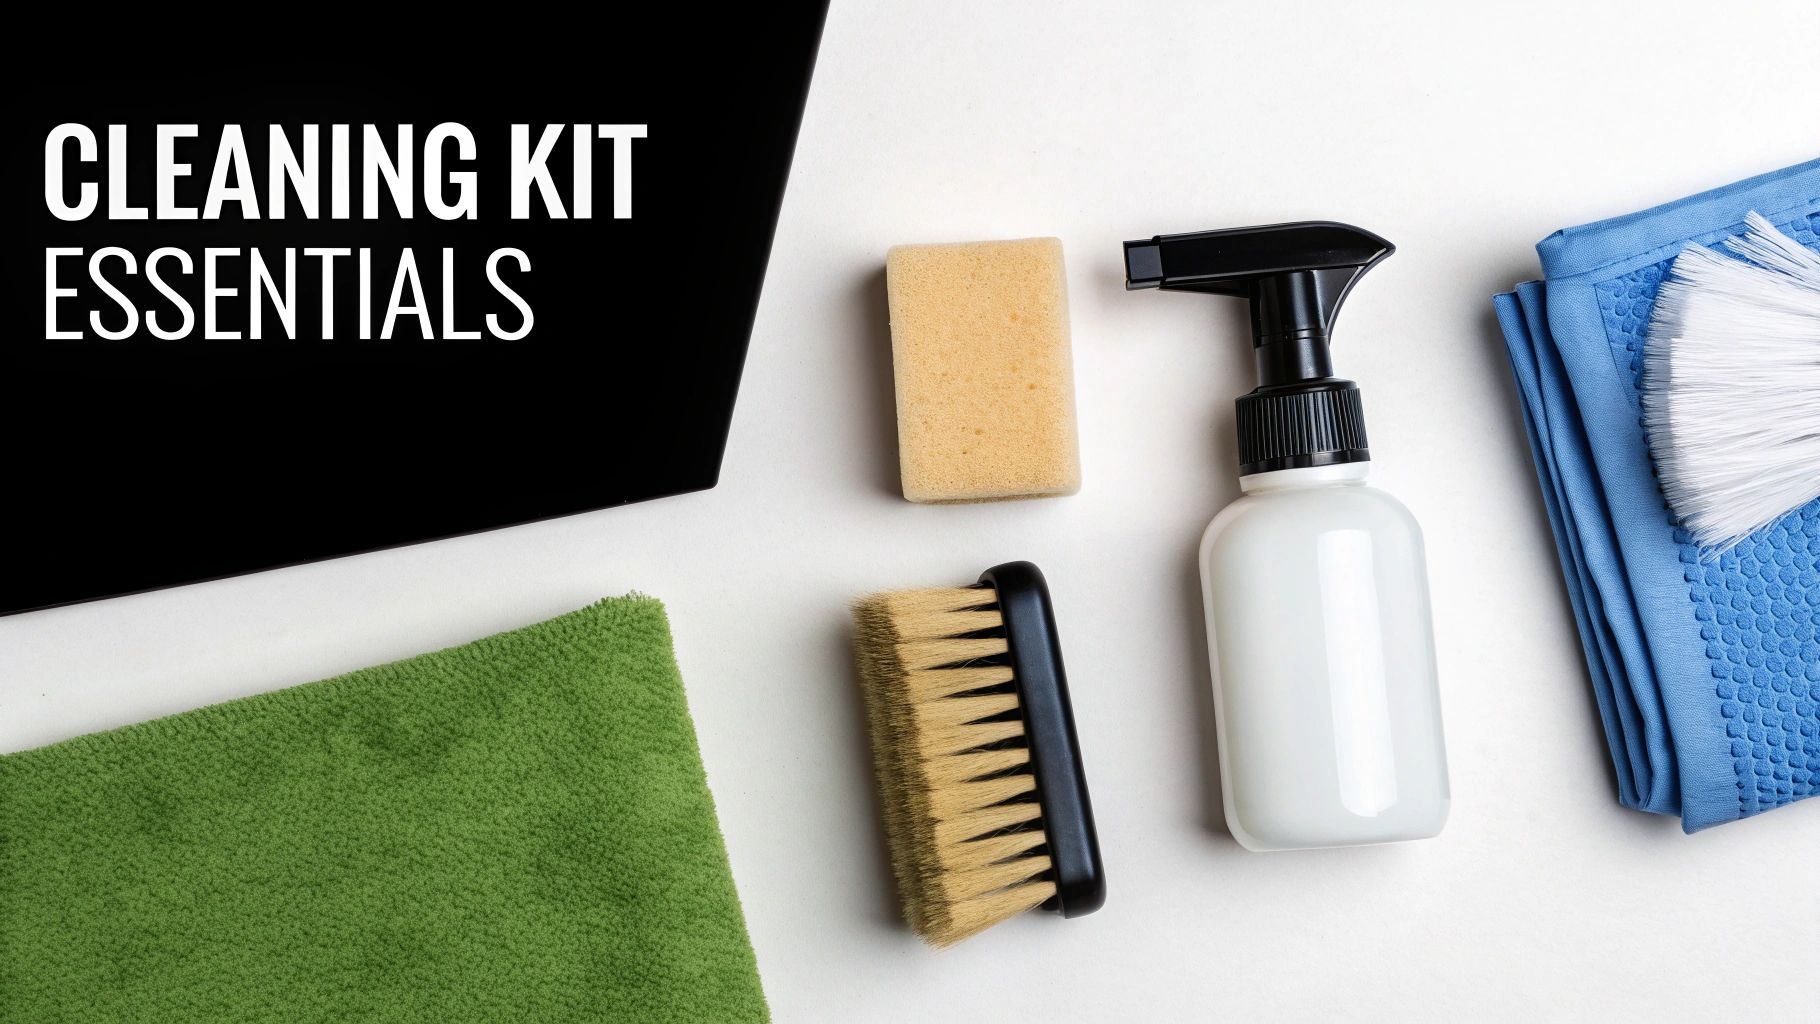
Achieving a professional-level clean does not require an extensive inventory of products. It requires a few precise tools engineered for the specific materials you are treating.
Using improper equipment can inflict more damage than the dirt you intend to remove. Understanding the function of each tool is what elevates the process from a simple cleaning to a proper restoration. This toolkit is your foundation for tackling everything from light dust to heavy soil without compromising the structural integrity of your boots.
The Essential Brushes
Not all brushes are created equal. Using the correct brush for each part of the boot is a non-negotiable step in a proper cleaning regimen.
For the delicate, velvety surface of nubuck, a soft-bristle brush is the primary tool. Its purpose is to gently lift surface debris and revive the material’s nap—the fine, raised fibers that define nubuck's texture. A brush with overly stiff bristles will scratch and permanently flatten these fibers.
Conversely, the rugged rubber outsoles require a different approach. A medium-to-stiff bristle brush is necessary to effectively dislodge mud and debris from the deep lugs. A soft brush would be ineffective, and using a stiff sole brush on the uppers would cause catastrophic damage.
The most frequent error observed is the use of a single, all-purpose brush for the entire boot. This practice risks scratching the uppers with stiff bristles and, more critically, transferring heavy soil from the outsole directly into the delicate nubuck.
Precision Tools for Targeted Treatment
Certain tasks demand a level of precision that a brush cannot provide. Two specialist tools are essential for anyone serious about how to clean Timberland boots correctly.
-
Suede & Nubuck Eraser: This is the primary tool for addressing scuffs, dark marks, and minor stains. It functions as a dry-cleaning agent. The eraser gently crumbles as it's used, lifting the stain out with its fine particles. This dry technique provides maximum control and eliminates the risk of creating water spots on sensitive materials.
-
Premium Microfiber Towel: The quality of your towel is critical. A standard cotton rag will deposit lint and fail to absorb moisture effectively. A high-quality microfiber towel is designed for superior absorption and a streak-free finish. During the wet-cleaning stage, it is used to blot foam and moisture—a crucial step for preventing oversaturation and ensuring an even drying process.
The Cornerstone: Your Cleaning Solution
The final component of the toolkit is the cleaning solution itself. While many generic cleaners are available, Timberland boots require a formulation designed for their specific materials.
Household detergents and all-purpose sprays are typically too alkaline. Their high pH can strip the natural oils from leather and nubuck, leading to dryness, cracking, and discoloration. A purpose-built solution is required.
A pH-balanced, non-toxic foam cleaner is the ideal formulation. The foam works to lift dirt to the surface for removal, rather than pushing it deeper into the material. The Gold Standard Premium Shoe Cleaner is specifically formulated for this task, cleaning effectively without harsh chemicals that could compromise the integrity of your footwear. With this toolkit, you are equipped to achieve a flawless clean and avoid the common pitfalls that ruin high-quality boots.
The Definitive Method for Cleaning Nubuck and Suede
This is where technique becomes paramount. Cleaning the signature nubuck on a pair of Timberlands is less a simple wash and more a restoration process. Proper execution distinguishes a factory-fresh appearance from an irreversible mistake.
Disregard methods used for standard grain leather. Nubuck is a unique material that demands a delicate, methodical approach where each step prepares the surface for the next. We will break down the process from initial preparation to the final brush stroke that restores its signature velvety texture.
Your Pre-Cleaning Ritual
Before any cleaner is applied, the surface must be prepped. This foundational step is non-negotiable. First, remove the laces to allow complete access to the entire boot, including the tongue and eyelets.
Next, using a soft-bristle brush, perform a thorough dry brushing of the entire boot. The objective is to remove all loose particulate matter—dust, dried mud, and any other surface grit. Employ consistent, gentle strokes, always brushing in the same direction to lift the dirt from the nap. Skipping this step means that when liquid is applied, you will be grinding these abrasive particles deeper into the material, effectively turning loose dirt into a new, more permanent stain.
This is analogous to sanding a wooden surface before painting. One would not apply paint over a rough, dusty surface and expect a smooth finish. The same principle applies here; a clean canvas is required for effective work.
Tackling Scuffs and Surface Marks
After the initial dry brushing, inspect the boots for localized scuffs or dark marks. These are instances where a suede eraser becomes the primary tool.
Apply firm, direct pressure with the eraser, rubbing back and forth over the scuff mark. The eraser functions by creating gentle friction that lifts the darkened, compressed fibers and the dirt trapped within them. The eraser will begin to crumble; this is by design. The resulting particles absorb and carry away the grime.
- Be precise: Confine the use of the eraser to the affected area to avoid altering the texture of clean sections.
- Vary your pressure: Begin with moderate pressure and increase as needed for more stubborn marks.
- Clean up: After treating a spot, use your soft brush to sweep away all eraser shavings and loosened dirt.
This targeted, dry treatment allows you to resolve localized issues without requiring a full wet clean of the entire boot, thus preserving the integrity of the nubuck.
Executing the Wet Clean with Precision
With dry preparation complete, it is time for the wet clean. This is the critical phase where many errors occur. The key is to use minimal moisture and a high-quality cleaner designed to lift dirt, not saturate the material.
Begin by lightly dampening your soft-bristle brush with clean water. Apply a small amount of a premium, pH-balanced formula, such as the Gold Standard Premium Shoe Cleaner, onto the bristles. The goal is to generate a controlled foam.
Work the solution into the nubuck using small, circular motions, methodically cleaning the entire boot. This technique allows the foam to penetrate the fibers and lift dirt to the surface. A light lather should be visible, but the boot should never appear saturated. If the brush becomes soiled, rinse it in clean water, tap out the excess, and reapply the cleaner. This prevents the redistribution of grime.
The Blotting and Finishing Touch
While working the foam across the boot, keep a clean, dry microfiber towel at hand. Periodically, pause and blot the area you have just cleaned. This action serves two purposes: it removes the soiled foam and it absorbs excess moisture, preventing the nubuck from becoming waterlogged. Pat and blot; never rub. Rubbing will compress the nap and damage the texture.
Once the entire boot has been cleaned and blotted, and while the material is still uniformly damp, perform one final, crucial step. Take your clean, soft brush and gently brush the nap in a single direction. This "resets" the microscopic fibers, ensuring they dry in a uniform pattern. This professional technique restores the classic, velvety finish and prevents the matted, patchy appearance that results from an improper cleaning. The boots are now ready for the drying phase, properly prepped for a perfect result.
How to Tackle Tough Stains Like Salt and Oil
Even with a consistent care routine, acute staining incidents are inevitable. Boots will encounter stains that a simple brushing cannot resolve. This requires specific, targeted treatments for the most common issues: salt lines, oil spots, and water marks.
Knowing whether to use a dry tool or a wet solution is critical. This decision tree provides a quick reference for assessing the level of soil and choosing the appropriate method.
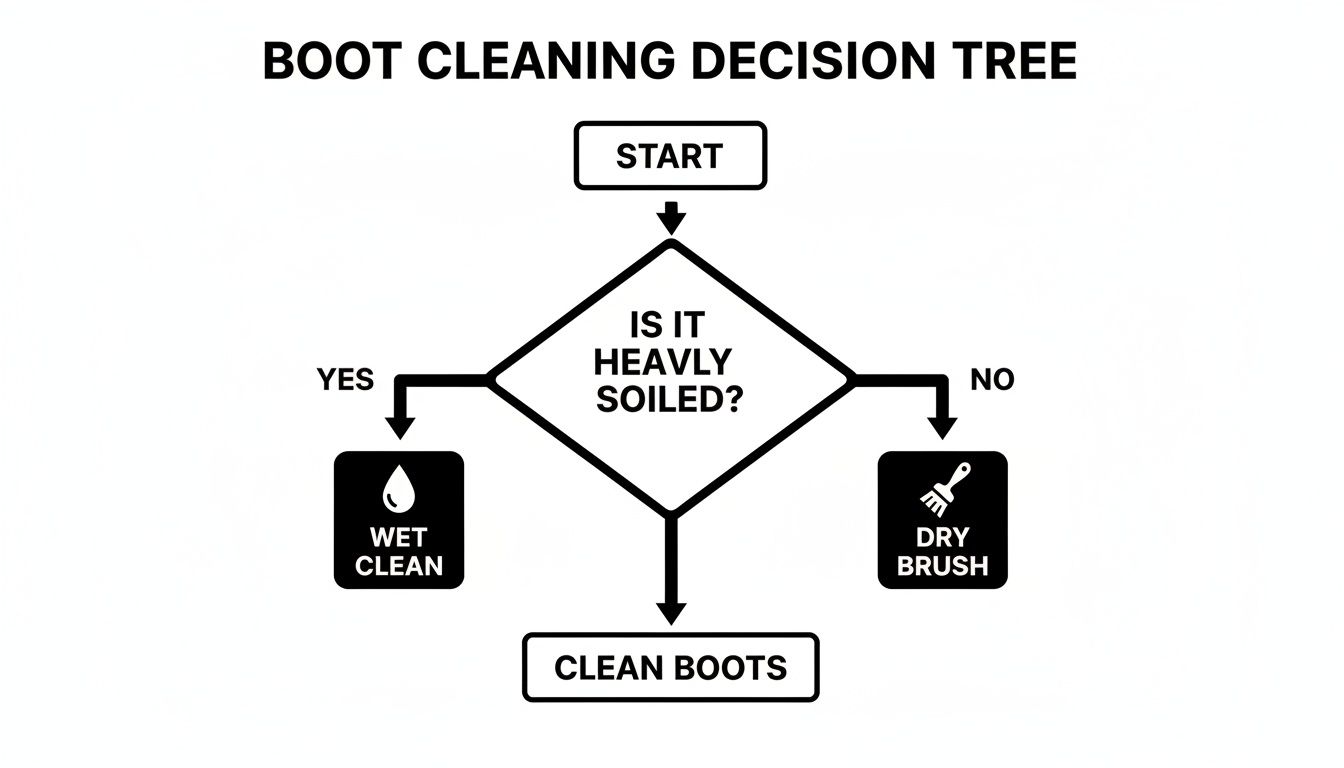
As illustrated, a dry brush is sufficient for light dust. However, for heavily soiled boots, a wet clean is necessary to avoid embedding dirt deeper into the nubuck.
Removing Chalky Winter Salt Stains
Winter conditions are harsh on footwear. The combination of moisture and road salt results in calcified white lines that are both unsightly and damaging, as they leach moisture directly from the leather. Left untreated, this leads to dryness and cracking.
The solution is a simple mixture of equal parts white vinegar and lukewarm water. The acetic acid in the vinegar effectively dissolves the alkaline salt deposits without being overly harsh on the material.
- Apply with precision. Dip a clean microfiber cloth into the solution, wring it out thoroughly (it should be damp, not dripping), and gently dab at the salt lines.
- Do not scrub. Scrubbing will abrade the nap and can spread the stain. A gentle blotting motion is sufficient to lift the salt.
- Blend the area. After the salt lines have vanished, a light wet clean of the entire panel may be necessary to prevent a new water spot from forming where the treatment was applied.
This targeted approach removes the salt and mitigates long-term material damage.
Battling Grease and Oil Spots
An oil or grease spot on porous nubuck can be a significant problem, as the oil penetrates deeply and quickly. Once it sets, it becomes extremely difficult to remove. The key to successful removal is immediate action with an absorbent agent to draw the oil back to the surface.
Cornstarch or talcum powder are the most effective agents for this purpose. They function by wicking the liquid oil out of the leather fibers before it can cause a permanent stain.
At the moment of a spill, immediately cover the oil spot with a generous amount of cornstarch. Allow it to sit for several hours; overnight is ideal. The powder will absorb the grease. The following day, simply brush the powder away with a soft-bristle brush. A second application may be necessary for severe stains.
This method is effective because it addresses the stain without introducing additional liquids, which typically exacerbates oil-based problems. Any residual discoloration can then be treated with a suede eraser.
Correcting Unsightly Water Marks
Ironically, water itself can stain, particularly on boots that are not adequately waterproofed. This manifests as dark, defined rings where water has dried unevenly. This is a common issue; data shows water stains affect over 65% of non-waterproofed nubuck boots within their first year of use.
The technique for removing a water spot involves carefully re-wetting the area to blend it with the surrounding material, allowing the entire section to dry uniformly. For smooth leather, up to 90% of these marks can be removed by simply dampening a soft sponge, gently working the stain, and letting it air dry. Timberland provides official guidance on this, and further insights on their product FAQs page are available.
For nubuck or suede, the process requires more finesse:
- Using a spray bottle, lightly mist the entire affected panel of the boot with clean water to achieve an even dampness without soaking it.
- Use a soft brush to gently work the moisture across the surface, blending the original water mark.
- Stuff the boots with paper towels or shoe trees to maintain their shape and allow them to air-dry completely, away from any direct heat source.
This technique ensures a consistent finish, effectively erasing accidental water marks.
For quick reference, this table outlines treatments for the most common stains.
Stain Removal Cheat Sheet
| Stain Type | Recommended Agent | Application Method | Critical Tip |
|---|---|---|---|
| Winter Salt | White Vinegar & Water (1:1) | Dab gently with a damp microfiber cloth. | Do not scrub. Blot to lift the salt residue. |
| Oil & Grease | Cornstarch or Talcum Powder | Cover stain completely; let sit for several hours. | Act as quickly as possible before the oil has time to set. |
| Mud | Let it dry, then brush off | Use a stiff-bristle brush to remove dried dirt. | Never try to wipe wet mud; it will smear and stain deeper. |
| Water Marks | Clean Water | Mist entire panel evenly and blend with a soft brush. | Ensure uniform dampness to allow for even drying without lines. |
| Ink or Scuffs | Suede Eraser | Rub gently over the mark like a pencil eraser. | Use on dry material only for best results. |
This guide should serve as your primary reference for specific stain removal. Possessing the correct tool and technique is the difference between a quick remedy and a permanent blemish.
Locking It In: Drying, Conditioning, and Protecting Your Timbs
The cleaning phase is complete, but the process is not. The post-cleaning phase is what distinguishes an adequate job from a professional restoration. This is where the material is revitalized and fortified against future exposure.
The cardinal rule is to never use direct heat. Applying heat from a radiator, hairdryer, or direct sunlight will rapidly extract moisture from the leather, causing it to become brittle, shrink, and crack. This will permanently damage the boots.
Patience is the critical virtue. Place the boots in a well-ventilated area at room temperature and allow them to dry naturally. This may take up to 24 hours, but it is the only method that ensures they dry evenly without sustaining damage.
Don't Let Them Get Sloppy: Maintaining Shape as They Dry
As boots dry, they can lose their structural shape, which can result in permanent creasing. Internal support is required during this phase.
- Cedar Shoe Trees: This is the professional standard. Unfinished cedar maintains the boot's shape while also absorbing excess moisture and neutralizing odors.
- Newspaper or Paper Towels: In the absence of shoe trees, firmly stuffing the boots with newspaper or paper towels is a viable alternative. Check the paper every few hours and replace it as it becomes damp.
A boot that dries with proper internal support will retain its intended shape, fit better, and resist unsightly creasing over its lifespan. It is a simple step with a significant long-term payoff.
This technique provides crucial support to the toe box and ankle, ensuring they maintain their iconic, structured silhouette.
Bringing Back That Famous Nubuck Feel
Once the boots are 100% dry, the nap must be restored. The wet cleaning process can leave the velvety fibers of the nubuck looking flat and matted.
Using a clean, soft-bristle brush, gently brush the entire boot in one consistent direction. This action lifts and separates the microscopic fibers, restoring the soft, uniform texture characteristic of new Timberlands.
For stubborn areas that remain matted, use a light, circular motion to loosen the fibers before resuming the single-direction brushing. This is the finishing touch that restores the material's visual depth and premium feel.
The Final Armor: Conditioning and Protection
The final step is to apply a protective layer. This is arguably the most critical step, as it will simplify all future cleaning efforts.
For full-grain leather Timberlands, this is the stage to apply a high-quality leather conditioner. The cleaning process can strip some of the leather's natural oils; a conditioner replenishes this moisture, keeping the material supple and preventing cracks.
For all materials, but especially for nubuck and suede, a protector spray is non-negotiable. A high-performance water and stain repellent, such as the Gold Standard Water & Stain Repellent, creates an invisible barrier on the boot's surface. This causes water to bead and roll off rather than soaking in, and it prevents dirt from deeply penetrating the material. Apply a light, even coat from approximately six inches away and allow it to fully cure. This is your boot's first line of defense.
Got Questions About Cleaning Your Timbs? We've Got Answers.
Even with a detailed guide, specific questions will arise. Below, we address the most common inquiries we have encountered regarding Timberland boot care.
Adhering to correct procedures is critical. A single misstep—such as using a household cleaner or a washing machine—can cause irreparable damage to your boots. Let's ensure you are following the proper protocol.
Can I Throw My Timberlands in the Washing Machine?
The answer is unequivocally no. A washing machine will destroy a pair of Timberland boots.
The combination of full water immersion, aggressive tumbling, and harsh laundry detergent creates a catastrophic environment for these materials.
- It Obliterates the Nubuck: The process will strip the material, permanently flatten the nap, and cause severe discoloration.
- It Dissolves the Glue: The heat and chemicals will degrade the adhesives bonding the sole to the upper, causing the boot to delaminate.
- It Warps the Whole Boot: The boot's internal structure will be compromised, resulting in a misshapen product that will no longer fit correctly.
Adhere strictly to the manual cleaning methods outlined in this guide. It is the only way to clean them without causing irreversible damage.
How Often Should I Actually Clean My Boots?
The optimal cleaning frequency is determined by use. Your cleaning schedule should be adapted to your lifestyle.
For daily or frequent wear in urban environments, a quick dry-brushing every few wears is highly effective. This removes light dust and surface dirt before it can become embedded.
A full deep clean—from preparation to conditioning—should be performed whenever the boots are visibly soiled or stained. For boots in regular rotation, a deep clean every one to two months is recommended as a preventative measure.
Proactive care is always more effective than reactive damage control. Addressing minor scuffs and dirt as they occur prevents them from setting in, making comprehensive cleaning sessions faster and more efficient.
What's the Best Way to Get Rid of Scuff Marks?
For most light-to-medium scuffs on nubuck, a dedicated suede and nubuck eraser is the most effective tool.
These erasers work via gentle abrasion. As the eraser is rubbed over the scuff, it crumbles, and its particles penetrate the nubuck's fibers to lift out the embedded grime causing the mark. This is a dry method that restores color and texture without the use of liquids.
For deeper scuffs, begin with the eraser to remove the majority of the mark. Then, use a soft-bristle brush with small, circular motions to re-fluff the nap and blend the treated area with the surrounding material.
Is It Cool to Use Household Cleaners like Dish Soap?
No. Do not use dish soap, glass cleaner, or any other all-purpose household cleaner on your boots.
These products contain harsh chemicals and degreasers formulated for non-porous surfaces like ceramic and glass. When applied to a delicate material like nubuck, these same chemicals strip away essential natural oils. This inevitably leads to dry, cracked material and often causes permanent color damage.
Always use a pH-neutral cleaner specifically formulated for footwear. A product like the Gold Standard Premium Shoe Cleaner is engineered to remove dirt without compromising the material's integrity, ensuring a safe and effective clean.
With the right knowledge and tools, you can maintain the appearance and extend the life of your Timberland boots for years. It requires respecting the material and adhering to a proven process. Gold Standard provides the professional-grade products needed to protect your investment.
Explore our full line of premium shoe care solutions at gold-standard-approved.myshopify.com and provide your footwear with the expert care it deserves.