
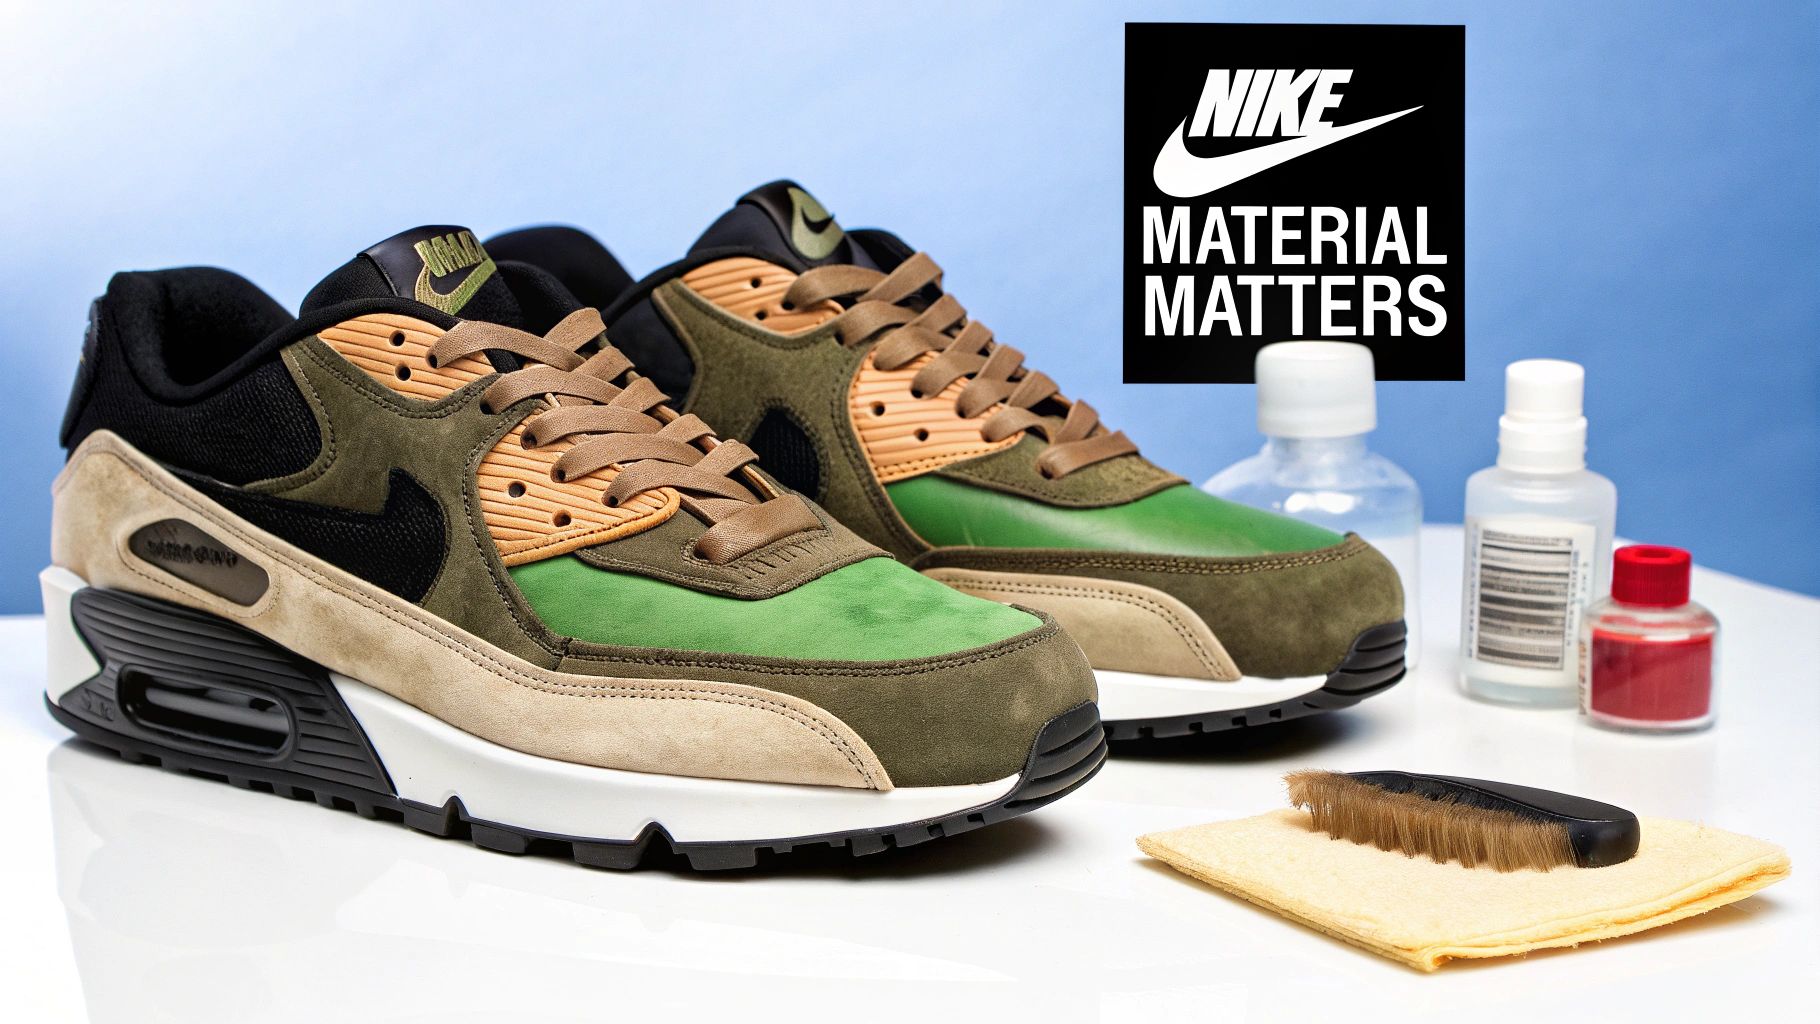
Properly cleaning a Nike Air Max requires more than a simple scrub. It’s a technical process demanding a material-specific approach, a pH-neutral cleaning solution, and the correct tools. The shoes must be cleaned by hand, always beginning with a dry brush to remove loose particulates. Under no circumstances should they be placed in a washing machine, as this action will compromise the shoe's structural integrity and dissolve the bonding adhesives.
This methodical process ensures every component of the sneaker—from mesh underlays to leather overlays—receives the correct treatment, preserving its longevity and appearance.
Why a Single Cleaning Method Damages Your Air Max
Before beginning, it is critical to understand that a Nike Air Max is not a monolithic object. It is a complex assembly of disparate textiles. Leather or synthetic panels are often bonded directly to breathable mesh, alongside delicate suede or nubuck accents, all of which are affixed to a robust rubber sole unit. Applying a single, aggressive cleaning method across these varied surfaces is the most efficient way to inflict irreversible damage.
The internet is saturated with cleaning "hacks" and anecdotal advice that can ruin footwear. Common household cleaners often contain harsh chemicals that strip color from suede, dehydrate and crack leather, and weaken the adhesives that bond the sole to the upper. This is precisely why a professional, material-first methodology is not merely a recommendation—it is an operational necessity for protecting your investment.
The Myth of the "Quick Fix"
The two most common and destructive errors we observe are machine washing and the use of all-purpose household cleaners. The intense heat and tumbling action of a washing machine can warp the iconic Air unit and dissolve the shoe’s structural adhesives. Dish soap, formulated to cut through grease, is far too aggressive for the delicate dyes and finishes on premium footwear.
At Gold Standard, our entire methodology is built on material integrity. Using the correct tools and solutions for each specific surface is not just about cleaning; it’s about preservation. Your footwear is an asset and should be treated as such.
This perspective—viewing sneakers as long-term assets—is growing within the footwear community. The premium shoe care market is expanding, driven by collectors who understand that proper maintenance is paramount. In fact, collectors who invest in quality care products often extend the lifespan of their shoes by an average of 2-3 years. This mindful approach doesn't just preserve value; it reduces long-term cost. Suddenly, a simple cleaning routine becomes a crucial component of collection management. You can discover more insights about the rise of premium sneaker care and its impact on the community.
Foundational Rules for a Safe Clean
Before addressing specific materials, we must establish core principles. These rules apply to any Air Max, regardless of the model or material composition. Adherence will prevent the most common cleaning disasters. Think of these not as steps, but as the foundational tenets of professional footwear care that inform every technique we will cover.
For a quick rundown, here are the core principles we operate by.
Gold Standard Cleaning Principles At a Glance
| Principle | Why It Matters | Recommended Action |
|---|---|---|
| Always Hand-Wash | Machine washing uses high heat and harsh tumbling, which can warp the shoe's shape, damage the Air unit, and dissolve adhesives. | Use a bowl of water, a gentle cleaning solution like Gold Standard, and soft-to-medium bristle brushes. |
| Use a pH-Neutral Cleaner | Harsh chemicals in household detergents (like dish soap or bleach) can strip colors, dry out leather, and stain delicate materials. | Opt for a cleaner specifically formulated for footwear. Our Gold Standard Shoe Cleaner is pH-neutral and safe for all materials. |
| Test on a Hidden Spot | Not all materials react the same. A quick test prevents widespread discoloration or damage, especially on vibrant or delicate materials. | Apply a small amount of cleaner to an inconspicuous area, like the inner tongue or heel, before cleaning the entire shoe. |
| Air Dry, Never Machine Dry | Direct heat from dryers or radiators can shrink materials, warp the sole, and make adhesives brittle, causing separation. | Stuff shoes with paper towels or shoe trees and let them air dry at room temperature, away from direct sunlight. |
Committing these principles to practice is the first step toward achieving professional-grade results. It is about applying intelligent, targeted techniques to restore the footwear's original condition without causing secondary damage.
The Professional Preparation Phase Most People Skip
The difference between an amateur wash and a truly restorative clean is determined before any liquid is introduced. Rushing this stage is a primary cause of subpar results, as it often leads to trapping grime deeper within the material fibers.
This is not a simple wipe-down. It is a preparatory phase designed to remove all surface-level contaminants first. This ensures the cleaning solution can work on embedded stains rather than just creating mud.
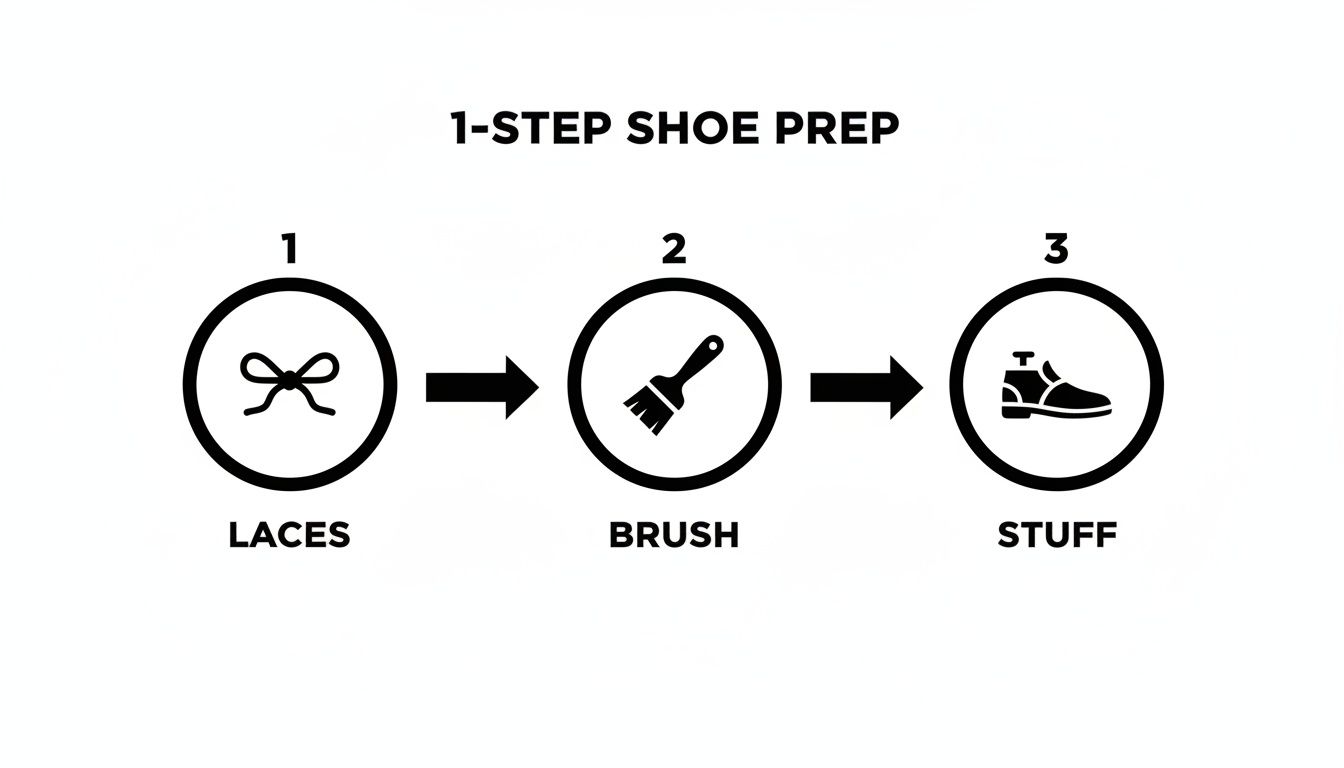
Disassemble for a Deeper Clean
First, deconstruct the shoe. Carefully unlace the Air Max and remove the insoles. This is a non-negotiable step.
Laces trap significant amounts of dirt, and cleaning them in-situ merely pushes that grime into the eyelets. Remove them and submerge them separately in a small bowl with a cleaning solution.
The same principle applies to the insoles, which absorb perspiration and are the primary source of odor. Removing them allows for a thorough cleaning and, crucially, enables the shoe's interior to ventilate and dry completely. This is the only effective way to neutralize odor at its source.
The Critical Dry Brush Stage
With the shoe disassembled, take a dry brush to the entire surface. This is the most critical part of the preparation. The objective is to dislodge all loose, dry contaminants—dust, caked mud, grass—before introducing liquid. Applying water to a dirty shoe creates mud, which forces fine particles deeper into the weave of the mesh or knit.
Tool selection is key. A brush with overly stiff, synthetic bristles can abrade delicate leathers and snag the fibers on knit uppers.
We exclusively use a medium-bristle brush, preferably made from natural hog hair. It possesses enough stiffness to lift debris from the midsole and seams but is gentle enough to avoid scratching premium leathers or suede. It provides the optimal balance of efficacy and safety.
Work around the entire shoe with short, flicking motions, brushing the dirt away. Pay close attention to seams and the grooves in the sole where particulates accumulate. The shoe will look significantly cleaner after this step alone, allowing your cleaning solution to focus on set-in stains rather than surface dust.
Maintain Shape, Prevent Waterlogging
Before washing, the Air Max requires internal support. When materials become saturated, they can lose their structure, leading to creasing, a warped silhouette, or a collapsed toe box upon drying.
To prevent this, stuff the shoes. There are two effective options:
- Cedar Shoe Trees: This is the Gold Standard method. They maintain the shoe's intended shape, actively absorb moisture from the interior, and impart a fresh scent.
- Paper Towels or Unprinted Paper: A viable alternative. Pack it tightly to fill the entire shoe, especially the toe box. Avoid newspaper, as the ink will bleed when wet and stain the inner lining.
This internal support serves two functions: it creates a firm surface to work against while scrubbing, increasing cleaning effectiveness, and it guarantees the sneaker retains its original form. Allocating a few minutes to this professional preparation sets the stage for a flawless restoration.
A Material-Specific Guide to Cleaning Your Uppers
With your Air Max properly prepared, it is time to clean the uppers. This is where material knowledge is paramount. A universal approach is ineffective; the technique suitable for durable leather will ruin delicate suede.
Think of the materials on your Air Max as different fabrics in a load of laundry. You would not wash silk using the same method as denim. The same logic applies here. We will break down the correct methodology for the most common materials to ensure a safe and effective clean.
First, a reminder of the critical prep steps. A successful outcome depends on this foundation.
Executing this three-part setup ensures your cleaning solution can target deep, set-in stains directly, rather than converting loose surface dust into a muddy residue.
For ease of reference, here is a summary table for cleaning common Air Max materials.
Air Max Material Cleaning Cheat Sheet
Every material has a specific protocol. Using the wrong brush or technique can be the difference between restoration and permanent damage. This table simplifies the core requirements.
| Material | Recommended Brush | Cleaning Solution Action | Key Technique to Avoid |
|---|---|---|---|
| Mesh & Knit | Soft Bristle | Apply foam directly to the brush, work in gentle circles. | Aggressive scrubbing; this causes fraying and pilling. |
| Leather & Synthetics | Medium Bristle | Scrub with firm, back-and-forth motions. | Letting the solution air-dry on the surface; it leaves a film. |
| Suede & Nubuck | Suede Brush/Eraser | Use dry eraser first. Liquid is a last resort—dab, never rub. | Soaking the material with water or cleaner; this causes matting and water spots. |
This is a high-level overview. Now, let's examine the specific techniques and the material science behind them.
Handling Mesh and Knit Fabrics
Mesh and knit fabrics offer excellent breathability, but their open weave structure readily traps dirt. The challenge is to penetrate this weave to lift out contaminants without fraying or stretching the fibers.
The appropriate tool is a soft-bristled brush. Its bristles are gentle enough to avoid snagging the fabric while being effective at getting between the fibers. A simple cloth merely glides over the surface.
A common error with mesh is excessive force. Using a stiff brush and scrubbing aggressively causes pilling—that fuzzy, worn-out appearance—and can permanently stretch the material, especially around the toe box.
The correct procedure: Moisten a soft brush, then apply a small amount of a quality cleaning solution like Gold Standard Sneaker Cleaner. Agitate the brush in a bowl of water to generate foam. Gently work this foam into the mesh using small, circular motions. You will observe the dirt being lifted out and suspended in the foam.
For a specific example, such as a grass stain on the white mesh of an Air Max 90, do not scrub frantically. Apply the foam and allow it to sit for approximately 60 seconds to break down the stain. Then, gently agitate with the soft brush, working from the outside of the stain inward to prevent spreading. Conclude by blotting the area with a clean microfiber towel to absorb the soiled suds.
Cleaning Leather and Synthetics
Leather and synthetic panels form the structural framework of most Air Max models. However, they are susceptible to scuffs and discoloration if cleaned improperly.
For these non-porous surfaces, a medium-bristle brush is appropriate. It has the necessary firmness to work out scuffs without scratching the finish. The objective is to clean the surface, not strip it.
A common issue is a black scuff mark on a white leather mudguard. To remedy this, apply your cleaning solution to the medium brush and scrub the mark with firm, direct, back-and-forth motions. The combination of correct bristle stiffness and an effective cleaner will lift the scuff without damaging the leather.
Immediately after scrubbing, wipe the entire area with a microfiber towel. This is critical. Allowing a cleaning solution to air-dry on leather can leave a dull residue and, over time, dehydrate the material. A two-step wipe-down is optimal: one pass with a clean, damp cloth to remove any residual solution, and a final pass with a dry cloth to restore the material's natural sheen.
The Delicate Touch for Suede and Nubuck
Suede and nubuck are the most sensitive materials. They are intolerant to moisture and can easily stain or alter in texture. Cleaning them is a process of careful restoration, not aggressive scrubbing.
For suede and nubuck, water is the primary adversary. Your main tools should be a suede eraser and a specialty suede brush. Liquid cleaner is a last resort, reserved only for severe stains.
Always begin with the suede eraser. It functions like a pencil eraser, using friction to crumble and lift dry dirt, scuffs, and even light water spots out of the suede's nap. Gently rub it over the affected area.
After erasing, the suede's texture may appear flattened. Use the suede brush to restore it. Gently brush the entire panel in a single direction to lift the nap, reviving its soft, uniform texture and color.
If you must address a tougher stain, such as a small oil spot, precision is required. Do not apply cleaner directly to the shoe. Instead, apply a minimal amount to a brush, blot most of it off on a towel, and then lightly dab the spot. Never rub. Immediately follow by dabbing with a dry microfiber towel to extract as much moisture as possible. This low-moisture, targeted method is the only safe way to spot-treat these materials.
Detailing Midsoles and Removing Stubborn Stains
Restoring the uppers is a significant achievement, but it is the details that provide the "box-fresh" appearance. Focusing on the midsoles, Air units, and isolated stubborn stains elevates a simple wash to a professional restoration.
These are high-impact zones. Midsoles get scuffed, Air units collect grime in their crevices, and accidental spills occur. Without a targeted approach, even a clean pair of sneakers can still appear worn. Mastering these details is what separates a quick rinse from a pro-level clean.
Reviving Your Midsoles and Air Units
The midsole is a magnet for scuffs, especially on silhouettes like the Air Max 90. Because you are often working with a painted or porous foam surface, the approach must be firm yet controlled.
A medium-bristle brush is the ideal tool. It provides enough abrasion to lift marks without damaging the paint or foam. Work a small amount of Gold Standard Premium Shoe Cleaner into the brush and address scuffs with small, circular motions. The grime will lift almost immediately. The key is to wipe the soiled foam away with a microfiber towel promptly to prevent smearing.
Then there is the iconic Air Bubble. This transparent window is central to the shoe's design but is exceptionally easy to scratch, which can cause permanent clouding.
Never use a stiff brush on the Air Bubble. The resulting micro-scratches are permanent. Treat it as you would a pair of eyeglasses—only soft materials and gentle pressure should be used.
The correct method is to spray a small amount of cleaner onto a microfiber towel, not directly onto the plastic. Gently wipe the surface to remove fingerprints and surface grime. For dirt lodged in the crevices around the unit, use a very soft detailing brush (or a soft-bristled toothbrush) to carefully flick it out.
Tackling Deep-Set and Difficult Stains
Despite careful use, challenging stains can occur. A grease spot on nubuck or a coffee drip on mesh may seem catastrophic, but they are often treatable. The key is to act quickly and use finesse, not force. Attempting to muscle out a stain almost always worsens the problem.
Here are field-tested tactics for difficult scenarios:
- Oil or Grease on Suede/Nubuck: Do not apply water. The first action should be to cover the spot with a light dusting of cornstarch or talcum powder. Let it sit for several hours; the powder will absorb the oil directly from the material. Afterward, gently brush it away with a suede brush.
- Ink on Leather: For a fresh ink stain, use a cotton swab dipped in a small amount of isopropyl alcohol. Gently dab the spot—do not rub, which will spread the ink. The alcohol helps dissolve the ink, allowing you to lift it. Follow up immediately with a leather conditioner to reintroduce moisture to the material.
- Yellowing on Rubber/Midsoles: This is typically oxidation from UV exposure. The most effective "cure" is prevention: store sneakers away from direct sunlight. Regular cleaning also helps remove surface contaminants that accelerate yellowing. A pH-neutral solution like the Gold Standard formula is ideal for this type of preventative maintenance.
By giving these problem areas the specific attention they require, you are not just cleaning your shoes—you are restoring them. This dedication to detail makes all the difference.
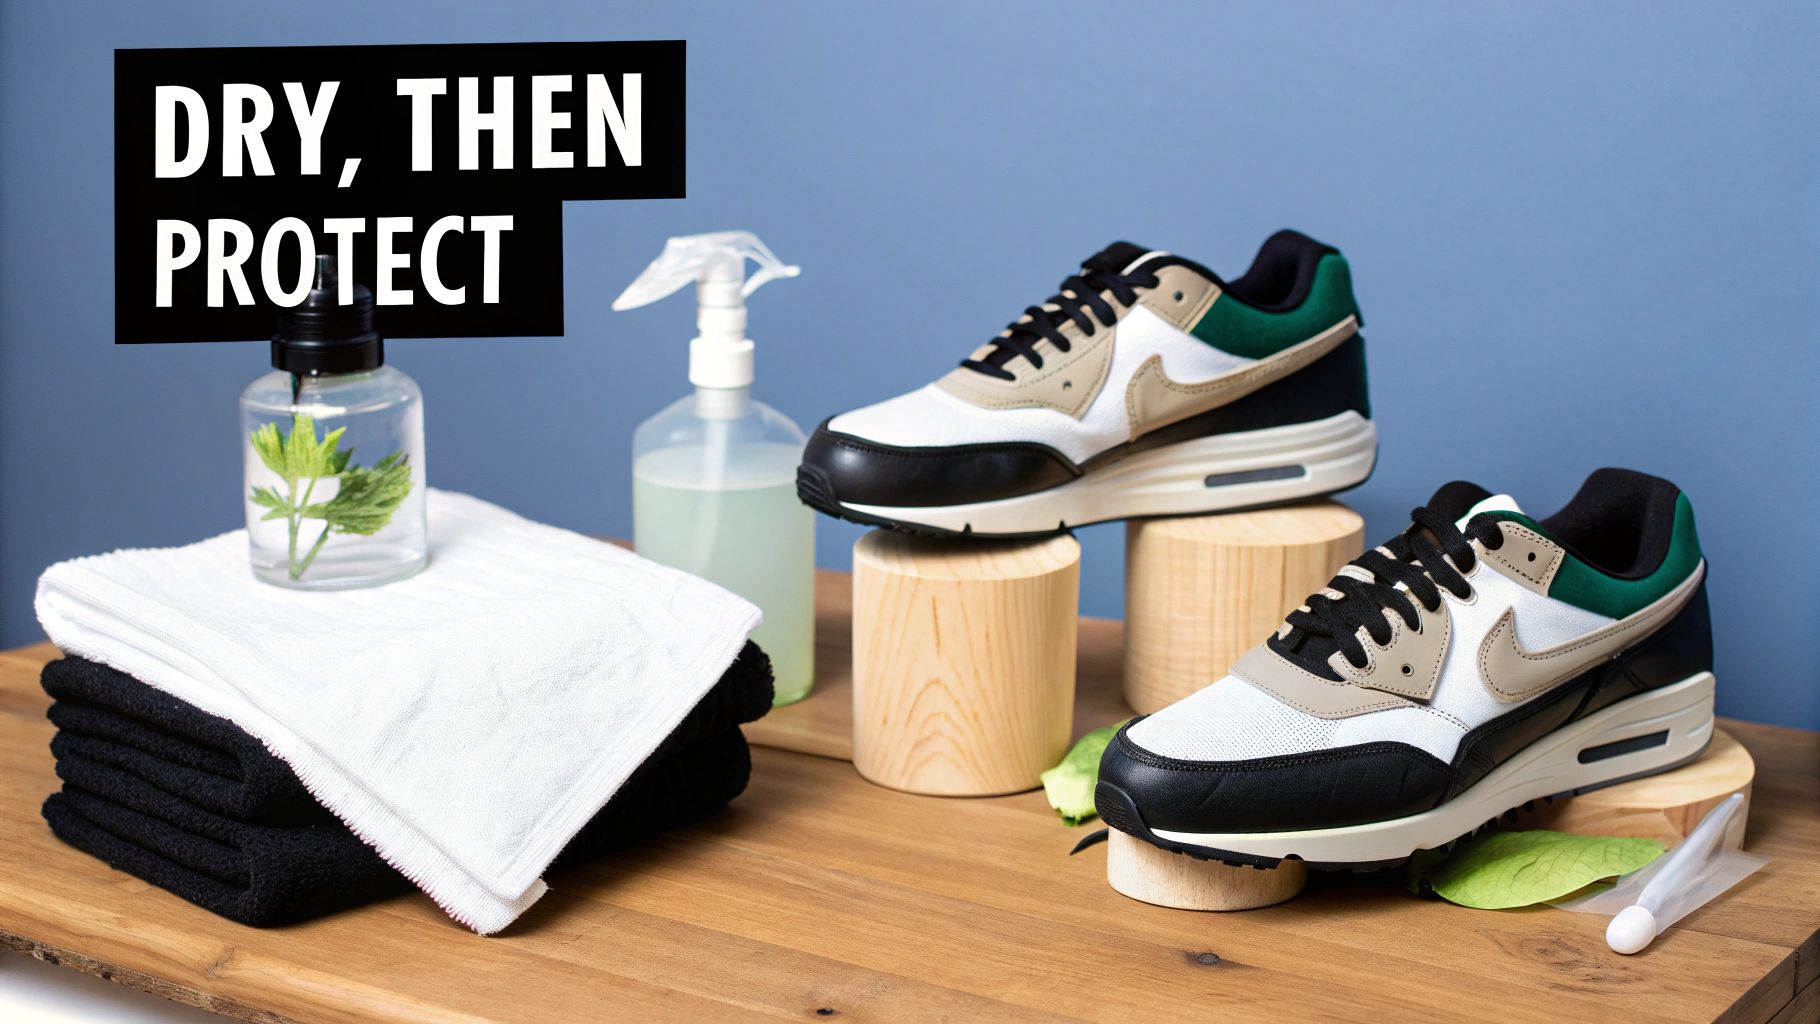
Proper Drying and Protection to Preserve Your Work
The cleaning process is not complete after scrubbing. The drying method for your Nike Air Max is as critical as the washing technique. A flawless cleaning can be completely undone by a rushed, improper drying process, which can cause permanent damage.
After the final wipe-down, the sneakers will still be damp. The objective is to remove the residual moisture slowly and evenly. This allows the various materials—leather, mesh, midsole foam—to return to their original shape without stress.
The Only Safe Way to Dry Your Air Max
The best method is the simplest: patience. You must let your sneakers air dry at room temperature. Place them in a well-ventilated area away from direct sunlight, stuff them with fresh paper towels or cedar shoe trees, and allow them to dry naturally.
This hands-off approach enables all materials to dry at an even, natural rate, which is vital for maintaining the shoe's structural integrity.
Direct heat is the mortal enemy of modern footwear. We have seen countless Air Max models ruined by owners placing them near a radiator or using a hairdryer. The intense, focused heat melts bonding adhesives, leading to sole separation and a warped, unwearable shoe.
The use of any direct heat source is unacceptable. Here is what to avoid:
- Tumble Dryers: The combination of high heat and tumbling action will deform the shoe, potentially damage the Air unit, and cause sole separation.
- Radiators or Heaters: Placing shoes near these sources will essentially cook them, warping foam midsoles, cracking leather, and weakening all adhesives.
- Hair Dryers: The concentrated heat can shrink synthetic materials and damage delicate uppers.
- Direct Sunlight: UV rays fade colors and accelerate the oxidation process that causes yellowing on white rubber and midsoles.
A full air dry typically takes 8 to 12 hours, depending on ambient humidity. The wait is a necessary investment in the longevity of the footwear.
Applying the Final Protective Barrier
Once your Air Max are 100% dry—internally and externally—it is time for the final, critical step: protection. This is analogous to waxing a car after washing it. Cleaning removes contaminants, but a protective layer prevents them from returning.
A quality protective spray creates an invisible, breathable barrier over the shoe. This shield repels water and prevents dirt, dust, and grime from embedding deep into the materials.
For this essential final step, we use our Gold Standard Water & Stain Repellent. Its formula is engineered to provide heavy-duty protection without clogging the pores of breathable fabrics like mesh or altering the texture of delicate materials like suede.
Hold the can approximately six inches from the shoe and apply a light, even coat over all surfaces. A consistent mist is sufficient; do not saturate the material. Allow the first coat to dry for 20-30 minutes, then apply a second coat for maximum coverage.
This simple final step is a game-changer. It not only keeps your sneakers looking clean longer but also simplifies future cleaning sessions. You are no longer just cleaning your Air Max; you are preserving them.
Your Air Max Care Questions, Answered
Even with a comprehensive guide, specific questions arise. As footwear care professionals, we've addressed countless inquiries from the community. Here, we provide clear, expert answers to the most common questions.
This section serves as a quick-reference FAQ for handling specific situations and avoiding costly mistakes.
Can I Throw My Nike Air Max in the Washing Machine?
The answer is an unequivocal no. It is the single most destructive action you can take. While it may seem like an easy shortcut, the damage is almost always permanent.
The combination of high heat, violent tumbling, and harsh laundry detergents creates a catastrophic environment for a sneaker. Here is what occurs:
- Adhesives Dissolve: The glues bonding the sole to the upper will fail, leading to sole separation.
- Midsoles Warp: Heat deforms the foam, destroying the shoe's shape and cushioning.
- Colors Bleed: Dyes from suedes and leathers will run, staining lighter materials.
- The Air Unit is Compromised: The tumbling action can easily damage the integrity of the Air Bubble.
Hand-washing is the only method that provides the control necessary to protect your investment.
How Often Should I Actually Clean My Air Max?
This depends entirely on wear frequency. While there is no universal schedule, here are some operational guidelines.
If your Air Max are in heavy rotation (worn multiple times per week), perform a quick wipe-down of the midsoles and uppers after every few wears. This prevents dirt from setting in. A full deep clean should then be conducted every 2-3 weeks.
For collectible pairs worn only occasionally, a full cleaning every few months or on an as-needed basis is sufficient. The most important rule, however, is to address spots and stains immediately. A fresh stain is far easier to remove than one that has had time to bond with the material fibers.
What's the Best Way to Clean the Air Bubble?
The transparent window of the Air unit is delicate and scratches easily, which can result in a permanent cloudy appearance. Use only the softest tools and a light touch.
Never use a stiff brush or any abrasive material on the plastic. Instead, apply a small amount of cleaning solution to a clean microfiber cloth and gently wipe the surface. This is typically sufficient for fingerprints and light grime.
For stubborn dirt trapped in the crevices surrounding the Air unit, use an ultra-soft detailing brush or a clean, soft-bristled toothbrush. Gently work the bristles into the edges to dislodge debris without scratching the plastic.
How Do I Fix Yellowing on White Midsoles?
Yellowing midsoles are a common issue for sneaker collectors, primarily caused by oxidation from UV radiation. While some specialized sole-brightening products exist, prevention is a far more effective strategy.
First, proper storage is critical. Keeping your sneakers out of direct sunlight is the single most important preventative measure.
Second, the choice of cleaner matters. Using a pH-neutral cleaner, like the one in our Gold Standard kit, helps prevent the chemical reactions that accelerate oxidation. Harsh, alkaline cleaners can actually promote yellowing over time. Sticking with a formula designed for footwear is key to maintaining the original color of the midsoles.
At Gold Standard, we believe professional-level footwear care should be accessible to everyone. By implementing these field-tested techniques, you can confidently clean and preserve your Nike Air Max, ensuring they maintain their value and appearance for years to come.