
Cleaning basketball shoes is a technical process, not a chore. It is a critical component of maintaining their performance, structural integrity, and value. The proper method involves a systematic approach: dry-brushing to remove surface-level abrasives, followed by a material-specific hand-cleaning of the uppers, laces, and insoles with a purpose-built cleaning solution, and concluding with a controlled air-drying process away from direct heat. This protocol is essential for preserving the advanced materials and construction of modern athletic footwear.
Why Meticulous Shoe Care is a Technical Requirement
Before detailing the procedure, it is important to understand the rationale. For any serious player or footwear collector, a dedicated cleaning regimen is non-negotiable. This extends beyond aesthetics; it is about preserving the engineered performance technologies and protecting a significant financial investment.
Consistent care is the primary variable separating a high-performance asset from footwear that experiences premature material failure.
When dirt and dust accumulate on an outsole, they compromise the traction pattern, reducing its coefficient of friction. This directly impacts on-court grip, essential for lateral movements and explosive pivots. A clean sole is a high-performance sole.
The Material Cost of Neglect
Neglecting footwear maintenance has measurable consequences. Improper care can reduce a shoe's functional lifespan by up to 50%, transforming a premium piece of equipment into a performance liability in a matter of months.
From a collector's standpoint, the investment aspect is clear. Since the 1980s, iconic basketball shoe models have seen resale values increase by over 200% when maintained in pristine, near-deadstock condition. This data underscores that cleaning is as much about value preservation as it is about hygiene. The growing demand for specialized shoe care products, detailed by market analyses from firms like databridgemarketresearch.com, reflects this understanding.
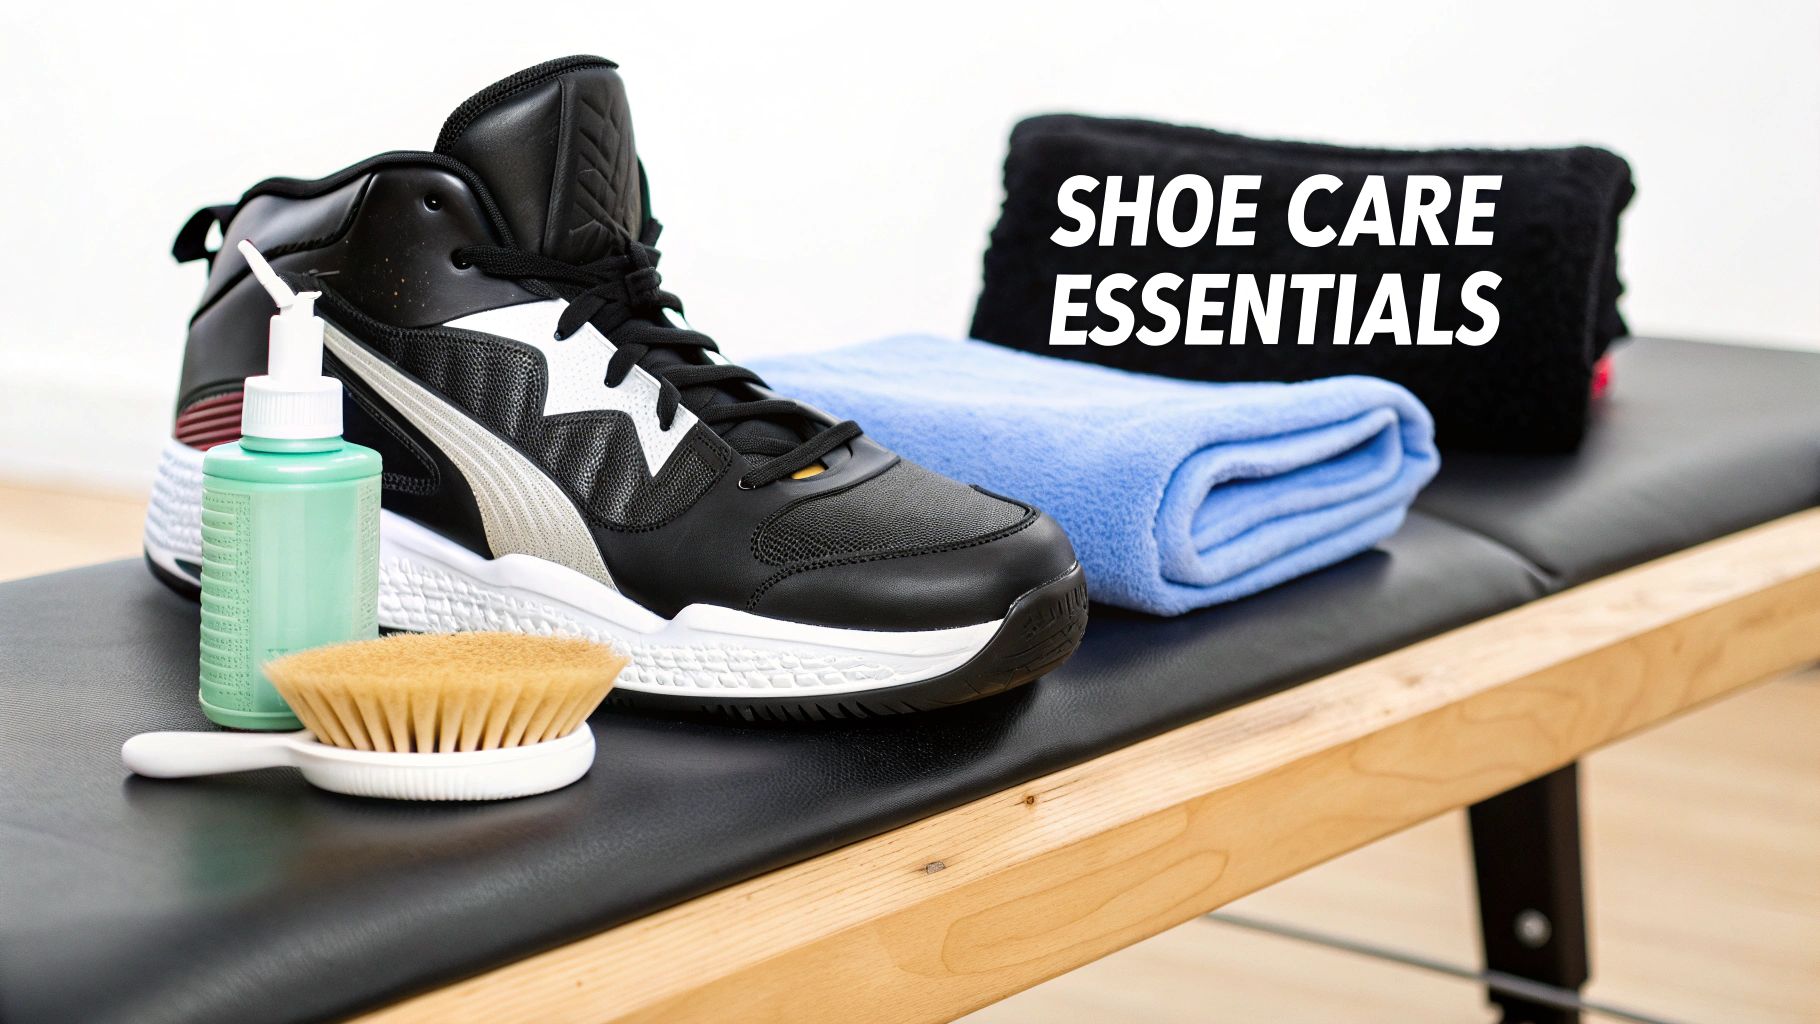
Before beginning, assembling the correct tools is paramount for an effective and safe cleaning process.
Your Essential Cleaning Toolkit
The following is a list of essential tools for any basketball shoe maintenance protocol.
| Tool | Primary Use | Recommended For |
|---|---|---|
| Premium Shoe Cleaner | Removing dirt & stains | All shoe materials (leather, mesh, knit, rubber) |
| Soft-Bristle Brush | Gentle scrubbing | Uppers, delicate fabrics (mesh, knit) |
| Medium-Bristle Brush | General cleaning | Midsoles, durable materials |
| Stiff-Bristle Brush | Heavy-duty scrubbing | Outsoles, tough grime |
| Microfiber Towel | Drying & polishing | Wiping away foam and moisture |
| Sneaker Protector Spray | Repelling stains & water | Post-cleaning protection |
With this toolkit, you are equipped to perform everything from routine maintenance to a full material restoration.
Preserving Structural Integrity
The impact of dirt extends beyond the outsole. Particulates and moisture are detrimental to the complex composite materials used in a shoe's upper and midsole. Over time, these contaminants degrade adhesives and cause synthetic fabrics to become brittle. A rigorous cleaning protocol mitigates this degradation.
- Maintains Material Health: It removes abrasive particles that physically wear down delicate mesh, knit, and synthetic uppers.
- Supports Foot Health: It eliminates the buildup of sweat and bacteria, which creates an unhygienic internal environment and leads to material decay and odor.
- Protects Your Investment: Regular care ensures the advanced cushioning systems and structural supports function as designed for their intended lifespan.
At Gold Standard, we view footwear care as an extension of athletic training. You condition your body; you must also condition your equipment. This guide provides the foundational knowledge to clean any pair of basketball shoes with professional precision.
The Pre-Clean Protocol: A Foundation for Success
Optimal results are contingent on proper preparation. The most common error in shoe care is rushing this initial stage, which can embed grime deeper into the material and cause permanent scuffs or stains during the wet-cleaning phase. A professional cleaning process begins before any liquid is introduced, establishing the groundwork for a safer, more effective outcome.
Consider this the essential diagnostic and preparation phase. This pre-clean protocol ensures every component of the shoe receives targeted attention and prevents the cross-contamination of dirt.
Deconstruct for a Deeper Clean
The first step is disassembly. Remove the laces and insoles entirely. Attempting to clean a fully assembled shoe is analogous to washing a vehicle with the doors closed—you cannot access the hidden areas where dirt, moisture, and bacteria accumulate.
Laces, particularly light-colored ones, absorb significant amounts of dust and perspiration. They require separate treatment to prevent this absorbed grime from transferring to the shoe's upper. Insoles are the primary site of moisture absorption and odor-causing bacteria. Removing them allows both the insole and the shoe's interior to be cleaned and to aerate properly.
This single step dramatically improves the hygiene and longevity of the footwear.
"A significant percentage of premature material breakdown and persistent odor originates from contaminated laces and insoles. Cleaning them separately is not a 'pro tip'—it is a fundamental requirement for anyone serious about proper footwear care."
The Importance of Dry Brushing
With the shoe deconstructed, select the appropriate brush. Before introducing water or a cleaning agent, you must remove all loose, surface-level debris. Applying a liquid cleaner directly to a dusty shoe creates an abrasive slurry that is forced deeper into the fibers of mesh, knit, or leather.
Using a soft-to-medium bristle brush, systematically work over the entire shoe.
- Uppers: Employ gentle, sweeping motions to clear dust from mesh panels and synthetic overlays. Exercise caution around bonded seams and delicate branding elements.
- Midsoles: A firmer application is appropriate here. This action will remove surface scuffs and dislodge grime from foam or rubber compounds.
- Outsoles: This area contains the most compacted debris. Use a stiff-bristle brush to agitate the traction grooves. Tap the shoe firmly to dislodge any embedded pebbles or court debris.
This dry-brushing phase accomplishes approximately 80% of the initial cleaning. It removes abrasive particles that would otherwise scratch the shoe's surfaces during the wet-cleaning stage. It is an indispensable step for protecting the shoe’s materials and achieving a flawless finish.
Mastering Material-Specific Cleaning Techniques
Modern basketball shoes are complex assemblies of high-performance materials. They integrate synthetic leathers, engineered knits, and durable rubber compounds. Applying a generic, all-purpose cleaner is a direct path to material damage.
Each material has specific care requirements. A method suitable for a durable overlay can irreversibly damage a delicate knit upper. This is not merely about product selection; it's about understanding the mechanics of cleaning. A stiff brush can fray a knit, while an improper chemical solution can strip the finish from synthetic leather.
What follows are field-tested methods for the materials found on nearly every contemporary basketball shoe.
First, identify the type of soil. Are you dealing with loose dust from an indoor court or caked-on mud from outdoor exposure?
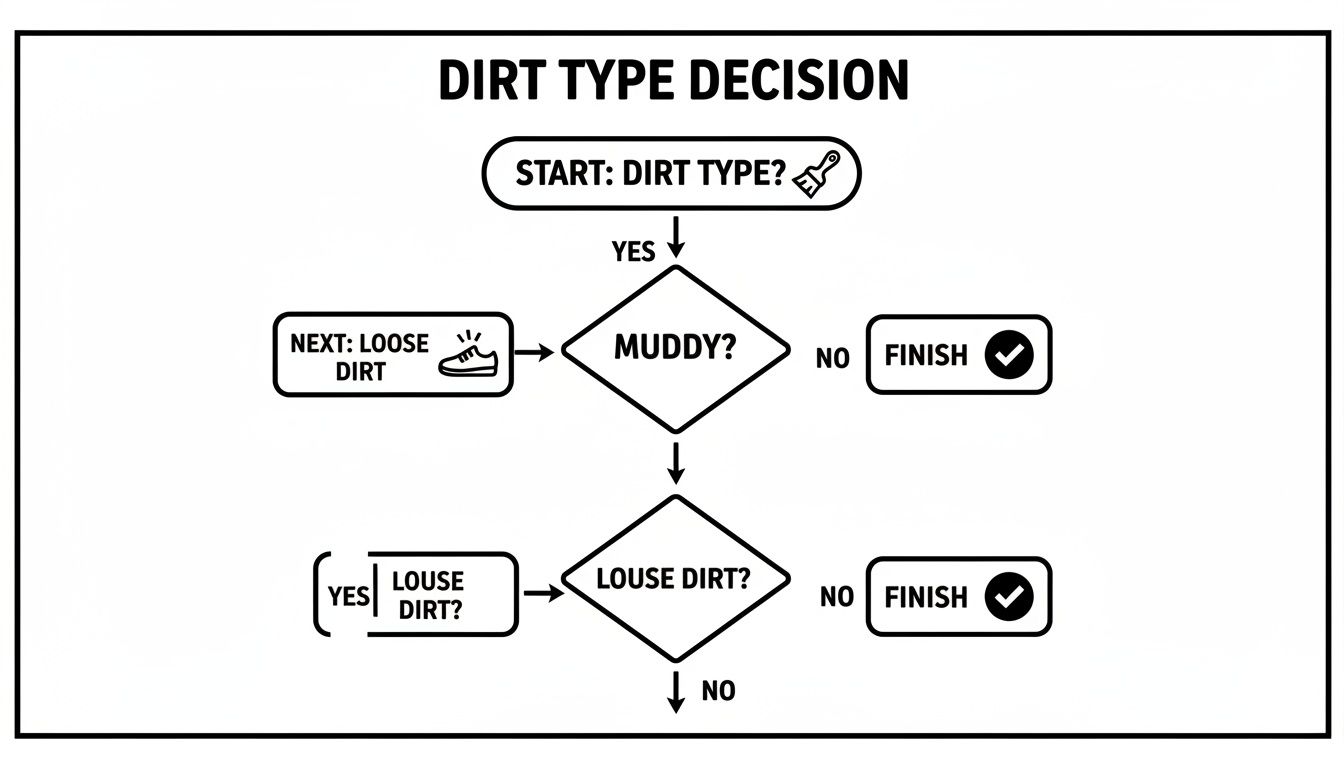
This initial assessment dictates the entire cleaning strategy and ensures you select the correct tools for the task.
Synthetic Leathers and Overlays
The majority of modern basketball shoes utilize synthetic leather for its durability and structural support. While robust, it is not impervious to damage. Aggressive chemicals or excessive abrasion can cause cracking, discoloration, and permanent damage to the surface finish.
The objective is a gentle yet effective cleaning. We recommend a premium, pH-neutral solution. Standard detergents can desiccate the material, whereas a formula engineered for footwear lifts dirt without stripping protective coatings.
- Application: Apply a small amount of cleaner to a soft-bristle brush.
- Technique: Gently work the solution into the synthetic leather using small, circular motions to generate a light foam.
- Finishing: Immediately wipe away the foam and lifted grime with a clean, damp microfiber towel. Do not allow the cleaning solution to air dry on the surface.
Cleaning Delicate Mesh and Knit Uppers
Materials such as Primeknit, Flyknit, and engineered mesh offer superior breathability but present cleaning challenges. Their woven structure traps dirt deep within the fibers, and improper brushing techniques can lead to fraying or tearing.
Patience is the critical factor. The goal is to lift the stain out of the fibers, not grind it deeper.
Begin with a gentle cleaning solution on a very soft brush. Dab the soiled area first to loosen the debris, then use light, unidirectional strokes to work it out. Avoid back-and-forth scrubbing, as this is the leading cause of damage to the weave. Cross-disciplinary knowledge can be valuable; for instance, automotive detailing offers highly refined material-specific cleaning techniques for cloth, leather, and vinyl that are directly applicable to footwear.
Expert Tip: For a stubborn stain on a knit upper, apply the cleaning solution to a clean microfiber towel. Press and blot the stain repeatedly. This lifts a small amount of dirt with each application. While time-consuming, this method is significantly safer than aggressive brushing and preserves the integrity of delicate fibers.
Restoring Midsoles and Outsoles
The midsole and outsole are the primary wear components. They accumulate scuffs, court grime, and can yellow with UV exposure. As they are typically made from durable rubber or foam compounds, a more assertive cleaning approach is permissible.
A medium-to-stiff bristle brush is the appropriate tool. Apply your cleaning solution directly to the brush and scrub the midsole and outsole vigorously. Pay special attention to the traction patterns, where compacted dirt compromises grip.
For persistent scuff marks on white midsoles, focused scrubbing after the general clean is often effective.
While some online sources suggest household remedies, it is crucial to understand the risks. A chemical-free approach is always preferable to prevent accelerated material degradation. Always allow footwear to air dry completely; direct sunlight can cause significant fading, and high heat can warp rubber and foam components.
Material Cleaning Protocol Comparison
Different materials demand different protocols. Using the wrong tool or cleaner is a costly error. This reference table outlines the correct approach for each part of your shoe.
| Material | Recommended Cleaner | Tool | Key Precaution |
|---|---|---|---|
| Synthetic Leather | Gold Standard Shoe Cleaner | Soft-Bristle Brush | Avoid harsh chemicals that can cause cracking or discoloration. |
| Mesh/Knit | Gold Standard Shoe Cleaner | Extra-Soft Bristle Brush | Do not scrub aggressively; use gentle, blotting motions to prevent fraying. |
| Suede/Nubuck | Suede-Specific Eraser & Brush | Suede Brush | Never use water or liquid cleaners, as they can cause permanent staining. |
| Rubber Midsole | Gold Standard Shoe Cleaner | Medium-Bristle Brush | Be firm but avoid wire brushes that can scratch the surface. |
| Rubber Outsole | Gold Standard Shoe Cleaner | Stiff-Bristle Brush | Focus on clearing debris from traction grooves for optimal grip. |
By tailoring your technique to the specific material, you transition from simple "cleaning" to professional-grade footwear care. This meticulous, material-first approach is what preserves the look, feel, and performance of your basketball shoes for seasons to come.
Tackling Deep Grime and Stubborn Stains
When routine cleaning is insufficient for heavy soiling—such as after playing on a gritty outdoor court or exposure to the elements—a more intensive approach is required.
This section addresses significant challenges: embedded grass stains, heavy scuff marks from gameplay, or a layer of grime that has bonded to the midsole. Eradicating these requires a more targeted strategy than a standard cleaning.
Specialized Solutions for Tough Jobs
For a resistant stain, a specialized cleaner is necessary. A high-quality, pH-neutral formula, such as our Gold Standard Cleaner, is engineered to break down dirt at a molecular level, penetrating the material's texture without damaging adhesives or dyes.
Execute a targeted deep clean on a stubborn spot as follows:
- Apply a small, concentrated amount of the cleaner directly onto the stain.
- Allow it to penetrate for 30-60 seconds. This gives the active ingredients time to break down the grime before mechanical agitation begins.
- Using a medium-bristle brush, work the solution into the stain with small, circular motions. You will observe the stain lifting and becoming suspended in the foam.
- Immediately wipe the area with a clean, damp microfiber towel to remove both the foam and the extracted dirt.
This method provides significant cleaning power without resorting to damaging household chemicals.
The Washing Machine Dilemma
The use of a washing machine for cleaning athletic footwear is a highly debated topic. While hand-cleaning is unequivocally the safest and most effective method, the washing machine is sometimes considered a last resort for heavily soiled shoes. However, the risks are substantial.
The accumulation of grime can reduce a shoe’s performance by up to 40%, and soiled outsoles can experience a 25% increase in slippage on indoor courts. A washing machine may seem like an easy solution, but the high temperatures and intense mechanical action can warp rubber components and permanently damage the shoe's structure.
If you absolutely must use this method, it must be treated as a high-risk emergency procedure, not a routine shortcut.
A Safety-First Machine Washing Protocol
Again, this is a last-resort option and is not recommended. If all other methods have failed, here is how to attempt it while minimizing the risk of catastrophic damage.
- Prep is Everything: Remove laces and insoles; wash them separately. Place the shoes in a mesh laundry bag or a sealed pillowcase to reduce impact against the machine drum.
- The Right Settings: Use cold water only. Select the most delicate cycle available. Hot water is destructive to footwear adhesives.
- Go Easy on the Soap: Use a minimal amount of a mild, liquid laundry detergent. Absolutely no bleach or fabric softeners.
- The Dryer is Off-Limits: Never place basketball shoes in a clothes dryer. The intense heat will melt adhesives, warp rubber, and shrink synthetic uppers, rendering the shoe unwearable. The correct drying procedure is detailed in the next section.
Even with these precautions, machine washing can compromise the structural integrity of your shoes. The adhesives, foams, and advanced synthetics are not engineered to withstand this type of stress. Hand-cleaning remains the gold standard for preserving the performance and condition of your footwear.
The Critical Art of Drying Your Shoes
The drying stage is where a successful cleaning can be completely negated. This phase is more critical than the wash itself. A single error here can undo all previous work. Improper drying is the number one cause of warped soles, misshapen uppers, and adhesive failure.
When wet, a shoe's materials are in a vulnerable state. Adhesives are softened, and engineered fibers are expanded. Applying high heat forces them to contract too rapidly, causing permanent structural damage.
Why Direct Heat Is the Ultimate Enemy
The impulse to accelerate drying using a radiator, direct sunlight, or a hairdryer must be resisted. This is the fastest way to ruin a pair of high-performance shoes.
High heat is catastrophic to modern basketball shoe construction.
- It destroys adhesives. The polymers holding the outsole to the midsole and upper will become brittle and fail, leading to sole separation.
- It damages the uppers. Synthetic leathers will crack. Delicate knit or mesh uppers can shrink or stiffen, losing their engineered flexibility.
- It warps and discolors. Midsoles can physically deform, altering the shoe's fit and support. Direct sunlight accelerates the oxidation (yellowing) of white and translucent rubber components.
Patience during the air-drying process is a small investment to avoid the destructive cost of heat. Heat is not a shortcut; it is a dead end.
The Professional Air-Drying Method
The only correct method is air-drying. This allows moisture to evaporate naturally, preserving the shoe’s shape, materials, and structural integrity. The objective is to maximize airflow both inside and outside the shoe.
Select a well-ventilated indoor location, away from direct sunlight or heat sources. A utility room or covered porch is ideal. The process is straightforward, but adherence to detail is critical.
How to Keep Their Shape While They Dry
A wet shoe lacks structural support and is prone to collapsing or creasing as it dries. You must provide a temporary internal structure to maintain its original form. There are two effective options.
Shoe Trees: The Gold Standard
This is the professional-grade solution. A pair of unfinished cedar shoe trees is the ideal tool.
- They provide a perfect internal structure that mimics the shape of a foot.
- Unvarnished cedar is highly effective at absorbing residual moisture from the shoe's interior.
- Cedar also possesses natural antimicrobial properties, which help to neutralize any remaining odor-causing bacteria during the drying process.
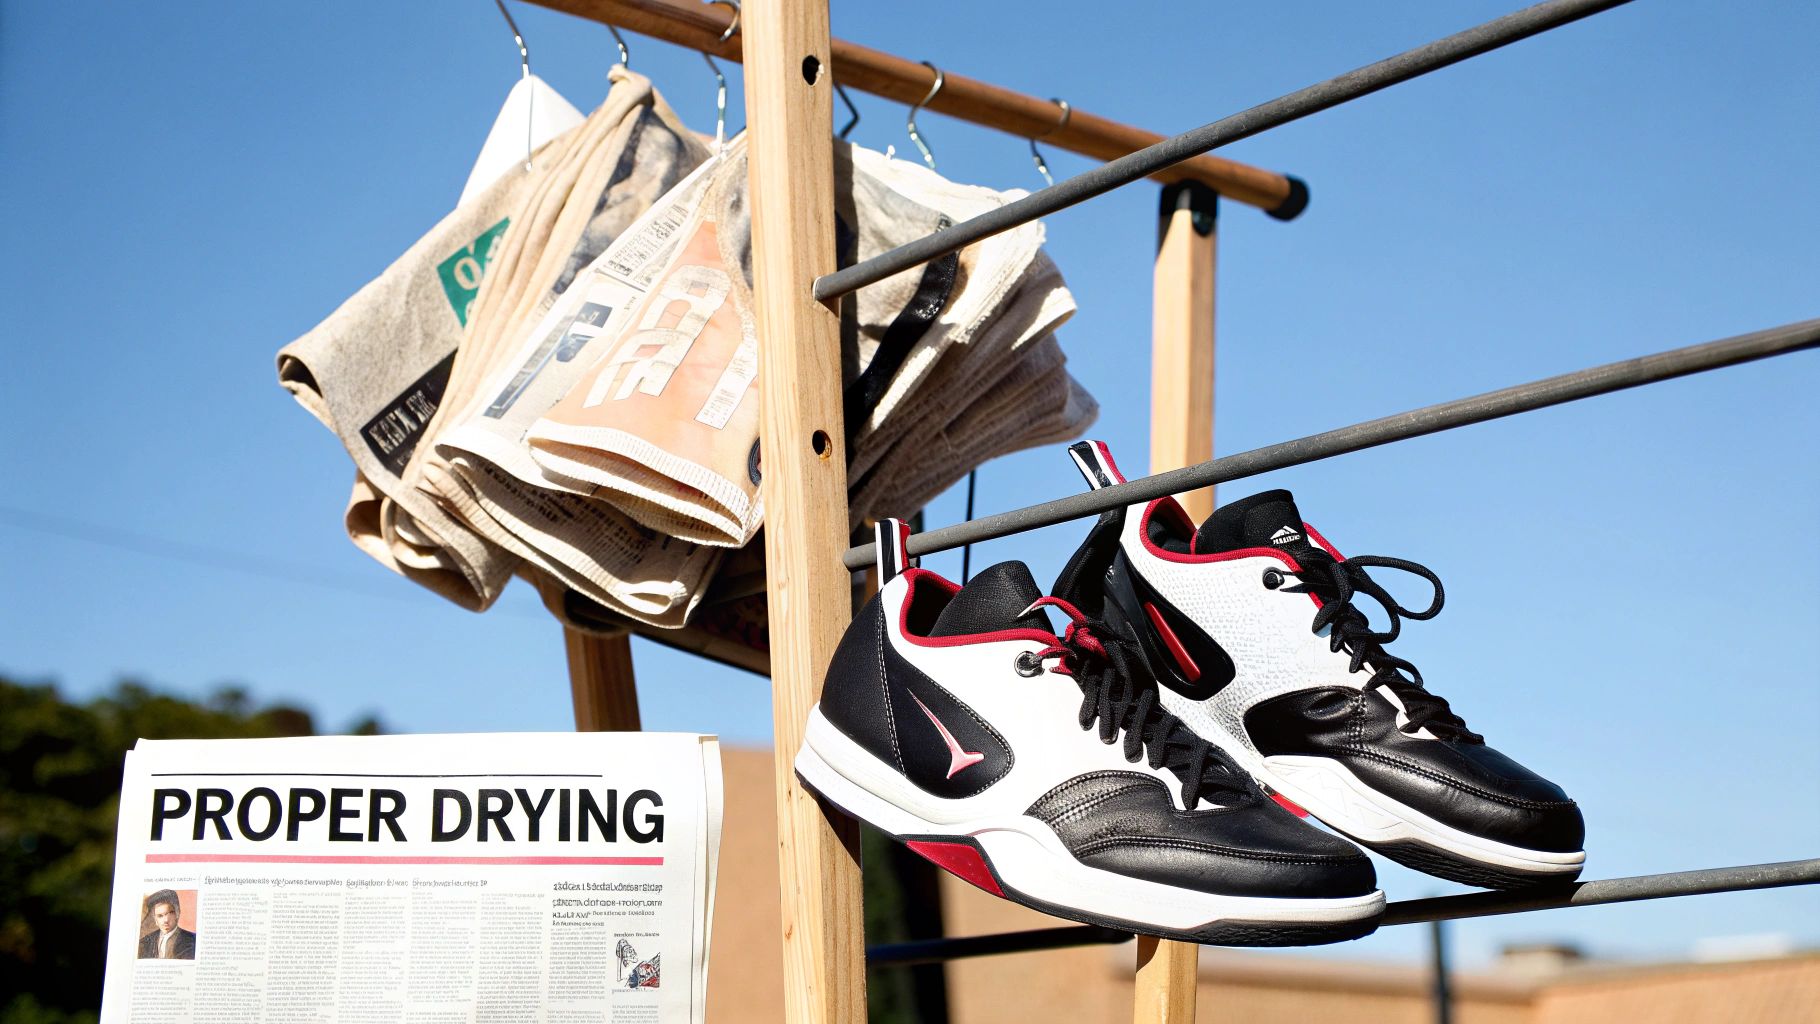
The Newspaper Trick: A Solid Backup
In the absence of shoe trees, crumpled, non-inked newspaper or paper towels are a viable alternative.
- Stuff the shoes firmly enough to hold their shape, but do not over-stuff, which could stretch the materials.
- The paper acts as a desiccant, drawing significant moisture out from the interior.
- It is important to replace the damp paper every few hours during the first day to expedite the process and prevent mustiness.
This patient, structured drying approach ensures that your shoes are restored to their proper form, not ruined by haste.
Protecting Your Kicks for the Long Haul
Cleaning your shoes is the first step. Preserving that condition is the objective. Once your basketball shoes are completely clean and dry, the final, critical step is applying a protective barrier. This is not an optional enhancement; it is a preventative measure that extends the benefits of your cleaning efforts and defends the footwear against future contaminants.
This protective layer serves as the shoe's first line of defense, preventing dirt and moisture from deeply penetrating the material fibers. It significantly simplifies future cleanings.
How Protector Sprays Actually Work
A high-quality protector spray creates an invisible, breathable shield over the shoe's surface. A premium formula establishes a hydrophobic barrier, causing water and other liquids to bead up and roll off rather than being absorbed.
Critically, for performance footwear, a well-engineered spray achieves this without occluding the material's pores. The breathability of mesh and knit uppers must be maintained for thermal regulation and comfort during use. The shoe becomes more resilient to the elements while its performance characteristics remain intact.
Pro Tip: Application technique is key. An even, light coat is essential. Oversaturation can create a tacky surface that attracts more dirt, negating the product's purpose. Less is more.
Applying a Water and Stain Repellent
For maximum efficacy, a systematic application is required. Rushing this step results in patchy coverage and inconsistent protection.
Follow this protocol when applying a product like the Gold Standard Water & Stain Repellent:
- Ensure They're Completely Dry: Applying a protectant to even slightly damp shoes will trap moisture, rendering the spray ineffective and potentially promoting microbial growth.
- Get Some Fresh Air: Apply in a well-ventilated area or outdoors to avoid inhaling propellant and fumes.
- Do a Quick Spot Test: Before full application, spray a small, inconspicuous area (e.g., the inner collar) to ensure there is no adverse reaction with the specific material.
- Spray Evenly: Hold the canister approximately 6-8 inches from the shoe. Use a consistent, sweeping motion to apply a light, even coat across the entire upper.
- Let It Cure: This is a vital, often-overlooked step. Allow the shoes to air dry for at least 24 hours in a cool, dry place. This curing period allows the protective barrier to fully bond with the shoe's material fibers.
Once cured, your shoes are properly shielded and ready for use, far better equipped to resist dirt, moisture, and stains. This simple procedure, performed after every deep clean, is the secret to maintaining your basketball shoes in game-ready condition.
Got Questions About Basketball Shoe Care? We've Got Answers.
Even with a defined protocol, specific questions often arise. Here are our expert answers to the most common inquiries we receive.
How Often Should I Actually Be Cleaning My Basketball Shoes?
This depends on usage frequency and conditions. For optimal material preservation and appearance, a quick wipe-down of the uppers and outsoles after every 2-3 uses is a beneficial habit. This prevents the accumulation of court grime and dust.
A deep clean, as detailed in this guide, should be performed every 4-6 weeks under normal use. If the shoes are exposed to significant dirt, mud, or spills, they should be cleaned immediately. Consistency is key to preventing long-term material degradation.
Can I Just Use Dish Soap or Other Household Cleaners?
We strongly advise against it. Household cleaning products, including dish soap and all-purpose sprays, contain harsh detergents and chemicals not formulated for the specialized materials and adhesives in modern basketball shoes.
These agents can strip color from synthetic materials, desiccate and crack leather components, and, most critically, weaken the adhesives that bond the sole structure. This can lead to catastrophic sole separation. Always use a pH-neutral cleaner specifically designed for premium footwear.
The global shoe care market was valued at USD 4.47 billion in 2024 and is projected to reach USD 7.23 billion by 2032. This growth is driven by the more than 450 million basketball players worldwide who understand that proper maintenance is a necessity, not an option. You can explore these industry trends in more detail at databridgemarketresearch.com.
What’s the Secret to Getting Rid of That Awful Shoe Smell?
Combating odor requires a two-pronged approach that addresses both moisture and bacteria.
First, immediately after use, remove the insoles. Allow the insoles and the shoe interior to air out separately. Trapped moisture is the primary catalyst for the growth of odor-causing bacteria.
If odor persists, use a dedicated shoe deodorizer spray formulated to neutralize bacteria, not simply mask the scent with fragrance. Finally, avoid storing shoes in a sealed gym bag. Allow them to breathe in an open, dry environment.
Your performance footwear is an investment in technology and materials. It requires a cleaning solution that respects that engineering. Gold Standard provides precisely that. Our All-Natural Shoe Cleaner is expertly formulated to remove tough grime while preserving the integrity of every component. Explore our full suite of premium care products and experience the professional standard.
Article created using Outrank